×
- Live Chat
- 1-888-788-9341


My Garage
My Account
Cart
Genuine Ford Edge Control Arm
Suspension Arm- Select Vehicle by Model
- Select Vehicle by VIN
Select Vehicle by Model
orMake
Model
Year
Select Vehicle by VIN
For the most accurate results, select vehicle by your VIN (Vehicle Identification Number).
19 Control Arms found
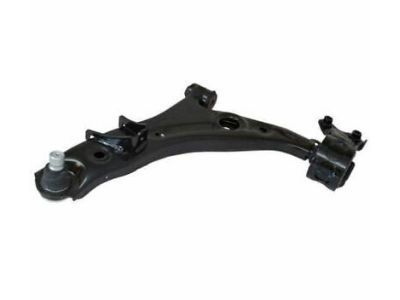
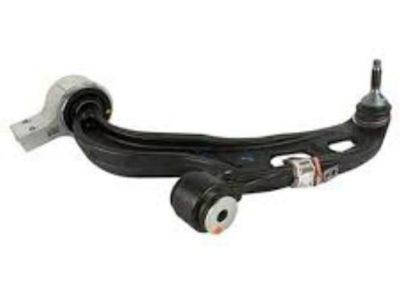
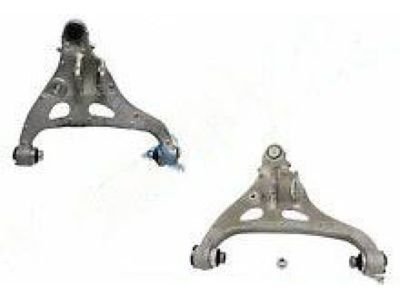
Ford Edge Arm Assembly - Front Suspension
Part Number: 8T4Z-3079-A$173.80 MSRP: $287.27You Save: $113.47 (40%)Ford Edge Arm Assembly - Front Suspension
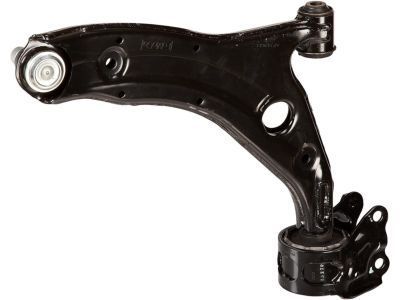
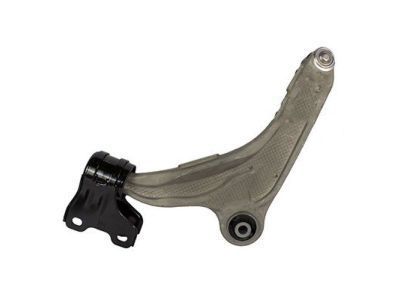
Part Number: 7T4Z-3079-AL$173.80 MSRP: $287.27You Save: $113.47 (40%)Ford Edge Arm Assembly - Front Suspension
Part Number: 8T4Z-3078-A$176.00 MSRP: $290.91You Save: $114.91 (40%)Ford Edge Arm Assembly - Front Suspension
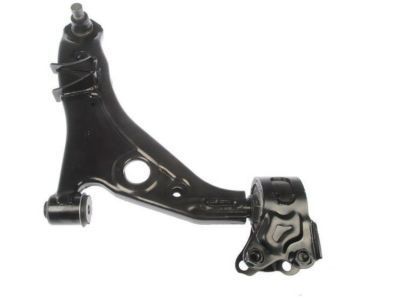
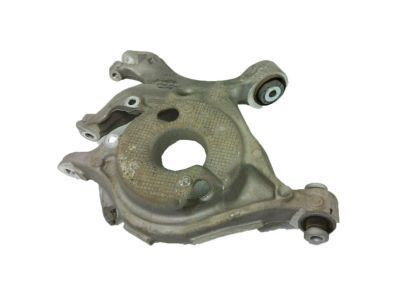
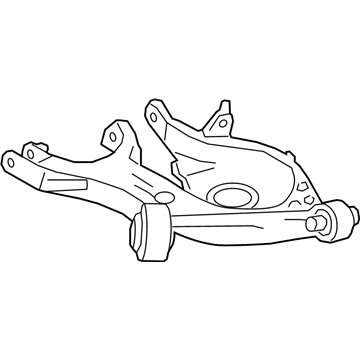
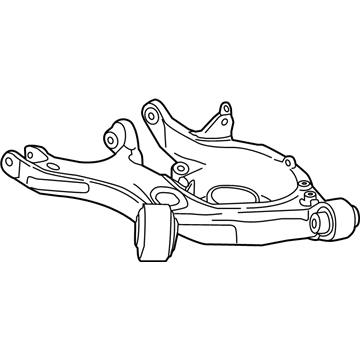
Part Number: 7T4Z-3078-AR$176.00 MSRP: $290.91You Save: $114.91 (40%)Ford Edge Arm Assy - Rear Suspension
Part Number: H2GZ-5500-A$276.85 MSRP: $408.33You Save: $131.48 (33%)Ford Edge Arm Assembly - Front Suspension
Part Number: F2GZ-3079-B$248.60 MSRP: $400.00You Save: $151.40 (38%)Ships in 1-2 Business DaysFord Edge Arm Assembly - Front Suspension
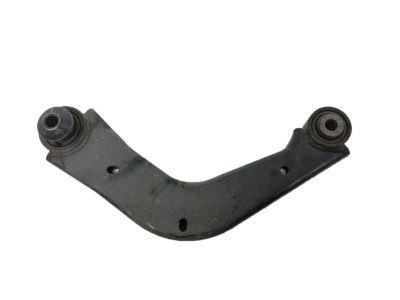
Part Number: F2GZ-3078-B$250.86 MSRP: $403.64You Save: $152.78 (38%)Ford Edge Arm Assy - Rear Suspension
Part Number: E1GZ-5500-A$73.76 MSRP: $107.83You Save: $34.07 (32%)Ships in 1-3 Business DaysFord Edge Arm Assy - Rear Suspension
Part Number: F2GZ-5500-G$276.85 MSRP: $408.33You Save: $131.48 (33%)Ships in 1-3 Business DaysFord Edge Arm Assembly - Front Suspension
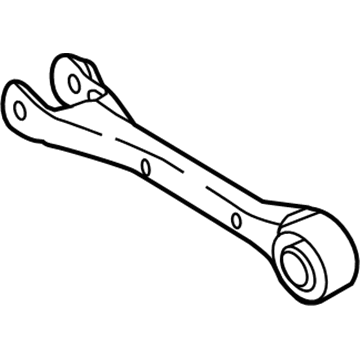
Part Number: F2GZ-3079-H$245.30 MSRP: $400.00You Save: $154.70 (39%)Ships in 1-2 Business DaysFord Edge ROD
Part Number: E1GZ-5K898-C$22.94 MSRP: $29.83You Save: $6.89 (24%)Ships in 1-2 Business DaysFord Edge Arm Assy - Rear Suspension
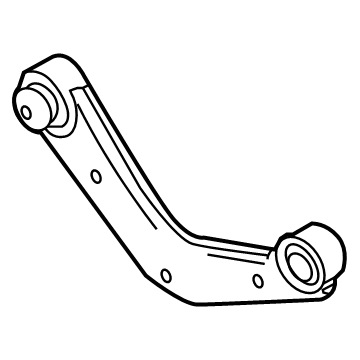
Part Number: F2GZ-5500-C$327.43 MSRP: $410.00You Save: $82.57 (21%)Ships in 1-2 Business DaysFord Edge Arm Assembly - Rear Suspension
Part Number: E1GZ-5500-B$69.75 MSRP: $107.83You Save: $38.08 (36%)Ships in 1-3 Business DaysFord Edge Arm Assy - Rear Suspension
Part Number: E1GZ-5500-D$61.23 MSRP: $103.27You Save: $42.04 (41%)Ships in 1-3 Business DaysFord Edge Arm Assembly - Front Suspension
Part Number: F2GZ-3078-H$241.98 MSRP: $403.64You Save: $161.66 (41%)Ford Edge Arm Assembly - Rear Suspension
Part Number: H2GZ-5500-B$277.98 MSRP: $410.00You Save: $132.02 (33%)Ships in 1-3 Business DaysFord Edge Arm Assy - Rear Suspension
Part Number: E1GZ-5500-C$85.61 MSRP: $125.17You Save: $39.56 (32%)Ships in 1-3 Business DaysFord Edge Arm Assy - Rear Suspension
Part Number: F2GZ-5500-D$276.85 MSRP: $408.33You Save: $131.48 (33%)Ships in 1-3 Business DaysFord Edge Arm Assy - Rear Suspension
Part Number: F2GZ-5500-H$277.98 MSRP: $410.00You Save: $132.02 (33%)Ships in 1-3 Business Days
Ford Edge Control Arm
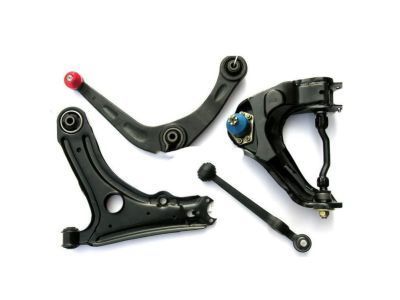
Being an integral part of any Ford Edge vehicle, the Control Arm joins the frame to the wheels and bears the brunt of the weight and impact on the suspension catches like shocks and springs. These arms sway in relation to the conditions on the road so that the wheels can in turn rotate either up or down. Ford Edge Control Arms are of different types and made from stronger cast iron or aluminum in the newer models. Bushing and ball joint, among others that are usually durable may need replacement in most cases. For better control and smooth ride, Control Arms are also made for the high speed and modified vehicles with additional features of strengthened construction and the provision of the settings of angle. Also, Control Arm bushings and hardware can be had for upgrades and modifications to the suspension and its geometry.
We provide a wide range of Ford Edge Control Arm at the best prices possible. If you need Ford Edge Control Arm, you can shop with confidence on our website. All our OEM parts come with a manufacturer's warranty and are delivered to your door step with a fast delivery service.
Ford Edge Control Arm Parts Questions & Experts Answers
- Q: How to remove and install a control arm on a Ford Edge?A: Loosen the wheel lug nuts on the side to be disassembled, raise the front of vehicle, support it securely on jack stands and remove the wheel. On 2014 and earlier models, disconnect the stabilizer bar link from the control arm. Remove the nut and bolt to disconnect the lower ball joint from the Steering Knuckle. This involves removing the nut and the balljoint pinch bolt, and separating the ball joint from the steering knuckle. Proceed to remove the control front pivot bolt and spacer. Then, remove the two rear bushing bracket-to-frame bolts and remove the lower arm. Check the control arm for distortion and the bushings for wear, replacing parts as necessary. Do not attempt to straighten a bent control arm. Installation is the reverse of removal. When installing the control arm, leave the three arm-to-frame bolts (two rearward and one forward) finger tight until completing the installation of all other components. Tighten the three control arm fasteners to the specified torque after the vehicle has been lowered with its full weight resting on the ground. As an alternative, raise the outer end of the control arm to simulate normal ride height, then tighten the fasteners. It's a good idea to have the front wheel alignment checked and, if necessary, adjusted after this job has been performed.
Related Ford Edge Parts
Browse by Year
2024 Control Arm 2023 Control Arm 2022 Control Arm 2021 Control Arm 2020 Control Arm 2019 Control Arm 2018 Control Arm 2017 Control Arm 2016 Control Arm 2015 Control Arm 2014 Control Arm 2013 Control Arm 2012 Control Arm 2011 Control Arm 2010 Control Arm 2009 Control Arm 2008 Control Arm 2007 Control Arm
