
My Garage
My Account
Cart
Genuine Ford Expedition Fuel Tank
Gas Tank- Select Vehicle by Model
- Select Vehicle by VIN
Select Vehicle by Model
orMake
Model
Year
Select Vehicle by VIN
For the most accurate results, select vehicle by your VIN (Vehicle Identification Number).
19 Fuel Tanks found
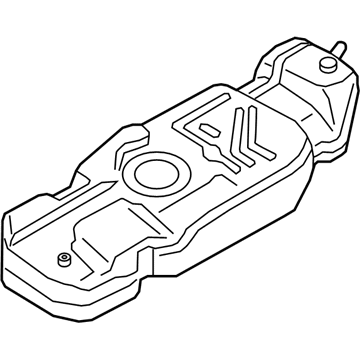
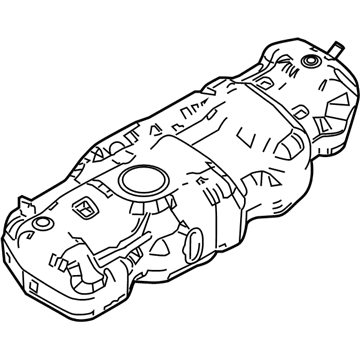
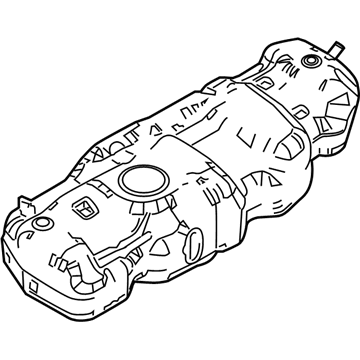
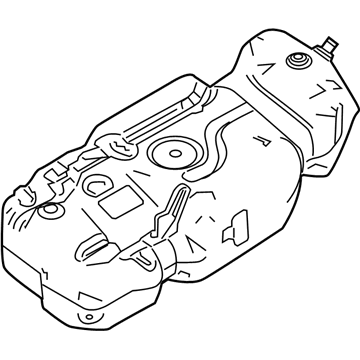
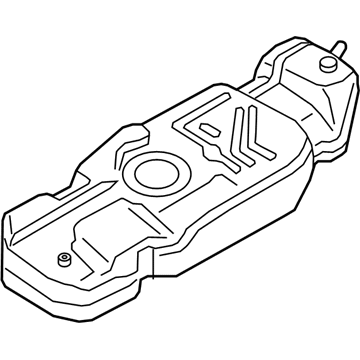
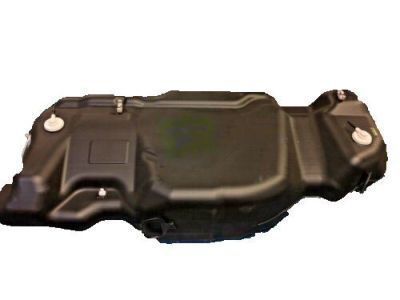
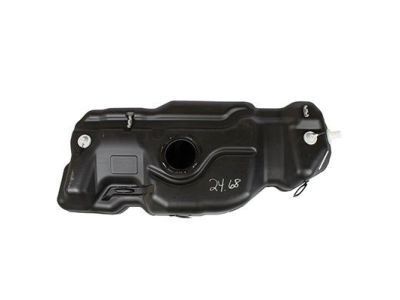
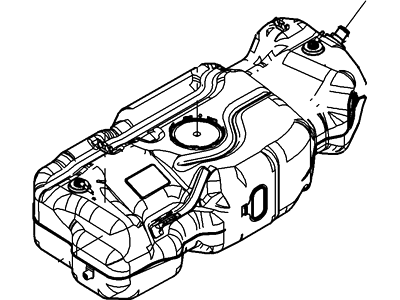
Ford Expedition Fuel Tank Assembly
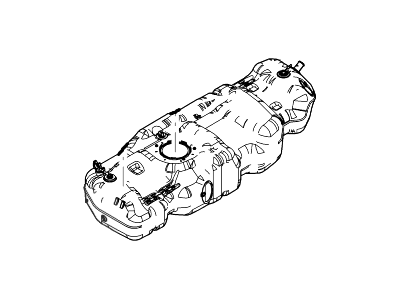
Part Number: JL1Z-9002-B$461.78 MSRP: $1875.08You Save: $1413.30 (76%)Ships in 1-2 Business DaysFord Expedition Fuel Tank Assembly
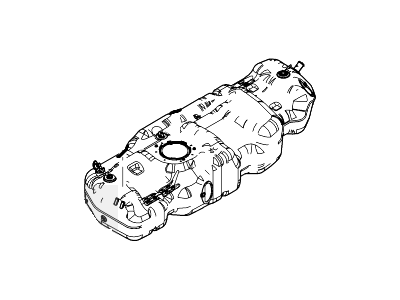
Part Number: FL1Z-9002-D$615.96 MSRP: $982.40You Save: $366.44 (38%)Ships in 1-3 Business DaysFord Expedition Fuel Tank Assembly
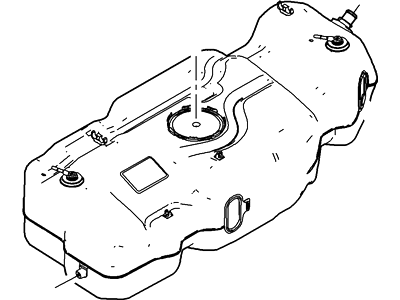
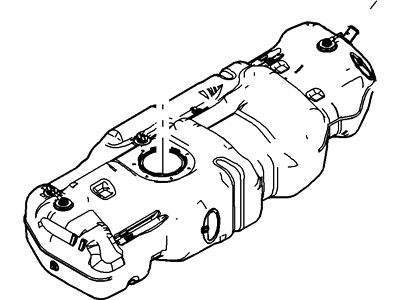
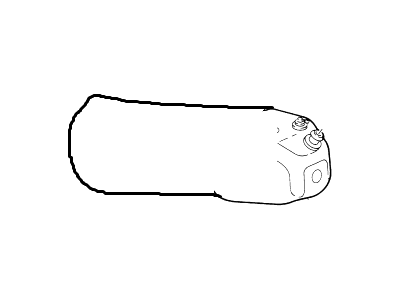
Part Number: FL1Z-9002-B$615.96 MSRP: $982.40You Save: $366.44 (38%)Ships in 1-3 Business DaysFord Expedition TANK ASY - FUEL
Part Number: JL1Z-9002-F$1260.06 MSRP: $1875.08You Save: $615.02 (33%)Ships in 1-2 Business DaysFord Expedition Fuel Tank Assembly
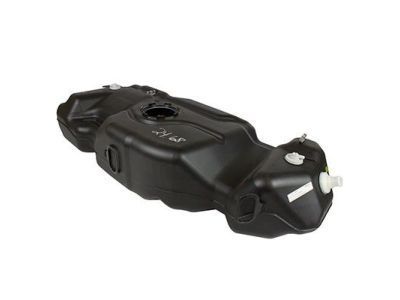
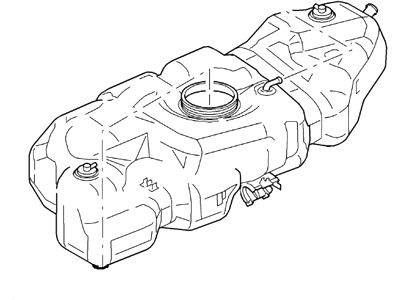
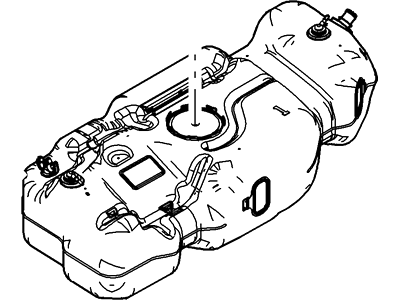
Part Number: FL1Z-9002-C$672.11 MSRP: $1000.17You Save: $328.06 (33%)Ford Expedition Fuel Tank Assembly
Part Number: JL1Z-9002-A$842.83 MSRP: $1254.22You Save: $411.39 (33%)Ships in 1-3 Business DaysFord Expedition TANK ASY - FUEL
Part Number: JL1Z-9002-E$842.83 MSRP: $1254.22You Save: $411.39 (33%)Ford Expedition Fuel Tank Assembly
Part Number: FL1Z-9002-A$672.11 MSRP: $1000.17You Save: $328.06 (33%)Ships in 1-3 Business Days
Ford Expedition Fuel Tank
Ford Expedition Fuel Tank is a vital part of their automobile and is trendied as fuel tank that contains electric fuel pump and fuel gauge sender and at the same time it eliminates fuel swamp and also it reduces noise. Made of metal or plastic these tanks are exposed to the environmental factors and the risk of corrosion. Ford Expedition Fuel Tanks are checked for leaks in the factory, and all the needed components for the fuel tank installation are included. In racing, fuel cells are used to minimize on incidence of spilling when a vehicle has aaccident. Extra large fuel tanks constructed of lightweight militarily spec'd polymer are optional for added range. These tanks also have features some designs as well as durability that is far superior to that of the steel tanks.
We provide a wide range of Ford Expedition Fuel Tank at the best prices possible. If you need Ford Expedition Fuel Tank, you can shop with confidence on our website. All our OEM parts come with a manufacturer's warranty and are delivered to your door step with a fast delivery service.
Ford Expedition Fuel Tank Parts Questions & Experts Answers
- Q: What precautions should be taken when clean and repair the fuel tank of Ford Expedition with plastic tanks?A:The vehicles covered have plastic fuel tanks that cannot be repaired and must be replaced. When removing and installing it, avoid placing it in areas with sparks or open flames. This is crucial in garages with gas-type appliances as the fumes could ignite and it could cause an explosion. Exercise caution replacing and installing.
- Q: How to remove and install a fuel tank on Ford Expedition?A:Don't begin this procedure until the gauge indicates that the tank is empty or nearly empty. If the tank must be removed when it's full (for example, if the Fuel Pump malfunctions), siphon any remaining fuel from the tank prior to removal. Unless the vehicle has been driven far enough to completely empty the tank, it's a good idea to siphon the residual fuel out before removing the tank from the vehicle. Relieve the fuel pressure. Detach the cable from the negative terminal of the battery. Raise the vehicle and support it securely on jackstands. Remove the fuel tank skid plate mounting bolts and lower the assembly. Remove the fuel tank filler hose and vapor hose from the fuel filler neck and the fuel tank and slide the assembly from the vehicle. Disconnect the fuel lines and EVAP vapor lines. Disconnect the electric fuel pump and sending unit electrical connector with a screwdriver. Place a floor jack under the tank and position a block of wood between the jack pad and the tank. Raise the jack until it's supporting the tank. Remove the bolts that retain the fuel tank mounting straps. The straps are hinged at the other end so you can swing them out of the way. Expedition/Navigator models use a large bracket that straddles the entire fuel tank. The mounting bolts and bracket must be removed as a complete unit before the fuel tank can be lowered. The assembly will be lowered with the fuel tank because it will be positioned between the fuel tank and the lifting jack. Lower the tank far enough to unplug any vapor lines or wire harness brackets that may be difficult to reach when the fuel tank is in the vehicle. Slowly lower the jack while steadying the tank. Remove the tank from the vehicle. If you're replacing the tank, or having it cleaned or repaired. Install the fuel pump or sending unit. Installation is the reverse of removal. Clean engine oil can be used as an assembly aid when pushing the fuel filler neck back into the tank. Make sure the fuel tank heat shields are assembled correctly onto the fuel tank before reinstalling the tank in the vehicle. Carefully angle the fuel tank filler neck into the filler pipe assembly and lift the tank into place.
Related Ford Expedition Parts
Browse by Year
2024 Fuel Tank 2023 Fuel Tank 2022 Fuel Tank 2021 Fuel Tank 2020 Fuel Tank 2019 Fuel Tank 2018 Fuel Tank 2017 Fuel Tank 2016 Fuel Tank 2015 Fuel Tank 2014 Fuel Tank 2013 Fuel Tank 2012 Fuel Tank 2011 Fuel Tank 2010 Fuel Tank 2009 Fuel Tank 2008 Fuel Tank 2007 Fuel Tank 2006 Fuel Tank 2005 Fuel Tank 2004 Fuel Tank 2003 Fuel Tank 2002 Fuel Tank 2001 Fuel Tank 2000 Fuel Tank 1999 Fuel Tank
