×
- Live Chat
- 1-888-788-9341


My Garage
My Account
Cart
Genuine Ford Expedition Transmission Assembly
Trans Assembly- Select Vehicle by Model
- Select Vehicle by VIN
Select Vehicle by Model
orMake
Model
Year
Select Vehicle by VIN
For the most accurate results, select vehicle by your VIN (Vehicle Identification Number).
95 Transmission Assemblies found
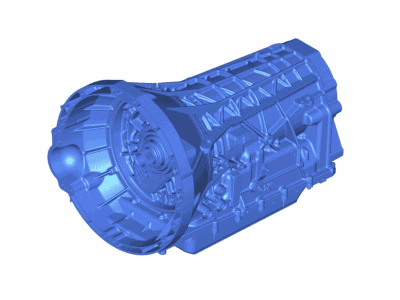
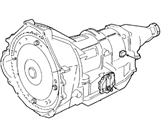
Ford Expedition AUTOMATIC TRANSMISSION ASY
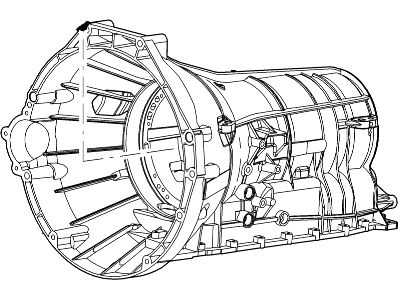
Part Number: JL3Z-7000-N$5689.74 MSRP: $5998.67You Save: $308.93 (6%)Ford Expedition AUTOMATIC TRANSMISSION ASY
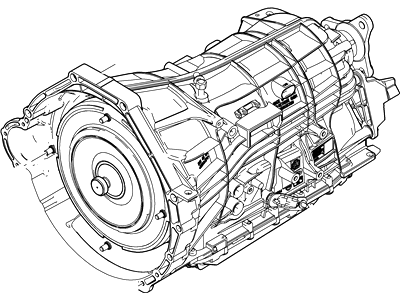
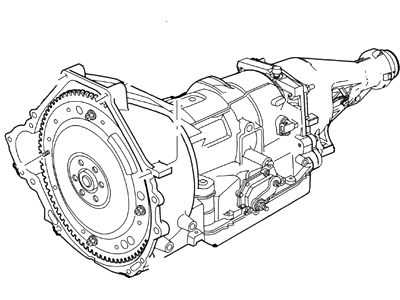
Part Number: JL1Z-7000-F$5059.88 MSRP: $5998.67You Save: $938.79 (16%)Ford Expedition Automatic Transmission Assembly
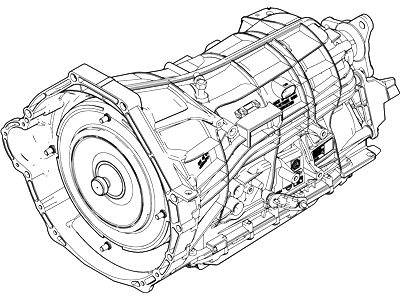
Part Number: JL1Z-7000-D$5059.88 MSRP: $5998.67You Save: $938.79 (16%)Ford Expedition Automatic Transmission Assembly
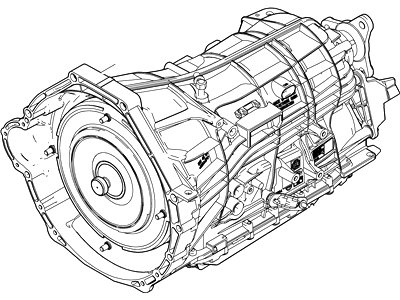
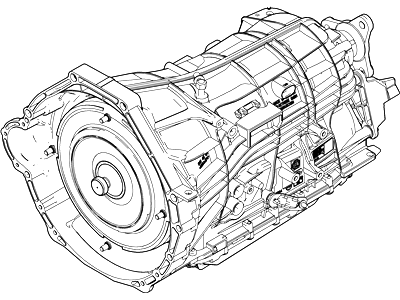
Part Number: JL1Z-7000-B$5689.74 MSRP: $5998.67You Save: $308.93 (6%)Ford Expedition Automatic Transmission Assembly
Part Number: FL3Z-7000-D$3725.91 MSRP: $4532.00You Save: $806.09 (18%)Ships in 1-2 Business DaysFord Expedition AUTOMATIC TRANSMISSION ASY
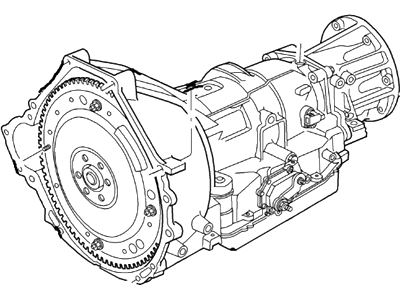
Part Number: JL1Z-7000-E$5689.74 MSRP: $5998.67You Save: $308.93 (6%)Ford Expedition AUTOMATIC TRANSMISSION ASY
Part Number: JL3Z-7000-M$5059.88 MSRP: $5998.67You Save: $938.79 (16%)Ships in 1-3 Business DaysFord Expedition Automatic Transmission Assembly
Part Number: 9L3Z-7000-EARM$3827.88 MSRP: $4532.00You Save: $704.12 (16%)Ships in 1-3 Business DaysFord Expedition Automatic Transmission Assembly
Part Number: BL1Z-7000-A$4163.88 MSRP: $4932.00You Save: $768.12 (16%)Ships in 1-3 Business DaysFord Expedition Automatic Transmission Assembly
Part Number: 5L1Z-7000-FRM$3147.48 MSRP: $3732.00You Save: $584.52 (16%)Ships in 1-3 Business DaysFord Expedition Automatic Transmission Assembly
Part Number: 7L1Z-7000-BRM$3827.88 MSRP: $4532.00You Save: $704.12 (16%)Ships in 1-3 Business DaysFord Expedition Automatic Transmission Assembly
Part Number: 7L1Z-7000-ARM$3827.88 MSRP: $4532.00You Save: $704.12 (16%)Ships in 1-3 Business DaysFord Expedition Transmission Assembly
Part Number: 2L1Z-7V000-ERM$2923.48 MSRP: $3465.33You Save: $541.85 (16%)Ships in 1-3 Business DaysFord Expedition Automatic Transmission Assembly
Part Number: 2L1Z-7000-FARM$3147.48 MSRP: $3732.00You Save: $584.52 (16%)Ships in 1-3 Business DaysFord Expedition Automatic Transmission Assembly
Part Number: 5L1Z-7000-ERM$3147.48 MSRP: $3732.00You Save: $584.52 (16%)Ships in 1-3 Business DaysFord Expedition Automatic Transmission Assembly
Part Number: CL1Z-7000-B$3827.88 MSRP: $4532.00You Save: $704.12 (16%)Ships in 1-3 Business DaysFord Expedition Automatic Transmission Assembly
Part Number: AL3Z-7000-ARM$3827.88 MSRP: $4532.00You Save: $704.12 (16%)Ships in 1-3 Business DaysFord Expedition Automatic Transmission Assembly
Part Number: CL1Z-7000-A$3827.88 MSRP: $4532.00You Save: $704.12 (16%)Ships in 1-3 Business DaysFord Expedition Automatic Transmission Assembly
Part Number: FL1Z-7000-A$3827.88 MSRP: $4532.00You Save: $704.12 (16%)Ships in 1-3 Business DaysFord Expedition Reman Automatic Transmission Assembly
Part Number: CL1Z-7000-BBRM$3827.88 MSRP: $4532.00You Save: $704.12 (16%)
| Page 1 of 5 |Next >
1-20 of 95 Results
Ford Expedition Transmission Assembly
We provide a wide range of Ford Expedition Transmission Assembly at the best prices possible. If you need Ford Expedition Transmission Assembly, you can shop with confidence on our website. All our OEM parts come with a manufacturer's warranty and are delivered to your door step with a fast delivery service.
Ford Expedition Transmission Assembly Parts Questions & Experts Answers
- Q: How to remove and install the transmission on Ford Expedition?A: To disconnect the transmission you must first take the negative cable of the battery and put the shift lever to the Neutral. Disconnect the transmission harness electrical connector and if equipped, disable the air suspension system. Lift the vehicle off the ground using jackstands and remove the driveshafts of the concerned part of the car. For 4WD models, there are bolts below the skid plate and some nuts are at the back of the transfer case. On 3V V6 engine cars and on certain types of Transmissions, disconnect the transmission inspection cover and probably one or more plugs. Locate the position of the torque converter to the drive plate then unlock the retaining bolts with the crankshaft turning at the same instance. The next steps are the removal of the vehicle's starter motor, dismantling of the Shift Cable, disconnecting of the transmission oil cooler lines and lighter connectors of several sensors. Place the front part of the vehicle on the jack and another support the transmission system part of the vehicle. Some of the bolts may be hidden by the heat shield, in this case you will have to pull off the heat shield and cross member to expose the bolts which attach the nuts holding the transmission mount to the cross member. Eliminate the transmission and dipstick tube, the exhaust pipe, the fuel line bracket. Take off the bolts of the transmission-to-engine connection, and disconnect the exhaust pipes. Before picking the transmission and the jack backward, all the wires should be disconnected; move them backward to divide the torque converter from the driveplate. On installation, one should align the torque converter hub with the pump gear, finally lifting and positioning the transmission which should be horizontal. Position the torque converter marks on the driveplate and insert the dowel pins with the bell housing. Then bolt back the exhaust pipes, the transmission to engine bolts, fuel line bracket and the exhaust pipe bracket as tightly as possible. The transmission mount along with crossmember is to be assembled and screwed followed by heat shield bolts followed by the nuts of the transmission mount. Take out the jacks and connect the heated oxygen sensor connectors, and the oil cooler lines. Gently click the shift cable back in place to draw it taught, torque the nuts for the torque converter in place as well as reinstall the transmission inspection cover, including its rubber access plug as well. Replace the starter motor and dipstick tube and for 4 WD cars, the transfer case. Returning the driveshafts, lowering the vehicle, reconnecting the transmission harness, and engaging the nuts on the negative terminal of the battery were done. Last of all, add the required quantity of the above mentioned fluid into the transmission, start the vehicle engine, and look for leakage.
Related Ford Expedition Parts
Browse by Year
2023 Transmission Assembly 2022 Transmission Assembly 2021 Transmission Assembly 2020 Transmission Assembly 2019 Transmission Assembly 2018 Transmission Assembly 2017 Transmission Assembly 2016 Transmission Assembly 2015 Transmission Assembly 2014 Transmission Assembly 2013 Transmission Assembly 2012 Transmission Assembly 2011 Transmission Assembly 2010 Transmission Assembly 2009 Transmission Assembly 2008 Transmission Assembly 2007 Transmission Assembly 2006 Transmission Assembly 2005 Transmission Assembly 2004 Transmission Assembly 2003 Transmission Assembly 2002 Transmission Assembly 2001 Transmission Assembly 2000 Transmission Assembly 1999 Transmission Assembly 1998 Transmission Assembly 1997 Transmission Assembly
