×
- Live Chat
- 1-888-788-9341


My Garage
My Account
Cart
Genuine Ford Explorer Air Filter Box
Air Filter Housing- Select Vehicle by Model
- Select Vehicle by VIN
Select Vehicle by Model
orMake
Model
Year
Select Vehicle by VIN
For the most accurate results, select vehicle by your VIN (Vehicle Identification Number).
32 Air Filter Boxs found
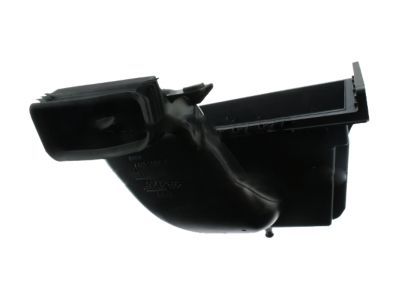
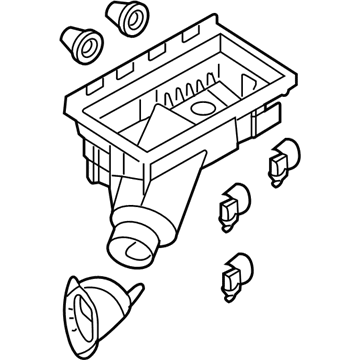
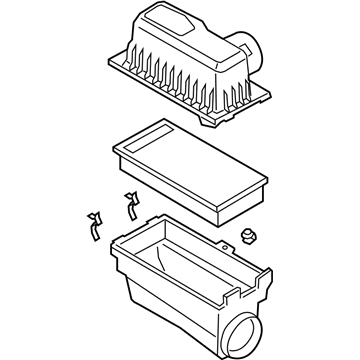
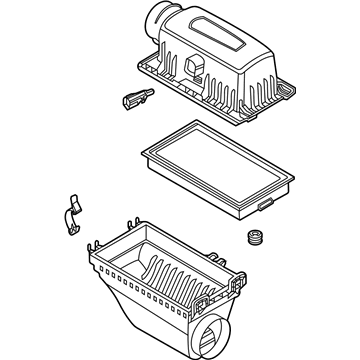
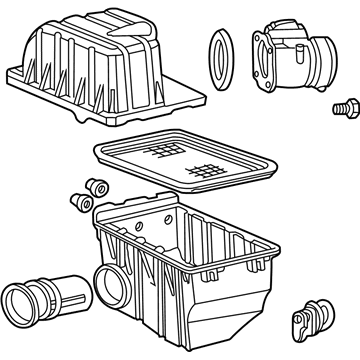
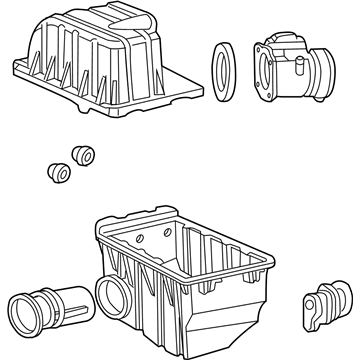
Ford Explorer Cleaner Assembly - Air
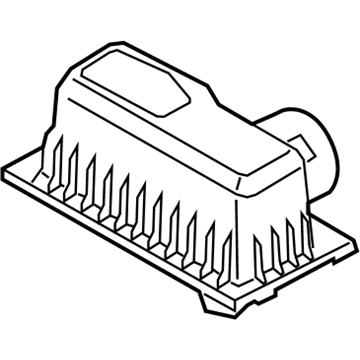
Part Number: AA5Z-9A600-B$78.55 MSRP: $114.83You Save: $36.28 (32%)Ford Explorer Cover
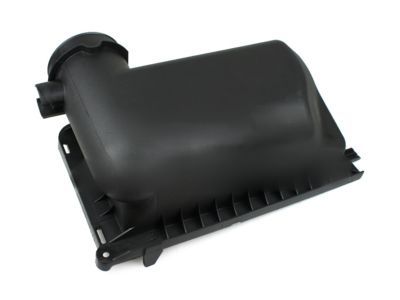
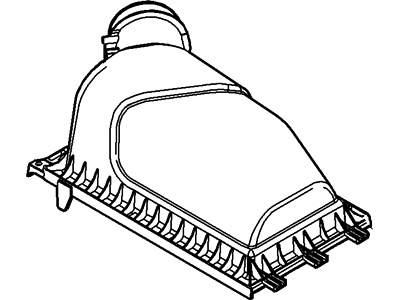
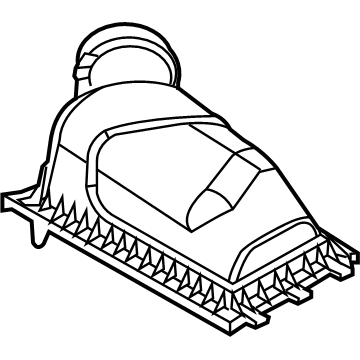
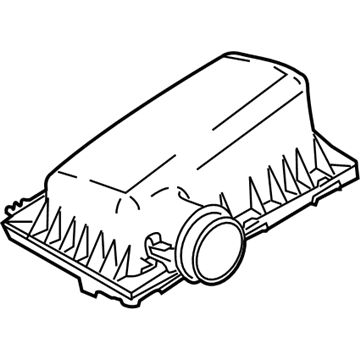
Part Number: AA5Z-9661-B$51.50 MSRP: $74.00You Save: $22.50 (31%)Ships in 1-3 Business DaysFord Explorer Cover
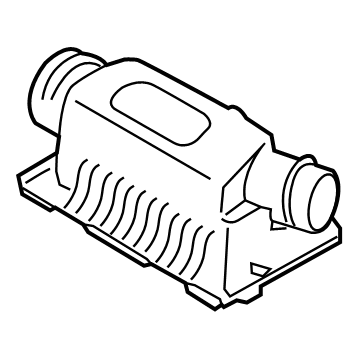
Part Number: FB5Z-9661-B$52.70 MSRP: $81.33You Save: $28.63 (36%)Ships in 1-2 Business DaysFord Explorer COVER
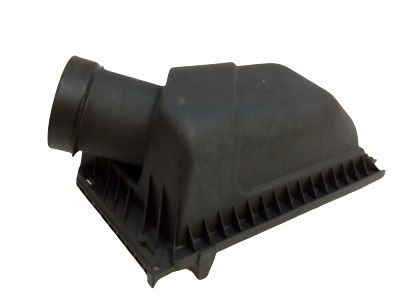
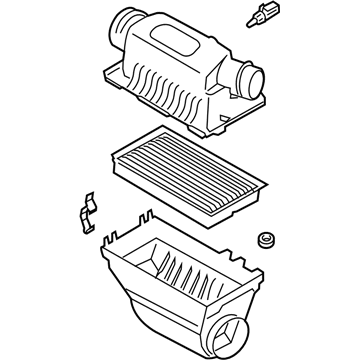
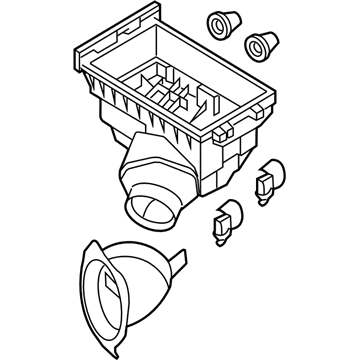
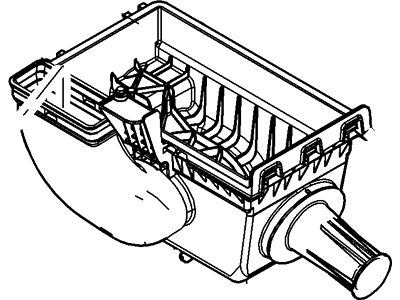
Part Number: L1MZ-9G784-D$88.36 MSRP: $136.62You Save: $48.26 (36%)Ships in 1-3 Business DaysFord Explorer Cleaner Assembly - Air
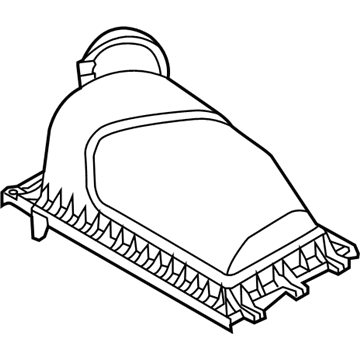
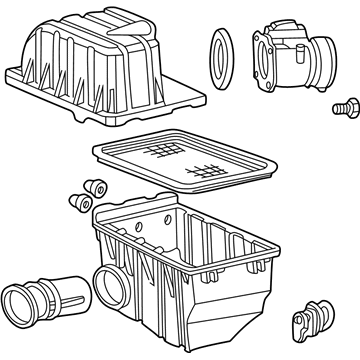
Part Number: 6L2Z-9A600-BA$148.68 MSRP: $203.16You Save: $54.48 (27%)Ships in 1 Business DayFord Explorer Cover
Part Number: BB5Z-9661-A$37.16 MSRP: $54.33You Save: $17.17 (32%)Ships in 1-2 Business DaysFord Explorer CLEANER ASY - AIR
Part Number: L1MZ-9600-N$124.26 MSRP: $181.67You Save: $57.41 (32%)Ships in 1-2 Business DaysFord Explorer CLEANER ASY - AIR
Part Number: L1MZ-9600-Q$157.30 MSRP: $238.33You Save: $81.03 (34%)Ships in 1-2 Business DaysFord Explorer COVER
Part Number: L1MZ-9G784-A$50.27 MSRP: $83.09You Save: $32.82 (40%)Ships in 1-3 Business DaysFord Explorer COVER
Part Number: L1MZ-9G784-C$60.98 MSRP: $89.15You Save: $28.17 (32%)Ships in 1-3 Business DaysFord Explorer Cleaner Assembly - Air
Part Number: 6L2Z-9A600-A$63.58 MSRP: $88.32You Save: $24.74 (29%)Ships in 1-2 Business DaysFord Explorer CLEANER ASY - AIR
Part Number: L1MZ-9600-P$117.42 MSRP: $171.67You Save: $54.25 (32%)Ships in 1-2 Business DaysFord Explorer Cleaner Assembly - Air
Part Number: AA5Z-9A600-A$78.55 MSRP: $114.83You Save: $36.28 (32%)Ships in 1 Business Day
| Page 1 of 2 |Next >
1-20 of 32 Results
Ford Explorer Air Filter Box
We provide a wide range of Ford Explorer Air Filter Box at the best prices possible. If you need Ford Explorer Air Filter Box, you can shop with confidence on our website. All our OEM parts come with a manufacturer's warranty and are delivered to your door step with a fast delivery service.
Ford Explorer Air Filter Box Parts Questions & Experts Answers
- Q: How to remove and install an air cleaner assembly on Ford Explorer?A: Disconnect the cable from the negative terminal of the battery. Loosen the hose clamps on the air cleaner outlet tube assembly for 1994 and earlier models. Remove the tube from the Throttle Body and Air Filter Box. Cover the throttle body inlet to prevent foreign matter entry. Disconnect the vacuum lines at the bimetal sensor in the air cleaner cover. Disconnect the electrical connector at the Mass Air Flow (MAF) sensor. Remove the screws securing the air filter box assembly upper half. Label and disconnect the two small hoses from the upper case half and remove the upper half and air cleaner filter. Squeeze the protrusions on the air cleaner hot air tube and disconnect the tube from the air filter box. Remove the bolt securing the air cleaner intake tube assembly to the air cleaner intake deflector next to the radiator panel. Remove the intake tube from the lower half of the air filter box. Remove the screw securing the lower half of the air filter box to the mounting bracket. Remove the lower half of the air filter box. Installation is the reverse of removal. Tighten all hose clamps and fittings securely. For 1995 and later models, disconnect the IAT sensor and MAF sensor wiring. Remove the crankcase ventilation hose and retaining clamps from the air cleaner outlet tube. Detach the air outlet tube from the throttle body and MAF sensor. Disconnect the air filter box spring clips, then lift the upper half of the air filter box assembly from the vehicle. To remove the lower half (intake air duct) of the air filter box, carefully lift upward on the lower half to release the rubber grommets securing the housing to the fenderwell. Installation is the reverse of removal.
Related Ford Explorer Parts
Browse by Year
2023 Air Filter Box 2022 Air Filter Box 2021 Air Filter Box 2020 Air Filter Box 2019 Air Filter Box 2018 Air Filter Box 2017 Air Filter Box 2016 Air Filter Box 2015 Air Filter Box 2014 Air Filter Box 2013 Air Filter Box 2012 Air Filter Box 2011 Air Filter Box 2010 Air Filter Box 2009 Air Filter Box 2008 Air Filter Box 2007 Air Filter Box 2006 Air Filter Box 2005 Air Filter Box 2004 Air Filter Box 2003 Air Filter Box 2002 Air Filter Box 2001 Air Filter Box 2000 Air Filter Box 1999 Air Filter Box 1998 Air Filter Box 1997 Air Filter Box 1995 Air Filter Box 1994 Air Filter Box 1993 Air Filter Box 1992 Air Filter Box 1991 Air Filter Box
