×
- Live Chat
- 1-888-788-9341


My Garage
My Account
Cart
Genuine Ford Explorer Sport Trac A/C Compressor
Air Conditioning Compressor- Select Vehicle by Model
- Select Vehicle by VIN
Select Vehicle by Model
orMake
Model
Year
Select Vehicle by VIN
For the most accurate results, select vehicle by your VIN (Vehicle Identification Number).
10 A/C Compressors found
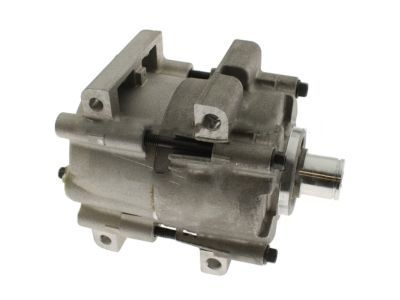
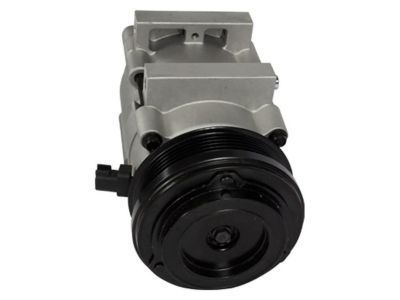
Ford Explorer Sport Trac Compressor Assembly
Part Number: 4R3Z-19703-A$213.64 MSRP: $356.36You Save: $142.72 (41%)Ships in 1 Business DayFord Explorer Sport Trac Compressor Assembly
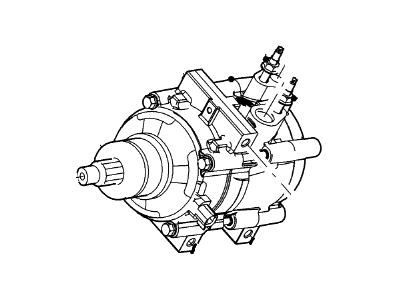
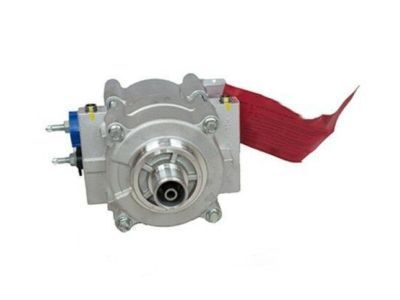
Part Number: AU2Z-19V703-AC$318.28 MSRP: $530.91You Save: $212.63 (41%)Ships in 1-2 Business DaysFord Explorer Sport Trac Compressor Assembly
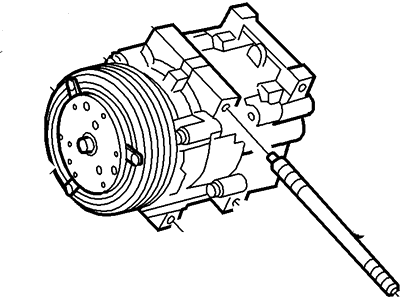
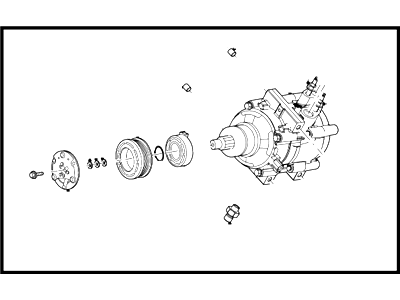
Part Number: 4L2Z-19V703-AA$345.53 MSRP: $576.36You Save: $230.83 (41%)Ships in 1-2 Business DaysFord Explorer Sport Trac Compressor Assembly
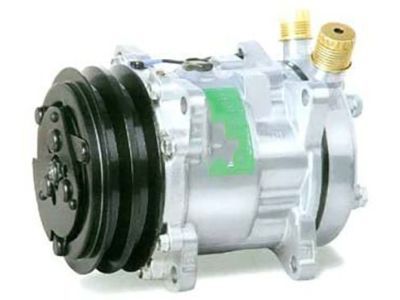
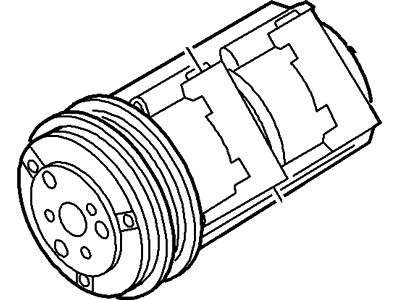
Part Number: G2MZ-19V703-L$345.53 MSRP: $576.36You Save: $230.83 (41%)Ships in 1-2 Business Days
Ford Explorer Sport Trac A/C Compressor
We provide a wide range of Ford Explorer Sport Trac A/C Compressor at the best prices possible. If you need Ford Explorer Sport Trac A/C Compressor, you can shop with confidence on our website. All our OEM parts come with a manufacturer's warranty and are delivered to your door step with a fast delivery service.
Ford Explorer Sport Trac A/C Compressor Parts Questions & Experts Answers
- Q: How to remove and replace the A/C Compressor on Ford Explorer Sport Trac?A: The accumulator/drier and the orifice tube should be replaced whenever the compressor is replaced. Have the air conditioning system discharged and recovered. If you know the compressor is to be replaced, it's a good idea to have the professional who discharges your system perform a flushing procedure also, to remove any contaminants, dirt or metal that may corrupt the new compressor. Disconnect the negative cable from the battery. On 2001 and later models, remove the air cleaner tube. Disconnect the electrical connector from the compressor and detach the harness retainer from the back of the compressor. Remove the drivebelt. On 2001 and later models, remove the bolts and detach the power steering fluid reservoir from the bracket. Remove the bolt that secures the refrigerant lines to the rear of the compressor. On some models, the power steering lines are bolted to a bracket on the side of the compressor. Unbolt the compressor from the mounting brackets and lift it out of the vehicle. If a new compressor is being installed, follow the directions with the compressor regarding the draining of excess oil prior to installation. The clutch may have to be transferred from the original to the new compressor. Installation is the reverse of removal with the following additions: Replace all O-rings with new ones specifically made for air conditioning system used (R-12 or R-134a) and lubricate them with the proper refrigerant oil. Have the system evacuated, recharged and teak tested by the shop that discharged it.
