×
- Live Chat
- 1-888-788-9341


My Garage
My Account
Cart
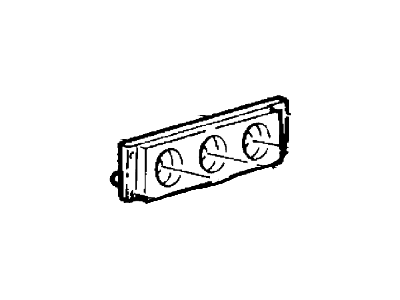
Genuine Ford Ranger A/C Switch
Air Conditioning Switch- Select Vehicle by Model
- Select Vehicle by VIN
Select Vehicle by Model
orMake
Model
Year
Select Vehicle by VIN
For the most accurate results, select vehicle by your VIN (Vehicle Identification Number).
32 A/C Switches found
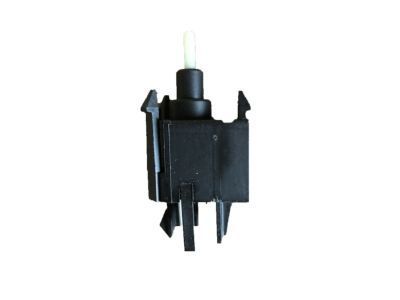
Ford Ranger Switch Assembly
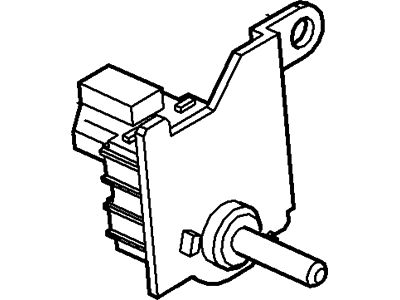
Part Number: 1L2Z-19986-AA$47.08 MSRP: $75.09You Save: $28.01 (38%)Ships in 1 Business DayFord Ranger Switch Assembly
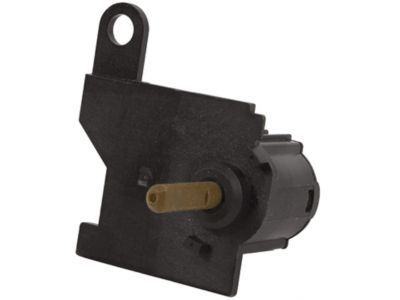
Part Number: F4DZ-19986-A$27.70 MSRP: $44.18You Save: $16.48 (38%)Ships in 1-2 Business DaysFord Ranger Potentiometer Assembly
Part Number: AL5Z-19C733-A$29.10 MSRP: $47.45You Save: $18.35 (39%)Ships in 1-2 Business DaysFord Ranger Potentiometer Assembly
Part Number: F5TZ-19C733-AA$29.75 MSRP: $47.45You Save: $17.70 (38%)Ships in 1-2 Business DaysFord Ranger Switch Assembly
Part Number: E9TZ-19986-B$11.08 MSRP: $15.39You Save: $4.31 (29%)Ships in 1-2 Business DaysFord Ranger Switch Assembly
Part Number: E9TZ-19986-A$87.84 MSRP: $122.02You Save: $34.18 (29%)Ships in 1-2 Business DaysFord Ranger BEZEL
Part Number: KB3Z-18842-SA$629.15 MSRP: $936.23You Save: $307.08 (33%)Ships in 1-3 Business DaysFord Ranger BEZEL
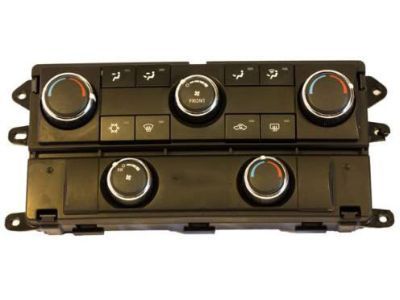
Part Number: KB3Z-18842-JA$629.15 MSRP: $936.23You Save: $307.08 (33%)Ships in 1-3 Business DaysFord Ranger Control
Part Number: 3L5Z-18549-AA$42.72 MSRP: $75.27You Save: $32.55 (44%)Ships in 1-2 Business DaysFord Ranger BEZEL
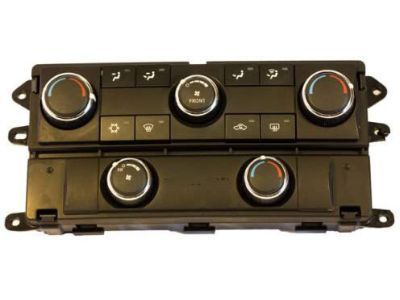
Part Number: KB3Z-18842-SB$641.11 MSRP: $954.03You Save: $312.92 (33%)Ships in 1-3 Business DaysFord Ranger CONTROL
Part Number: KB3Z-19980-UA$333.35 MSRP: $536.36You Save: $203.01 (38%)Ships in 1-3 Business DaysFord Ranger CONTROL
Part Number: KB3Z-19980-UB$333.35 MSRP: $536.36You Save: $203.01 (38%)Ships in 1-3 Business DaysFord Ranger CONTROL
Part Number: KB3Z-19980-DA$354.82 MSRP: $570.91You Save: $216.09 (38%)Ships in 1-3 Business DaysFord Ranger CONTROL
Part Number: KB3Z-19980-DB$354.82 MSRP: $570.91You Save: $216.09 (38%)Ships in 1-3 Business DaysFord Ranger BEZEL
Part Number: KB3Z-18842-SC$618.51 MSRP: $920.40You Save: $301.89 (33%)Ships in 1-3 Business Days
| Page 1 of 2 |Next >
1-20 of 32 Results
Ford Ranger A/C Switch
We provide a wide range of Ford Ranger A/C Switch at the best prices possible. If you need Ford Ranger A/C Switch, you can shop with confidence on our website. All our OEM parts come with a manufacturer's warranty and are delivered to your door step with a fast delivery service.
Ford Ranger A/C Switch Parts Questions & Experts Answers
- Q: How to remove and install the control assembly on 2000-2011 Ford Ranger?A: On 2001 and later models, turn the temperature control knob to the full cool position. Disconnect the negative cable from the battery. Remove the radio. On 2001 and later models, remove the two screws that are located just above the climate control knobs that secure the cluster trim. For all years (with or without screws) pull the trim carefully as this will release the spring clips holding the trim on. Once the trim is released, disconnect any electrical connectors. Remove the four screws securing the A/C Switch to the instrument panel. Pull the A/C Switch through the opening in the instrument panel far enough to allow removal of electrical and vacuum connections. On 2000 models, the assembly can now be removed from the vehicle. On 2001 and later models, pull the temperature control knob from the front. From behind, remove the screw that holds the switch with the cable then separate it as a unit from the A/C Switch. Remove the A/C Switch away from the instrument panel. Use a small screwdriver and remove the vacuum harness from the vacuum switch on the side of the A/C Switch. At the back of the A/C Switch, use a screwdriver or needle-nose pliers and disconnect the temperature and function cable from the white control bracket, if equipped. At the bottom of the A/C Switch, disconnect the temperature control cable from the control, if equipped. Pull enough cable through the instrument opening until the function cable can be held vertical to the A/C Switch, then remove the cable end from the function lever. Remove the A/C Switch from the instrument panel. Installation is the reverse of removal. Note: If a new A/C Switch is installed, the original blower switch and function switch must be transferred to the new unit.
- Q: How to remove and install the control assembly on 1993-2011 Ford Ranger?A: On 2001 and later models, turn the temperature control knob to the full cool position. Disconnect the negative cable from the battery. On 1994 and earlier models, remove the ashtray and the retainer bracket. On 1995 and later models, remove the radio. On 2001 and later models, remove the two screws that are located just above the climate control knobs that secure the cluster trim. For all years (with or without screws) pull the trim carefully as this will release the spring clips holding the trim on. Once the trim is released, disconnect any electrical connectors. Remove the four screws securing the A/C Switch to the instrument panel. Pull the A/C Switch through the opening in the instrument panel far enough to allow removal of electrical and vacuum connections. On 1995 through 2000 models, the assembly can now be removed from the vehicle. On 2001 and later models, pull the temperature control knob from the front. From behind, remove the screw that holds the switch with the cable then separate it as a unit from the A/C Switch. Remove the A/C Switch away from the instrument panel. Use a small screwdriver and remove the vacuum harness from the vacuum switch on the side of the A/C Switch. At the back of the A/C Switch, use a screwdriver or needle-nose pliers and disconnect the temperature and function cable from the white control bracket, if equipped. At the bottom of the A/C Switch, disconnect the temperature control cable from the control, if equipped. Pull enough cable through the instrument opening until the function cable can be held vertical to the A/C Switch, then remove the cable end from the function lever. Remove the A/C Switch from the instrument panel. Installation is the reverse of removal. If a new A/C Switch is installed, the original blower switch and function switch must be transferred to the new unit.
Related Ford Ranger Parts
Browse by Year
2023 A/C Switch 2022 A/C Switch 2021 A/C Switch 2020 A/C Switch 2019 A/C Switch 2011 A/C Switch 2010 A/C Switch 2009 A/C Switch 2008 A/C Switch 2007 A/C Switch 2006 A/C Switch 2005 A/C Switch 2004 A/C Switch 2003 A/C Switch 2002 A/C Switch 2001 A/C Switch 2000 A/C Switch 1999 A/C Switch 1998 A/C Switch 1997 A/C Switch 1996 A/C Switch 1995 A/C Switch 1994 A/C Switch 1993 A/C Switch 1992 A/C Switch 1991 A/C Switch 1990 A/C Switch 1989 A/C Switch 1988 A/C Switch 1987 A/C Switch 1986 A/C Switch 1985 A/C Switch
