
My Garage
My Account
Cart
Genuine Ford Ranger Brake Caliper
Caliper- Select Vehicle by Model
- Select Vehicle by VIN
Select Vehicle by Model
orMake
Model
Year
Select Vehicle by VIN
For the most accurate results, select vehicle by your VIN (Vehicle Identification Number).
20 Brake Calipers found
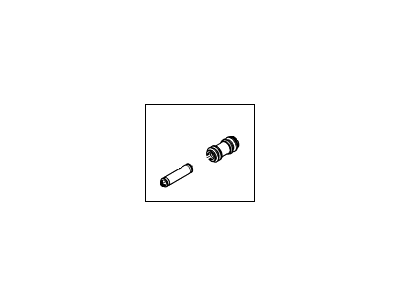
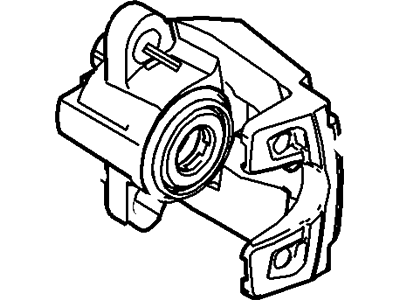
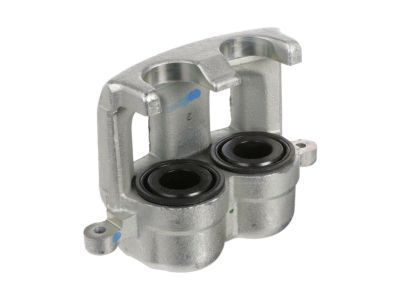
Ford Ranger Brake Caliper Assembly-Less Pads
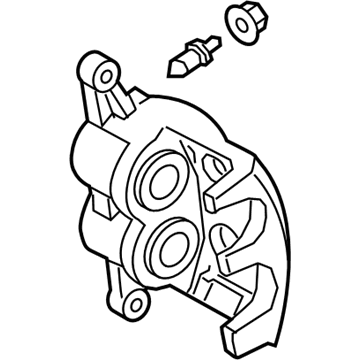
Part Number: AL5Z-2553-A$55.43 MSRP: $74.30You Save: $18.87 (26%)Ford Ranger CALIPER ASY - BRAKE - LESS PAD
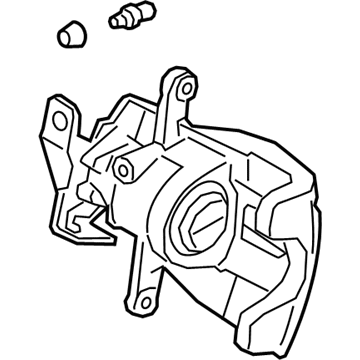
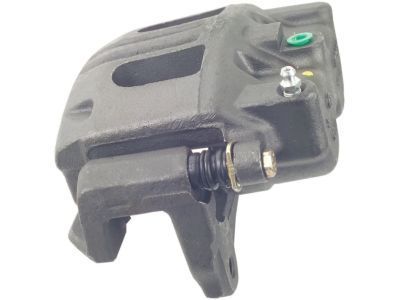
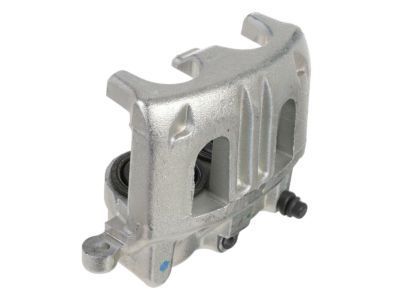
Part Number: KB3Z-2B121-A$111.97 MSRP: $176.91You Save: $64.94 (37%)Ships in 1-3 Business DaysFord Ranger CALIPER ASY - BRAKE - LESS PAD
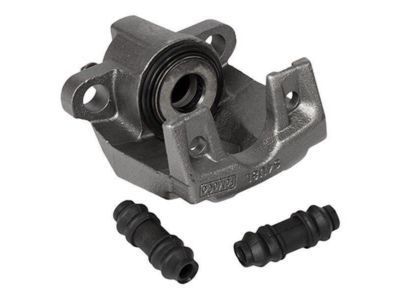
Part Number: KB3Z-2B120-A$111.97 MSRP: $176.91You Save: $64.94 (37%)Ships in 1-3 Business DaysFord Ranger HOUSING
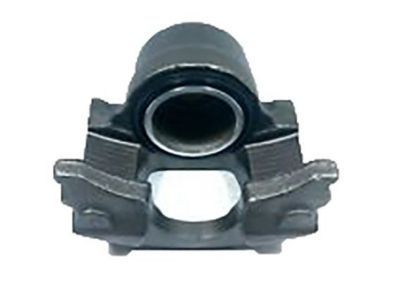
Part Number: KB3Z-2553-A$138.99 MSRP: $220.00You Save: $81.01 (37%)Ships in 1-3 Business DaysFord Ranger HOUSING
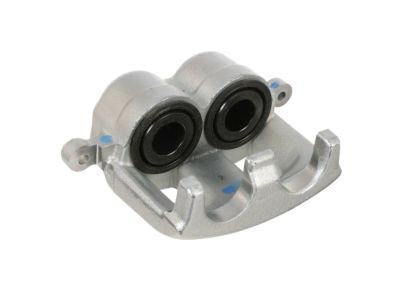
Part Number: KB3Z-2552-A$138.99 MSRP: $220.00You Save: $81.01 (37%)Ships in 1-3 Business Days
Ford Ranger Brake Caliper
The Brake Caliper in Ford Ranger automobiles works for the halting mechanism of the vehicle and involves the conversion of hydraulic pressure brought into focus by the master cylinder to mechanical pressure. This force is need for applying pressure on the brake pads which in turn applies pressure o the rotors to slow or stop the car. Ford Ranger Brake Calipers come in two primary types: The two major types of gear-hoists are, the fixed gear-hoist and the floating gear-hoist. There are two types of calipers, the fixed calipers have multiple pistons on one side of the rotor or on both sides but they do not slide when they apply pressure for clamping the rotor while on the other hand the floating calipers have pistons on one side only and slide to apply pressure when the brake is engaged. In the past years, there have been different kinds of Ford Ranger Brake Calipers such as the original equipment type up to performance tuned models. Performance calipers are endowed with improved braking capability and looks, with key components made of high quality materials and with features such as aluminum body and multiple pistons. Brake Caliper like all other components require scheduled maintenance and inspection where defects such as uneven pad wear or brake drag result in the low performance of the Ford Ranger.
We provide a wide range of Ford Ranger Brake Caliper at the best prices possible. If you need Ford Ranger Brake Caliper, you can shop with confidence on our website. All our OEM parts come with a manufacturer's warranty and are delivered to your door step with a fast delivery service.
Ford Ranger Brake Caliper Parts Questions & Experts Answers
- Q: What are the steps involved in overhauling brake calipers on 1993-2011 Ford Ranger?A:If an overhaul is indicated, explore all options before beginning the job. New and factory-rebuilt calipers are available on an exchange basis, making the job easier. If rebuilding the calipers, ensure a rebuild kit is available beforehand and always rebuild in pairs. Begin by applying the parking brake and blocking the wheels opposite the end being worked on. Loosen the wheel lug nuts, raise the vehicle, and support it securely on jackstands before removing the wheel. Unscrew the brake hose banjo bolt and detach the hose from the caliper, plugging the hose immediately to prevent fluid loss and air from entering the Hydraulic Control Unit on models with a four-wheel Anti-lock Brake System. If the caliper cannot be completely removed, suspend it with wire to avoid bleeding the brake system. Clean the exterior of the caliper with brake system cleaner, avoiding petroleum-based solvents, and place it on a clean workbench. Use compressed air to remove the piston, ensuring safety precautions are followed. Remove the dust boot and piston seal with a wooden or plastic tool, examining the piston and caliper bore for damage. Clean all parts with brake system cleaner, avoiding petroleum-based solvents, and allow them to dry. Check the fit of the piston in the bore and lubricate the new piston seal and caliper bore with clean brake fluid. For 1994 and earlier models, fit the new dust boot and lubricate the piston before pushing it into the caliper. For 1995 and later models, lubricate the pistons and push them into the bores, installing the dust boots afterward. Connect the brake hose to the caliper with new sealing washers and tighten the banjo bolt to the specified torque. Bleed the brakes if necessary, install the wheel, lower the vehicle, and tighten the lug nuts. Finally, pump the brake pedal several times to bring the pads into contact with the disc and test the operation of the brakes before normal use.
Related Ford Ranger Parts
Browse by Year
2023 Brake Caliper 2022 Brake Caliper 2021 Brake Caliper 2020 Brake Caliper 2019 Brake Caliper 2011 Brake Caliper 2010 Brake Caliper 2009 Brake Caliper 2008 Brake Caliper 2007 Brake Caliper 2006 Brake Caliper 2005 Brake Caliper 2004 Brake Caliper 2002 Brake Caliper 2001 Brake Caliper 2000 Brake Caliper 1999 Brake Caliper 1998 Brake Caliper 1997 Brake Caliper 1996 Brake Caliper 1995 Brake Caliper 1994 Brake Caliper 1993 Brake Caliper 1992 Brake Caliper 1991 Brake Caliper 1990 Brake Caliper
