
My Garage
My Account
Cart
Genuine Ford Ranger Transmission Assembly
Trans Assembly- Select Vehicle by Model
- Select Vehicle by VIN
Select Vehicle by Model
orMake
Model
Year
Select Vehicle by VIN
For the most accurate results, select vehicle by your VIN (Vehicle Identification Number).
101 Transmission Assemblies found
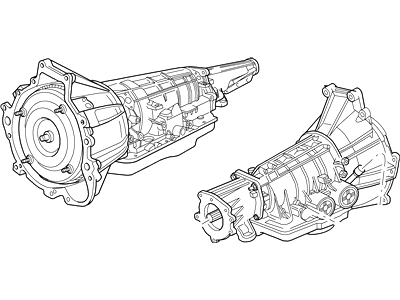
Ford Ranger Automatic Transmission Assembly
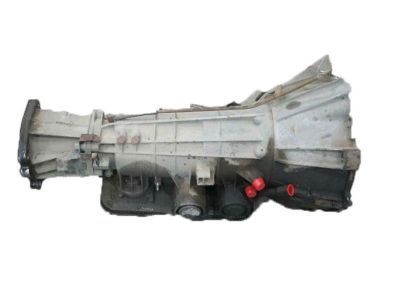
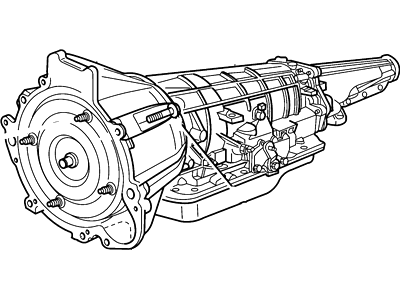
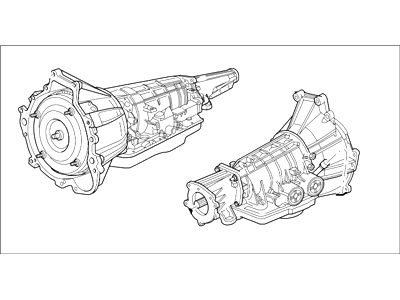
Part Number: 1L5Z-7000-EA$3379.88 MSRP: $3998.67You Save: $618.79 (16%)Ships in 1-3 Business DaysFord Ranger AUTOMATIC TRANSMISSION ASY
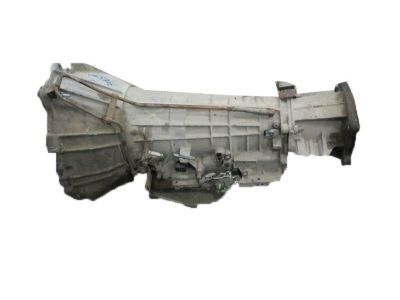
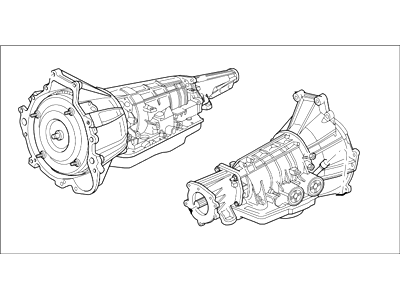
Part Number: KB3Z-7000-A$5171.88 MSRP: $6132.00You Save: $960.12 (16%)Ships in 1-3 Business DaysFord Ranger AUTOMATIC TRANSMISSION ASY
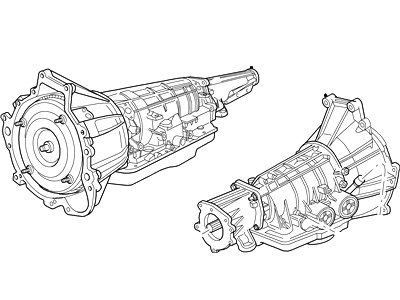
Part Number: KB3Z-7000-B$5171.88 MSRP: $6132.00You Save: $960.12 (16%)Ships in 1-3 Business DaysFord Ranger Automatic Transmission Assembly
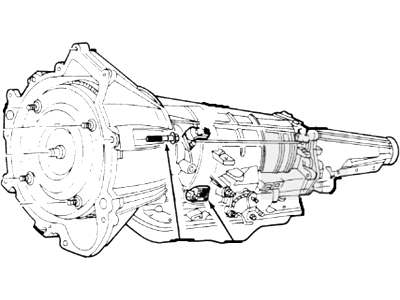
Part Number: 7L5Z-7000-DRM$3379.88 MSRP: $3998.67You Save: $618.79 (16%)Ships in 1-3 Business DaysFord Ranger Automatic Transmission Assembly
Part Number: 7L5Z-7000-ERM$3379.88 MSRP: $3998.67You Save: $618.79 (16%)Ships in 1-3 Business DaysFord Ranger Automatic Transmission Assembly
Part Number: 4L5Z-7000-EARM$3379.88 MSRP: $3998.67You Save: $618.79 (16%)Ships in 1-3 Business DaysFord Ranger Automatic Transmission Assembly
Part Number: XL5Z-7000-EARM$3379.88 MSRP: $3998.67You Save: $618.79 (16%)Ford Ranger Automatic Transmission Assembly
Part Number: 7L5Z-7000-F$3379.88 MSRP: $3998.67You Save: $618.79 (16%)Ships in 1-3 Business DaysFord Ranger Transmission Assembly
Part Number: 8L5Z-7003-EA$2820.48 MSRP: $3918.12You Save: $1097.64 (29%)Ships in 1-2 Business DaysFord Ranger Automatic Transmission Assembly
Part Number: 1L5Z-7000-DA$3379.88 MSRP: $3998.67You Save: $618.79 (16%)Ships in 1-3 Business DaysFord Ranger Automatic Transmission Assembly
Part Number: 1L5Z-7000-DARM$3379.88 MSRP: $3998.67You Save: $618.79 (16%)Ships in 1-3 Business DaysFord Ranger Automatic Transmission Assembly
Part Number: 1L5Z-7000-EARM$3379.88 MSRP: $3998.67You Save: $618.79 (16%)Ships in 1-3 Business DaysFord Ranger Automatic Transmission Assembly
Part Number: 2L5Z-7000-AB$3379.88 MSRP: $3998.67You Save: $618.79 (16%)Ships in 1-3 Business DaysFord Ranger Automatic Transmission Assembly
Part Number: 2L5Z-7000-ABRM$3379.88 MSRP: $3998.67You Save: $618.79 (16%)Ships in 1-3 Business DaysFord Ranger Automatic Transmission Assembly
Part Number: 4L5Z-7000-EA$3379.88 MSRP: $3998.67You Save: $618.79 (16%)Ships in 1-3 Business DaysFord Ranger Automatic Transmission Assembly
Part Number: 6L5Z-7000-DA$3379.88 MSRP: $3998.67You Save: $618.79 (16%)Ships in 1-3 Business DaysFord Ranger Automatic Transmission Assembly
Part Number: 6L5Z-7000-EA$3379.88 MSRP: $3998.67You Save: $618.79 (16%)Ships in 1-3 Business DaysFord Ranger Automatic Transmission Assembly
Part Number: 6L5Z-7000-Q$3379.88 MSRP: $3998.67You Save: $618.79 (16%)Ships in 1-3 Business DaysFord Ranger Automatic Transmission Assembly
Part Number: 7L5Z-7000-A$3379.88 MSRP: $3998.67You Save: $618.79 (16%)Ships in 1-3 Business DaysFord Ranger Automatic Transmission Assembly
Part Number: 7L5Z-7000-ARM$3379.88 MSRP: $3998.67You Save: $618.79 (16%)Ships in 1-3 Business Days
| Page 1 of 6 |Next >
1-20 of 101 Results
Ford Ranger Transmission Assembly
We provide a wide range of Ford Ranger Transmission Assembly at the best prices possible. If you need Ford Ranger Transmission Assembly, you can shop with confidence on our website. All our OEM parts come with a manufacturer's warranty and are delivered to your door step with a fast delivery service.
Ford Ranger Transmission Assembly Parts Questions & Experts Answers
- Q: How to remove and install a transmission on 2000-2011 Ford Ranger?A:Disconnect the negative cable from the battery and remove the transmission fluid level dipstick, along with the dipstick tube on 2011 4.0L models. Raise the vehicle and support it securely on jackstands. For 4WD models, remove the transfer case and take caution to remove the Vehicle Speed Sensor (VSS) from the transfer case. Drain the transmission fluid only if disassembling the transmission, then reinstall the pan; otherwise, you may face disposal issues. Mark one of the torque converter studs and the driveplate with white paint for reassembly. Unbolt the starter and tie it up out of the way. On vehicles with a 3.0L V6 engine, remove the transmission access cover from the converter housing to access the torque converter nuts, using the starter mounting hole for four-cylinder and 4.0L V6 engines. For 2001 and later 2.3L engines, accessing the torque converter nuts through the wheel well may be easier. Remove the four torque converter-to-driveplate nuts, turning the crankshaft clockwise for access, and consider removing the spark plugs for ease. On 2WD models, remove the driveshaft and cover the extension housing with a plastic bag to prevent dirt entry and catch residual fluid. Remove the speedometer cable retaining bracket and disconnect the speedometer cable from the transmission. Disconnect the shift cable from the manual shift lever, the transmission range sensor connector, the 16-pin transmission connector, and any other electrical connectors and brackets attached to the transmission. Place a transmission jack beneath the transmission, applying pressure to slightly raise it, and use safety chains for stability. Remove the bolts and nuts securing the rear mount and insulator to the frame crossmember, then remove the crossmember-to-frame side support mounting bolts and the crossmember itself. Support the engine with a jack, using a block of wood under the oil pan. For V6 engines, remove the catalytic converter. Slightly lower the transmission, ensuring it does not hang free. Disconnect the transmission oil cooler lines and plug them to prevent dirt entry, using a flare nut wrench to avoid rounding off the nuts. Remove the lower converter housing-to-engine bolts and the transmission fluid filler tube. Ensure the transmission is securely mounted on the jack before removing the two upper converter housing-to-engine bolts and the vent tube for 4WD models. Remove the four side converter housing-to-engine bolts, then carefully move the transmission rearward to disengage it from the engine block dowel pins, ensuring the torque converter is detached from the driveplate. Secure the torque converter to the transmission to prevent it from falling out during removal. Installation is the reverse of removal, ensuring the converter hub is fully engaged in the pump gear, aligning the bolt drive lugs and drain plug with the holes in the driveplate, and keeping the transmission level during positioning. Align the studs with the holes in the driveplate, ensuring the white paint marks line up, and carefully move the transmission forward until the dowel pins and torque converter are engaged. When installing the driveplate-to-converter nuts, position the driveplate so the pilot hole is at six o'clock, install one nut through the pilot hole and tighten it, then install the remaining nuts, tightening them to the specified torque with new nuts. Adjust the shift cable, lower the vehicle, and fill the transmission with the specified fluid, running the engine to check for leaks.
Related Ford Ranger Parts
Browse by Year
2023 Transmission Assembly 2022 Transmission Assembly 2021 Transmission Assembly 2020 Transmission Assembly 2019 Transmission Assembly 2011 Transmission Assembly 2010 Transmission Assembly 2009 Transmission Assembly 2008 Transmission Assembly 2007 Transmission Assembly 2006 Transmission Assembly 2005 Transmission Assembly 2004 Transmission Assembly 2003 Transmission Assembly 2002 Transmission Assembly 2001 Transmission Assembly 2000 Transmission Assembly 1999 Transmission Assembly 1998 Transmission Assembly 1997 Transmission Assembly
