×
- Live Chat
- 1-888-788-9341


My Garage
My Account
Cart
Genuine Ford Taurus Axle Shaft
Car Axle Shaft- Select Vehicle by Model
- Select Vehicle by VIN
Select Vehicle by Model
orMake
Model
Year
Select Vehicle by VIN
For the most accurate results, select vehicle by your VIN (Vehicle Identification Number).
56 Axle Shafts found
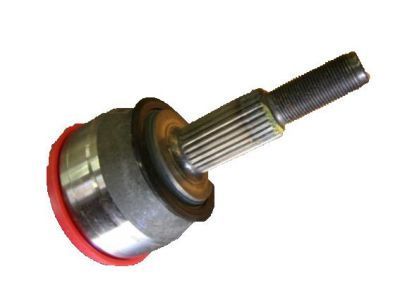
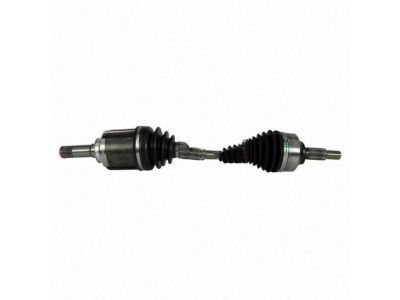
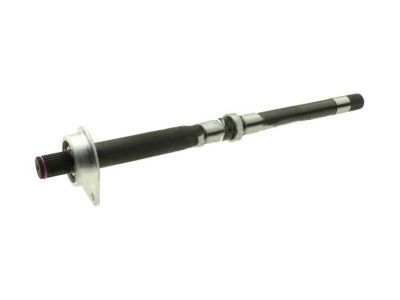
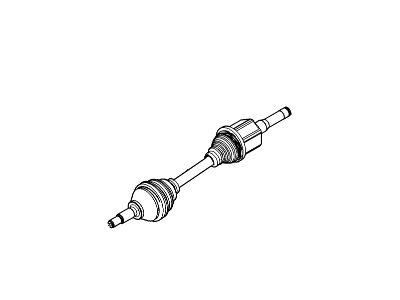
Ford Taurus Joint And Stub Shaft Assembly
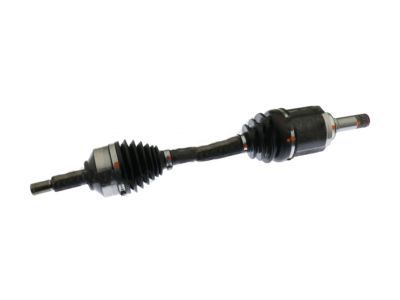
Part Number: E8OY-3B413-B$96.32 MSRP: $131.61You Save: $35.29 (27%)Ford Taurus Front Axle Shaft
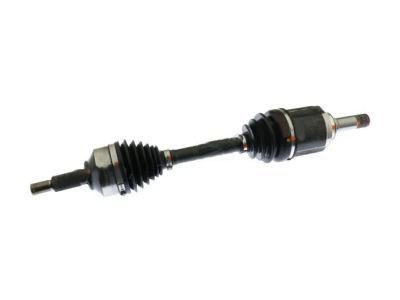
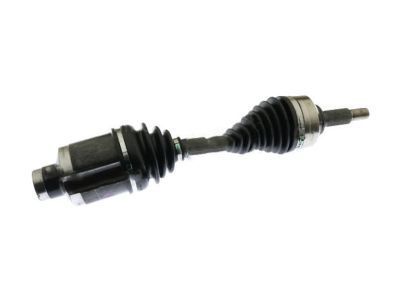
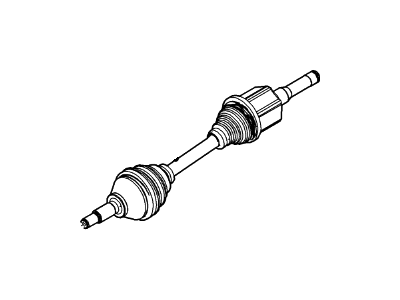
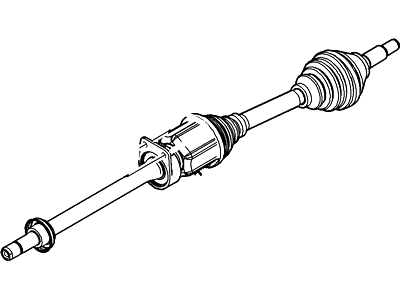
Part Number: DG1Z-3B436-A$166.10 MSRP: $274.55You Save: $108.45 (40%)Ships in 1-2 Business DaysFord Taurus Front Axle Shaft
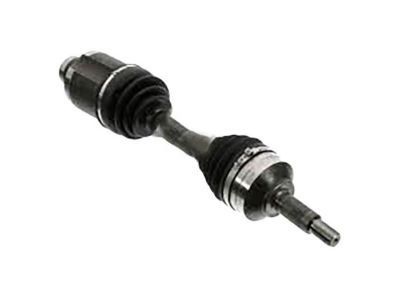
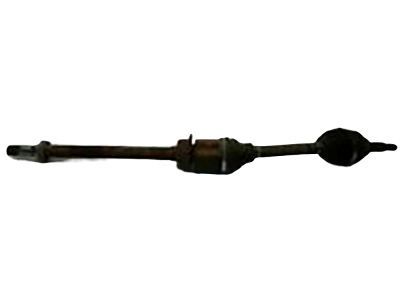
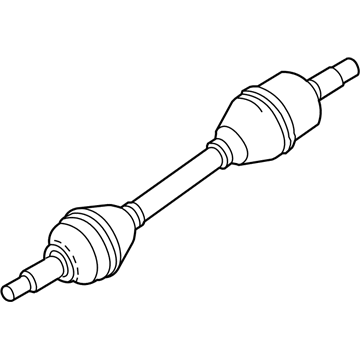
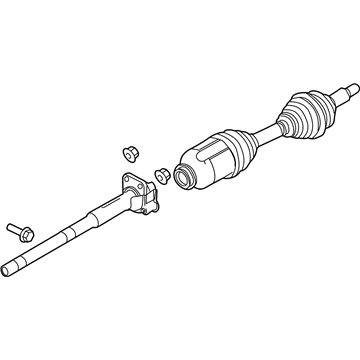
Part Number: DG1Z-3B437-A$144.10 MSRP: $238.18You Save: $94.08 (40%)Ships in 1 Business DayFord Taurus Front Axle Shaft
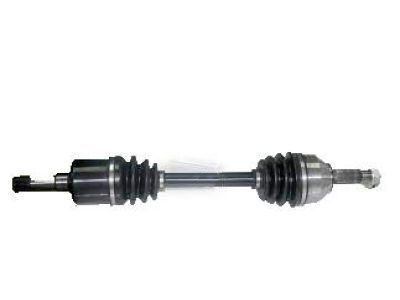
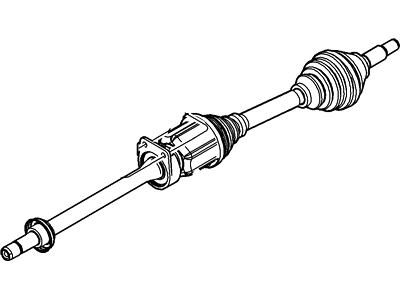
Part Number: DG1Z-3B436-D$166.10 MSRP: $274.55You Save: $108.45 (40%)Ships in 1-2 Business DaysFord Taurus Front Axle Shaft
Part Number: CA5Z-3B436-F$223.45 MSRP: $372.73You Save: $149.28 (41%)Ships in 1-2 Business DaysFord Taurus Front Axle Shaft
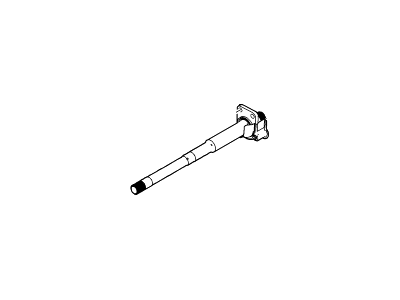
Part Number: 8A8Z-3B437-D$146.30 MSRP: $241.82You Save: $95.52 (40%)Ships in 1-2 Business DaysFord Taurus Shaft
Part Number: DG1Z-3A329-E$119.99 MSRP: $216.67You Save: $96.68 (45%)Ships in 1-2 Business DaysFord Taurus Front Axle Shaft
Part Number: DG1Z-3B437-G$210.39 MSRP: $343.64You Save: $133.25 (39%)Ships in 1-2 Business DaysFord Taurus Front Axle Shaft
Part Number: DG1Z-3B437-C$210.39 MSRP: $343.64You Save: $133.25 (39%)Ships in 1-2 Business DaysFord Taurus Front Axle Shaft
Part Number: DG1Z-3B437-D$210.39 MSRP: $343.64You Save: $133.25 (39%)Ships in 1-2 Business DaysFord Taurus Front Axle Shaft
Part Number: CA5Z-3B436-D$223.45 MSRP: $372.73You Save: $149.28 (41%)Ships in 1-2 Business DaysFord Taurus Front Axle Shaft
Part Number: CA5Z-3B437-A$146.30 MSRP: $241.82You Save: $95.52 (40%)Ships in 1-2 Business DaysFord Taurus Shaft
Part Number: DG1Z-3A329-F$146.30 MSRP: $221.67You Save: $75.37 (34%)Ships in 1-3 Business DaysFord Taurus Front Axle Shaft
Part Number: CA5Z-3B436-E$220.18 MSRP: $367.27You Save: $147.09 (41%)Ships in 1-2 Business DaysFord Taurus Front Axle Shaft
Part Number: DG1Z-3B436-F$255.06 MSRP: $425.45You Save: $170.39 (41%)Ships in 1-2 Business DaysFord Taurus Front Axle Shaft
Part Number: CA5Z-3B436-G$220.18 MSRP: $367.27You Save: $147.09 (41%)Ships in 1-2 Business DaysFord Taurus Front Axle Shaft
Part Number: DG1Z-3B436-B$255.06 MSRP: $425.45You Save: $170.39 (41%)Ships in 1-2 Business DaysFord Taurus Front Axle Shaft
Part Number: DG1Z-3B436-C$255.06 MSRP: $425.45You Save: $170.39 (41%)Ships in 1-2 Business Days
| Page 1 of 3 |Next >
1-20 of 56 Results
Ford Taurus Axle Shaft
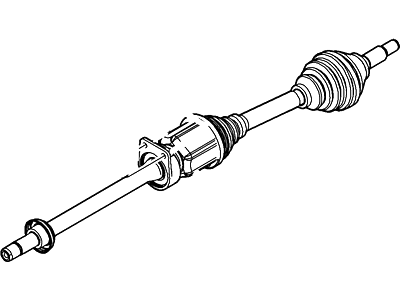
The Axle Shaft in Ford Taurus helps to transmits torque from the differential through the drive wheels so that they can independently rotate hence enhance the tractive capability of the car during cornering. Usually, these axle shafts are made from steel and are intended for usage in both dual and single path assembly in front wheel as well as rear wheel drive applications. With regards to the axle shafts, various aspects of Ford Taurus models made a different type of axles such as solid axles and halfshafts. Solid axles are used on most cars that are older and halfshaft are used in cars that have independent suspension system for better performance. While one can adduce differences in the preeminent concepts of construction and usage to determine the differences between the two types, the building of a solid axle has a role of supporting weight and transferring torque compared to the halfshaft which has a role of transferring power from the transaxle to wheels. Some of the repercussions of worn out components include noise and vibration and potential failure of the axle shaft system for 'Ford Taurus' vehicles therefore necessitating regular maintenance.
We provide a wide range of Ford Taurus Axle Shaft at the best prices possible. If you need Ford Taurus Axle Shaft, you can shop with confidence on our website. All our OEM parts come with a manufacturer's warranty and are delivered to your door step with a fast delivery service.
Ford Taurus Axle Shaft Parts Questions & Experts Answers
- Q: How do you remove and install Axle Shaft on Ford Taurus?A: It is recommended to replace the axle shaft seal when the axle shaft is replaced. To remove the front axle shaft, loosen the wheel lug nuts, raise the vehicle, and support it securely on jackstands before removing the wheel. If needed for access to the inner CV joint, remove the pushpins and splash shield. With the brakes applied, remove the axle shaft/hub nut and obtain a new nut without discarding the old one. Disconnect the brake hose bracket and wheel speed sensor wiring harness from the shock absorber, and if necessary, remove the brake caliper and bracket, supporting them to prevent damage. Separate the control arm from the steering knuckle, then use a drive hub remover to separate the axle shaft from the hub. Swing the knuckle/hub assembly out until the axle shaft is free, securing it with wire to avoid strain on the inner CV joint. For the right side axle shaft, remove the intermediate shaft support bearing nuts; for the left side, use an axle shaft remover or pry the inner CV joint out carefully. Support the CV joints and remove the axle shaft. For installation, pry off the old spring clip and install a new one, lubricate the differential or transfer case shaft seal, and raise the axle shaft into position while supporting the CV joints. Ensure the spring clip is positioned correctly and push the inner CV joint into the differential, checking that the clip locks in place. Install the intermediate shaft support bearing bracket nuts for the right side and apply grease to the outer CV joint splines before installing the stub axle into the hub. Reconnect the control arm, reinstall the brake caliper and bracket if removed, and connect the tie rod. Seat the axle shaft using the old nut, tighten it to the specified torque, then replace it with a new nut. The axle shaft/hub nut must be tightened before lowering the vehicle to prevent damage to the wheel bearings. For the rear axle shaft on AWD models, block the front wheels, raise the rear, and remove the wheel. Remove the wheel speed sensor and brake line bracket, then hang the brake caliper without disconnecting the hose. Have an assistant depress the brake pedal and remove the axle shaft/hub nut, using a drive hub remover to separate the axle shaft from the wheel hub. For 2007 and earlier models, remove the hub and bearing assembly; for 2008 and later models, support the lower control arm and unbolt the upper control arm and shock absorber. Disconnect the outer toe link and upper stabilizer bar link, then support the wheel knuckle and loosen the lower arm nut and bolt. Pry the inner end of the axle shaft out of the differential, and for 2007 and earlier models, pass the outer end of the shaft up through the wheel knuckle. For 2008 and later models, swing the knuckle outward to separate the outer end from the hub. For installation, replace the spring clip, apply grease to the inner CV joint stub shaft, and insert it into the differential, ensuring the clip locks in place. For 2007 and earlier models, apply grease to the outer CV joint splines, install the hub and bearing assembly, and tighten the bolts. For 2008 and later models, apply grease to the outer CV joint splines, swing the knuckle outward, and insert the outer end into the hub. Seat the axle shaft using the old nut, tighten it, and install the bolts connecting the control arms to the wheel knuckle. Reinstall the wheel speed sensor, ensuring the new axle shaft/hub nut is tightened before lowering the vehicle. Install a new axle shaft nut, tighten it with the brake applied, and complete the installation by using new suspension fasteners and tightening them, followed by reinstalling the wheel and lug nuts before lowering the vehicle and tightening the lug nuts.
Related Ford Taurus Parts
Browse by Year
2019 Axle Shaft 2018 Axle Shaft 2017 Axle Shaft 2016 Axle Shaft 2015 Axle Shaft 2014 Axle Shaft 2013 Axle Shaft 2012 Axle Shaft 2011 Axle Shaft 2010 Axle Shaft 2009 Axle Shaft 2008 Axle Shaft 2007 Axle Shaft 2006 Axle Shaft 2005 Axle Shaft 2004 Axle Shaft 2003 Axle Shaft 2002 Axle Shaft 2001 Axle Shaft 2000 Axle Shaft 1999 Axle Shaft 1998 Axle Shaft 1997 Axle Shaft 1996 Axle Shaft 1995 Axle Shaft 1994 Axle Shaft 1993 Axle Shaft 1992 Axle Shaft 1991 Axle Shaft 1990 Axle Shaft 1989 Axle Shaft 1988 Axle Shaft 1987 Axle Shaft 1986 Axle Shaft
