×
- Live Chat
- 1-888-788-9341


My Garage
My Account
Cart
Genuine Ford Thunderbird Voltage Regulator
Adjustable Voltage Regulator- Select Vehicle by Model
- Select Vehicle by VIN
Select Vehicle by Model
orMake
Model
Year
Select Vehicle by VIN
For the most accurate results, select vehicle by your VIN (Vehicle Identification Number).
4 Voltage Regulators found
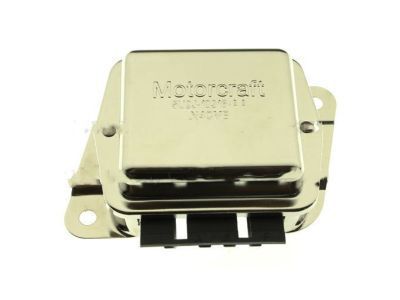
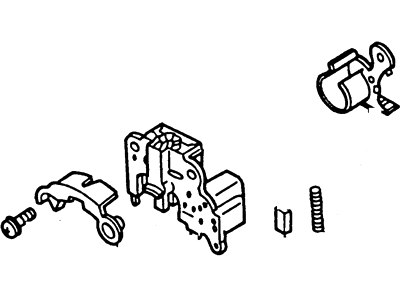
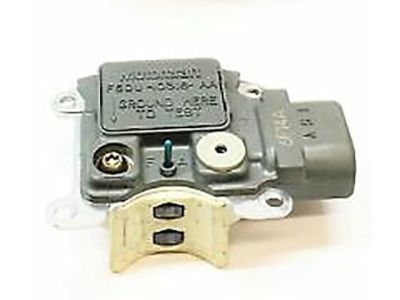
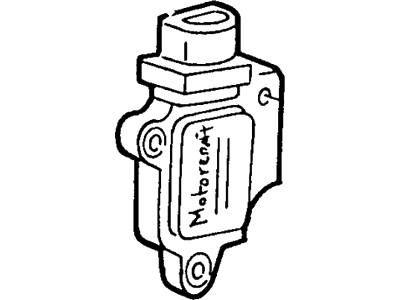
Ford Thunderbird Regulator Assembly - Voltage
Part Number: FOPZ-10316-A$38.65 MSRP: $61.64You Save: $22.99 (38%)Ships in 1-2 Business DaysFord Thunderbird Regulator Assembly - Voltage
Part Number: FOAZ-10316-A$38.65 MSRP: $61.64You Save: $22.99 (38%)Ships in 1-2 Business Days
Ford Thunderbird Voltage Regulator
In Ford Thunderbird vehicles, the Voltage Regulator has the specific function of preventing the output voltage of the alternator to go beyond the recommended range of 13.5 to 14.5 volts to safeguard the battery and the vehicles electrical system. This is for a purpose of regulating battery voltage and monitoring the system demand, the control circuit regulates the field current to the rotor of the alternator. When the battery is weak or needs charging the regulator causes current to flow in the field, when the battery is fully charged the current flow is reduced to avoid overcharging. Originally Thunderbirds used mechanical voltage regulators which mounted externally and employed coils and contact points but they were infamous for wearing off and failure. These were replaced in the long run by electronic, solid-state voltage regulators which are even more effective as they switch on and off about 7000 times than the mechanical types which switch 200 times. Contemporary Thunderbirds have in-built voltage regulators that are part of the alternator or use the Powertrain Control Module (PCM) to regulate voltage, with several inputs employed for this purpose.
We provide a wide range of Ford Thunderbird Voltage Regulator at the best prices possible. If you need Ford Thunderbird Voltage Regulator, you can shop with confidence on our website. All our OEM parts come with a manufacturer's warranty and are delivered to your door step with a fast delivery service.
Ford Thunderbird Voltage Regulator Parts Questions & Experts Answers
- Q: How do you replace the Voltage Regulator on Ford Thunderbird?A: To remove the alternator, set it on a clean workbench and detach the voltage regulator by removing the four mounting screws. Then, remove the plastic cover over one of the brush retaining screws and separate the brush leads from the holder by removing the screws and nuts. Take note of the brush relationship and remove both brushes, being careful not to lose the springs. If installing a new voltage regulator, insert the old brushes into the brush holder of the new regulator, or insert new brushes into the brush holder of the old regulator. Install the brush lead retaining screws and nuts, and cover the head of the "A" terminal screw with electrical tape. Use a thin wire, like a paper clip, to hold the brushes in the retracted position during regulator installation. Carefully install the regulator, ensuring the brushes don't hang on the rotor and the brush leads are looped toward the brush end of the holder. Tighten the regulator screws securely and remove the paper clip. For an internal fan type alternator, remove the four through bolts retaining the case together. Heat the bearing portion of the rear case with a soldering iron and then insert a flat-bladed screwdriver between the stator core and mounting flange to remove the rear cover. Use a soldering iron to remove solder from the rectifier and stator lead, and unsolder the regulator/brush holder assembly from the rectifier. Remove the solder from the brush pigtails. To install, reverse the removal procedure, making sure to push the brushes into the holder and use a paper clip to retain them in the retracted position when installing the rear cover. Heat the rear case bearing area before installing the rear case and remove the paper clip after installation.
Related Ford Thunderbird Parts
Browse by Year
1997 Voltage Regulator 1996 Voltage Regulator 1995 Voltage Regulator 1994 Voltage Regulator 1993 Voltage Regulator 1992 Voltage Regulator 1991 Voltage Regulator 1990 Voltage Regulator 1986 Voltage Regulator 1985 Voltage Regulator 1984 Voltage Regulator 1983 Voltage Regulator 1982 Voltage Regulator 1981 Voltage Regulator 1980 Voltage Regulator


