×
- Live Chat
- 1-888-788-9341


My Garage
My Account
Cart
Genuine Lincoln Mark VII Instrument Cluster
Speedometer Instrument Cluster- Select Vehicle by Model
- Select Vehicle by VIN
Select Vehicle by Model
orMake
Model
Year
Select Vehicle by VIN
For the most accurate results, select vehicle by your VIN (Vehicle Identification Number).
2 Instrument Clusters found
Lincoln Mark VII Instrument Cluster
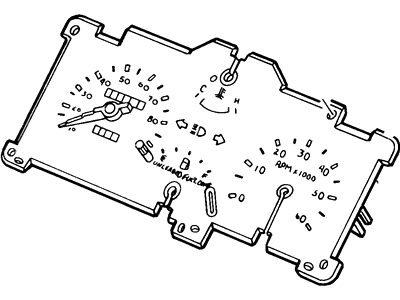
The Instrument Cluster refers to a unique identification element situated behind the steering wheel inside the Lincoln Mark VII automobiles to offer vital info on driving conditions and the car's functionality. This cluster consists of speedometer, tachometer, fuel gauge as well as engine and exterior warning lights. It is relevant for the driver to know the speed and the fuel level of the vehicle to enable safe driving. If your gauges are dead then a possible solution can be the replacement of a factory instrument cluster with the remanufactured one. A dashboard, also called a dash or instrument panel, has gone through transformation regarding the design and manufacture as technology and trends require the panel to incorporate more aspects, such as climate regulator, entertainment controls, and safety icons among others.
We provide a wide range of Lincoln Mark VII Instrument Cluster at the best prices possible. If you need Lincoln Mark VII Instrument Cluster, you can shop with confidence on our website. All our OEM parts come with a manufacturer's warranty and are delivered to your door step with a fast delivery service.
Lincoln Mark VII Instrument Cluster Parts Questions & Experts Answers
- Q: How to remove and install the instrument cluster in a Lincoln Mark VII?A: Disconnect the cable from the negative battery terminal. Remove the instrument cluster bezel. Detach the shift indicator assembly from the cluster by removing the screw and disconnecting the wire loop from the pin on the column shift indicator. Remove the instrument cluster retaining screws. Reach behind the cluster housing and press on the release lever to disconnect the speedometer cable. You can also reach behind the cluster and press the tab to release the speedometer cable or disconnect the electronic speed sensor. Pull the cluster out and disconnect the electrical connectors. Remove the cluster from the instrument panel. On early models, rotate the bezel out of the opening. On later models, tilt the top of the bezel toward you, then pull it straight out. Installation is the reverse of removal.
- Q: How to remove and install an instrument panel on Lincoln Mark VII?A: The instrument panel is heavy and awkward - at least two people should perform this procedure. Instrument panel removal on most later model vehicles is a complicated and tedious job. There are many electrical connectors to tag and disconnect, and often there are hidden plastic fasteners that may break when the panel is removed. It is suggested that only an experienced mechanic should tackle this job, to avoid complications. The following text is only a general guide to the procedure.Remove the steering column covers.Remove the instrument panel trim panels.On most models, the steering column must either be lowered or removed. Remove the steering wheel, disconnect the electrical connectors, and loosen or remove the bolts holding the column to the cowl, then lower the column.Remove the knee bolster, knee bolster reinforcement panel, the glove compartment and the panel below the glove compartment.Disconnect the main electrical connectors behind each end of the dash. On later models, the bulkhead connectors are disconnected by removing a central bolt.On some models the windshield trim, kick panels and lower door opening trim must be removed.Remove the radio, if this hasn't been done already for dashboard trim panel removal.Disconnect any ground straps connecting the instrument panel to the cowl.If there is a floor console or a brace from the instrument panel to the floor tunnel, remove it.Remove the instrument panel mounting bolts. On most models, there are fasteners along the top of the instrument panel, just below the windshield, and one or more other bolts/nuts attaching each end of the instrument panel to the cowl. You may have to open both doors to find panel-mounting fasteners.With an assistant, remove the instrument panel. If there is resistance, have an assistant check for hidden fasteners or still-connected electrical connectors while you hold the panel.Installation is the reverse of the removal procedure.Installation is the reverse of removal. Make sure none of the wiring is crimped when the instrument panel is rotated back into position.


