×
- Live Chat
- 1-888-788-9341


My Garage
My Account
Cart
Genuine Lincoln MKX Brake Booster
Brake Power Booster- Select Vehicle by Model
- Select Vehicle by VIN
Select Vehicle by Model
orMake
Model
Year
Select Vehicle by VIN
For the most accurate results, select vehicle by your VIN (Vehicle Identification Number).
7 Brake Boosters found
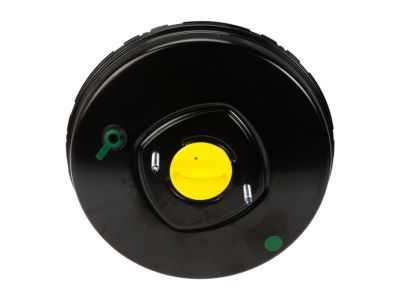
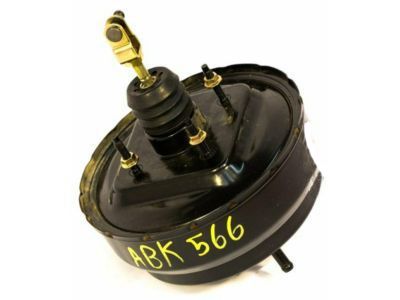
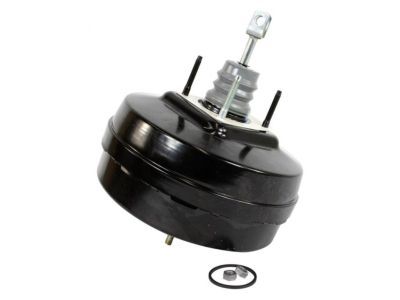
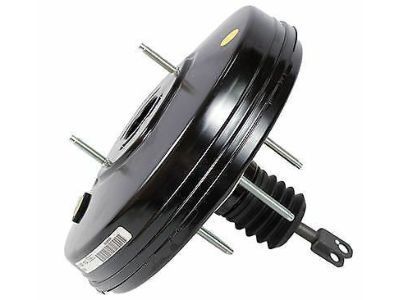
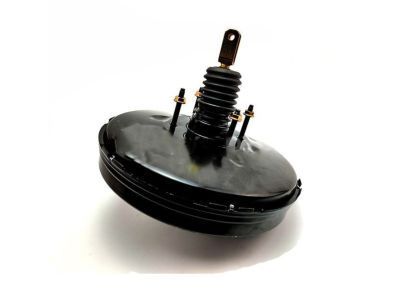
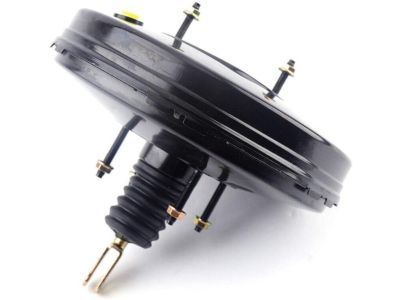
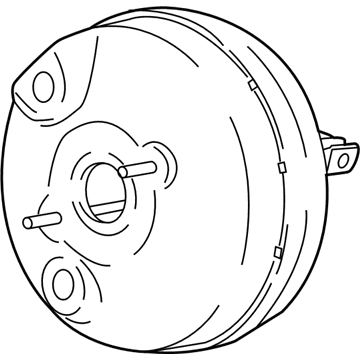
Lincoln MKX Booster Assembly - Brake
Part Number: BA1Z-2005-A$183.12 MSRP: $305.45You Save: $122.33 (41%)Ships in 1 Business DayLincoln MKX Booster Assembly - Brake
Part Number: AT4Z-2005-A$172.70 MSRP: $285.45You Save: $112.75 (40%)Ships in 1-2 Business DaysLincoln MKX Booster Assembly - Brake
Part Number: F2GZ-2005-E$147.40 MSRP: $243.64You Save: $96.24 (40%)Ships in 1-2 Business DaysLincoln MKX Booster Assembly - Brake
Part Number: CT4Z-2005-A$183.12 MSRP: $305.45You Save: $122.33 (41%)Ships in 1-2 Business DaysLincoln MKX Booster Assembly - Brake
Part Number: 8T4Z-2005-A$172.70 MSRP: $285.45You Save: $112.75 (40%)Ships in 1-2 Business DaysLincoln MKX Booster Assembly - Brake
Part Number: 7T4Z-2005-A$172.70 MSRP: $285.45You Save: $112.75 (40%)Ships in 1-2 Business DaysLincoln MKX Booster Assembly - Brake
Part Number: F2GZ-2005-C$147.40 MSRP: $243.64You Save: $96.24 (40%)Ships in 1-2 Business Days
Lincoln MKX Brake Booster
The Brake Booster in Lincoln MKX automobiles is meant to improve dash braking by lessening the force required from the driver in applying the brake pedal. A vacuum mechanism functions as the major subcomponent in this aspect; it increases the force applied on the brake pedal to act on the master cylinder making the braking mechanism smoother and more forceful. Lincoln MKX cars may incorporate varying types of Brake Boosters; Vacuum operated boosters and hydraulic boosters are some. In vacuum boosters, a vacuum is developed and boosted up in the chamber from the engine vacuum side and regulated with the help of atmospheric pressure while in hydraulic boosters, hydraulic pressure of the power steering pump or an electric pump is used. The variation between these types can influence the general braking, increase it - vacuum boosters are more trustworthy, yet with certain drawbacks in the moment when the engine is not running.
We provide a wide range of Lincoln MKX Brake Booster at the best prices possible. If you need Lincoln MKX Brake Booster, you can shop with confidence on our website. All our OEM parts come with a manufacturer's warranty and are delivered to your door step with a fast delivery service.
Lincoln MKX Brake Booster Parts Questions & Experts Answers
- Q: How to remove and install a brake booster on Lincoln MKX?A: Depress brake pedal multiple times with engine off. Check for no change in pedal reserve distance. Depress pedal and start engine. If pedal slightly goes down, operation is normal. Start and turn off engine after 1-2 minutes. Depress brake pedal slowly multiple times. If pedal goes down further first time but gradually rises after second or third depression, booster is airtight. Depress brake pedal while engine is running, then stop engine with pedal depressed. If no change in pedal reserve travel after holding for 30 seconds, booster is airtight. Disassembly requires special tools and is not for home mechanic. Install new or factory rebuilt unit if problem arises. Disconnect Brake Light Switch before disconnecting pedal, booster, or push rod. Pull brake pedal lightly rearward in at-rest position, rotate switch clockwise 45-degrees, and remove. Remove master cylinder. On 2015+ models, remove battery and tray. Disconnect electrical connector from brake vacuum sensor. Remove retaining clip holding hose and wiring harness and move aside. Remove lower instrument panel cover. Remove retaining pin and clip, then disconnect push rod from brake pedal. Note: 2011+ models use one-piece clevis locking pin. Use 12-point, 11 mm wrench or socket to release tabs on pin. Pin is one-time-use and must be replaced if removed. Remove booster mounting nuts from inside, then carefully lift booster unit away from firewall and out of engine compartment. To install booster, reverse removal steps and test brake operation before normal use. When installing brake light switch, insert into bracket and rotate 45-degrees counterclockwise. Be careful not to move brake pedal during installation to avoid switch damage.
