×
- Live Chat
- 1-888-788-9341


My Garage
My Account
Cart
Genuine Lincoln Navigator A/C Condenser
Air Conditioning Condenser- Select Vehicle by Model
- Select Vehicle by VIN
Select Vehicle by Model
orMake
Model
Year
Select Vehicle by VIN
For the most accurate results, select vehicle by your VIN (Vehicle Identification Number).
12 A/C Condensers found
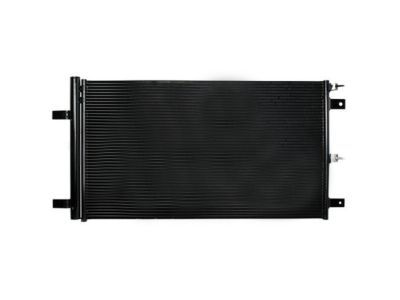
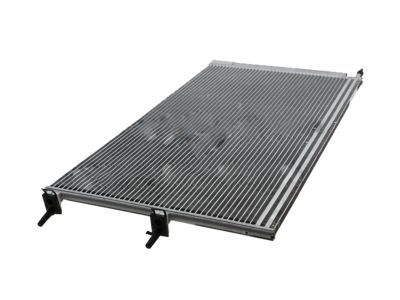
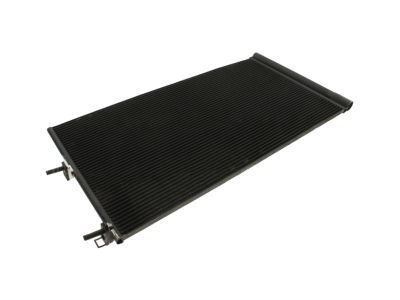
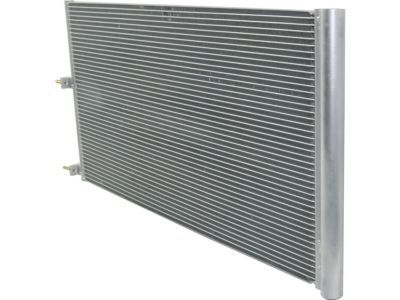
Lincoln Navigator Condenser Assembly
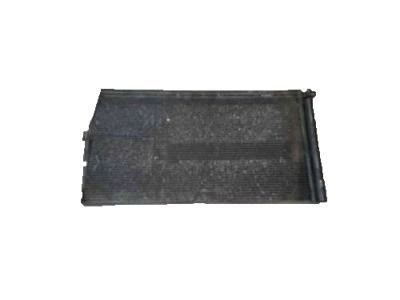
Part Number: HL3Z-19712-A$283.32 MSRP: $405.45You Save: $122.13 (31%)Lincoln Navigator Condenser Assembly
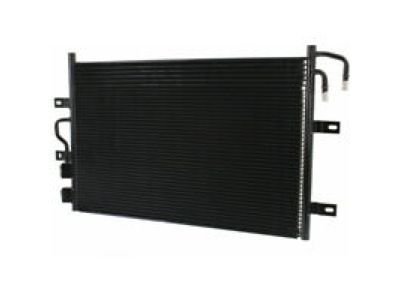
Part Number: AL1Z-19712-B$211.46 MSRP: $352.73You Save: $141.27 (41%)Ships in 1 Business DayLincoln Navigator Condenser Assembly
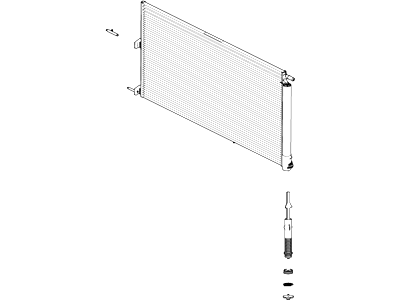
Part Number: BL3Z-19712-C$209.28 MSRP: $349.09You Save: $139.81 (41%)Ships in 1-2 Business DaysLincoln Navigator Condenser Assembly
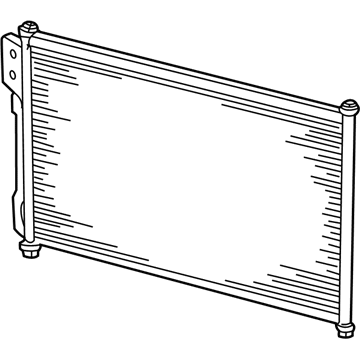
Part Number: BL3Z-19712-B$209.28 MSRP: $349.09You Save: $139.81 (41%)Ships in 1-2 Business DaysLincoln Navigator Condenser Assembly
Part Number: AL1Z-19712-A$211.46 MSRP: $352.73You Save: $141.27 (41%)Ships in 1 Business DayLincoln Navigator Condenser Assembly
Part Number: 9L1Z-19712-A$211.46 MSRP: $352.73You Save: $141.27 (41%)Ships in 1 Business DayLincoln Navigator Condenser Assembly
Part Number: 4L1Z-19712-AA$276.07 MSRP: $450.91You Save: $174.84 (39%)Lincoln Navigator Condenser Assembly
Part Number: HL3Z-19712-C$283.32 MSRP: $405.45You Save: $122.13 (31%)Ships in 1 Business DayLincoln Navigator Condenser Assembly
Part Number: 7L1Z-19712-B$211.46 MSRP: $352.73You Save: $141.27 (41%)Ships in 1 Business DayLincoln Navigator Condenser Assembly
Part Number: 8L1Z-19712-B$211.46 MSRP: $352.73You Save: $141.27 (41%)Ships in 1 Business DayLincoln Navigator CONDENSER ASY
Part Number: KL3Z-19712-B$216.96 MSRP: $349.09You Save: $132.13 (38%)Ships in 1-3 Business Days
Lincoln Navigator A/C Condenser
In Lincoln Navigator vehicles, the A/C Condenser plays the role of a heat exchanger with its main duty being to cool the gaseous refrigerant so that it turns back into a liquid state hence moving to the accumulator. Usually located at the front of the radiator and consisting of a web of tubes that allows the cooling to occur. Although there is no indication of differences in types or styles of A/C Condenser in particulars concerning the various Navigator models, their basic function of converting refrigerants does not vary at all. Temperature control inside the cabin during the travel directly depends on the efficiency of the A/C Condenser.
We provide a wide range of Lincoln Navigator A/C Condenser at the best prices possible. If you need Lincoln Navigator A/C Condenser, you can shop with confidence on our website. All our OEM parts come with a manufacturer's warranty and are delivered to your door step with a fast delivery service.
Lincoln Navigator A/C Condenser Parts Questions & Experts Answers
- Q: How to replace a condenser in an air conditioning system on Lincoln Navigator?A: On some models, special spring-lock coupling tools are required to release the connectors used on the refrigerant lines throughout the air conditioning system. There are different special tools for each line size; these tools can usually be found at local auto parts stores, often in a set. Removal: Whenever a condenser is replaced, it will be necessary to replace the accumulator/drier. Take the vehicle to a dealer service department or automotive air conditioning shop and have the air conditioning system discharged. Disconnect the battery cables and remove the battery and battery tray. Remove the cooling fan and shroud assembly. Remove the degas bottle and Radiator. Disconnect the two fittings holding the refrigerant lines to the right side of the condenser. Remove the condenser mounting brackets bolted to the radiator support. Carefully lift the condenser out of the bottom cradle supports. Installation: If the condenser is being replaced with a new one, transfer the brackets and mounts from the old unit to the new one. When replacing the condenser add one ounce of new refrigerant 011 to the condenser before reassembly. Before installation, check the bracket assemblies and mounts for excessive wear or damage. Replace them if necessary. The installation procedures are the reverse of those for removal. When connecting the hose and fittings, use new 0-rings and lubricate them with clean refrigerant oil (where applicable). After the condenser is installed have the system evacuated, recharged and leak tested by a dealer service department or an air conditioning repair facility.
Related Lincoln Navigator Parts
Browse by Year
2024 A/C Condenser 2023 A/C Condenser 2022 A/C Condenser 2021 A/C Condenser 2020 A/C Condenser 2019 A/C Condenser 2018 A/C Condenser 2017 A/C Condenser 2016 A/C Condenser 2015 A/C Condenser 2014 A/C Condenser 2013 A/C Condenser 2012 A/C Condenser 2011 A/C Condenser 2010 A/C Condenser 2009 A/C Condenser 2008 A/C Condenser 2007 A/C Condenser 2006 A/C Condenser 2005 A/C Condenser 2004 A/C Condenser 2003 A/C Condenser 2002 A/C Condenser 2001 A/C Condenser 2000 A/C Condenser 1999 A/C Condenser 1998 A/C Condenser
