×
- Live Chat
- 1-888-788-9341


My Garage
My Account
Cart
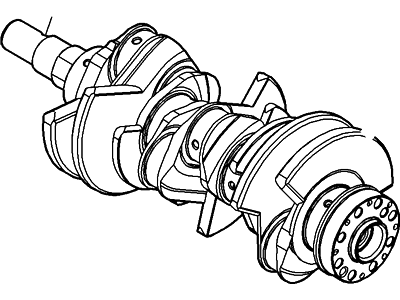
Genuine Lincoln Navigator Crankshaft
Crank Shaft- Select Vehicle by Model
- Select Vehicle by VIN
Select Vehicle by Model
orMake
Model
Year
Select Vehicle by VIN
For the most accurate results, select vehicle by your VIN (Vehicle Identification Number).
8 Crankshafts found
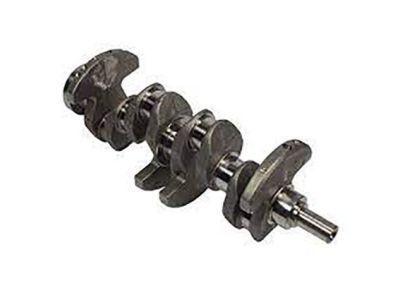
Lincoln Navigator Crankshaft Assembly
Part Number: HL3Z-6303-A$267.81 MSRP: $395.00You Save: $127.19 (33%)Ships in 1-3 Business DaysLincoln Navigator Crankshaft Assembly
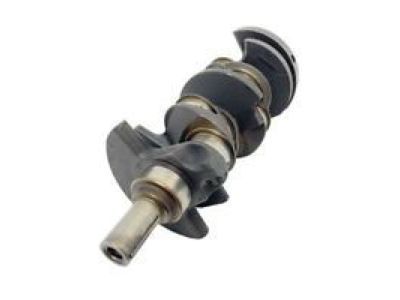
Part Number: JL3Z-6303-B$242.95 MSRP: $358.33You Save: $115.38 (33%)Lincoln Navigator CRANKSHAFT ASY
Part Number: JL3Z-6303-C$242.95 MSRP: $358.33You Save: $115.38 (33%)Ships in 1-3 Business DaysLincoln Navigator CRANKSHAFT ASY
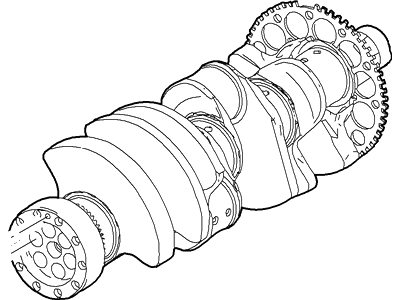
Part Number: KL3Z-6303-C$199.50 MSRP: $291.67You Save: $92.17 (32%)Ships in 1-3 Business DaysLincoln Navigator Crankshaft Assembly
Part Number: XL3Z-6303-CA$237.30 MSRP: $350.00You Save: $112.70 (33%)Ships in 1-3 Business DaysLincoln Navigator Crankshaft Assembly
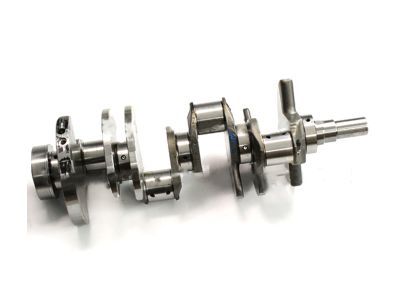
Part Number: 1L3Z-6303-BA$237.30 MSRP: $350.00You Save: $112.70 (33%)Ships in 1-3 Business DaysLincoln Navigator Crankshaft Assembly
Part Number: F75Z-6303-AC$237.30 MSRP: $350.00You Save: $112.70 (33%)
Lincoln Navigator Crankshaft
We provide a wide range of Lincoln Navigator Crankshaft at the best prices possible. If you need Lincoln Navigator Crankshaft, you can shop with confidence on our website. All our OEM parts come with a manufacturer's warranty and are delivered to your door step with a fast delivery service.
Lincoln Navigator Crankshaft Parts Questions & Experts Answers
- Q: What are the steps involved in the crankshaft removal procedure on Lincoln Navigator?A: The crankshaft can only be removed after the engine has been taken out of the vehicle, assuming that the flywheel or driveplate, vibration damper, timing chain(s) or gears, oil pan, oil pump, and piston/connecting rod assemblies have already been detached. Before starting the crankshaft removal, check the end play using a dial indicator aligned with the crankshaft; push the crankshaft to the rear and zero the indicator, then pry it to the front to measure the movement, which indicates end play. If a dial indicator is unavailable, feeler gauges can be used to determine clearance by prying the crankshaft forward and inserting the gauges between it and the thrust main bearing. Ensure the main bearing caps are marked for their locations; if not, number them accordingly. For V6 engines, the thrust bearing is located at the number three main bearing cap, which has upper and lower thrust bearing shells. Loosen the main bearing cap bolts/studs gradually until they can be removed by hand, noting any stud bolts for proper reinstallation. V8 engines have a more complex procedure due to the number of bolts fastening the main caps; for 4.6LREP models, remove side bolts, back off jack screws, and for 5.4L and WEP-design 4.6L engines, remove side bolts without jacking screws. Remove the main bearing cap bolts in reverse order of tightening, ensuring to pull dowel pins from the main caps on WEP 4.6L and 5.4L engines. The main bearing cap bolts are torque-to-yield and must be replaced after removal, while jack screws on REP engines are reusable. Gently tap the caps with a soft-face hammer to separate them from the block, using bolts as levers if necessary, and avoid dropping bearing inserts. Lift the crankshaft out carefully, possibly with assistance, and return the bearing inserts to their respective locations on the engine block, tightening the caps finger tight.
Related Lincoln Navigator Parts
Browse by Year
2023 Crankshaft 2022 Crankshaft 2021 Crankshaft 2020 Crankshaft 2019 Crankshaft 2018 Crankshaft 2017 Crankshaft 2016 Crankshaft 2015 Crankshaft 2014 Crankshaft 2013 Crankshaft 2012 Crankshaft 2011 Crankshaft 2010 Crankshaft 2009 Crankshaft 2008 Crankshaft 2007 Crankshaft 2006 Crankshaft 2005 Crankshaft 2004 Crankshaft 2003 Crankshaft 2002 Crankshaft 2001 Crankshaft 2000 Crankshaft 1999 Crankshaft 1998 Crankshaft
