×
- Live Chat
- 1-888-788-9341


My Garage
My Account
Cart
Genuine Lincoln Navigator Evaporator
A/C Evaporator Core- Select Vehicle by Model
- Select Vehicle by VIN
Select Vehicle by Model
orMake
Model
Year
Select Vehicle by VIN
For the most accurate results, select vehicle by your VIN (Vehicle Identification Number).
29 Evaporators found
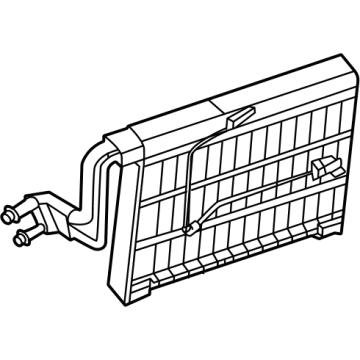
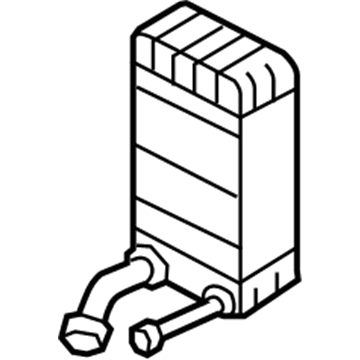
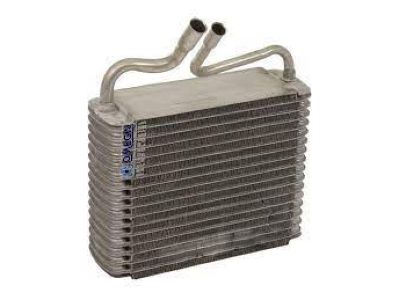
Lincoln Navigator Core - Air Conditioning Evaporator
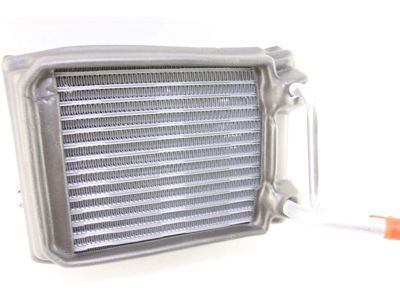
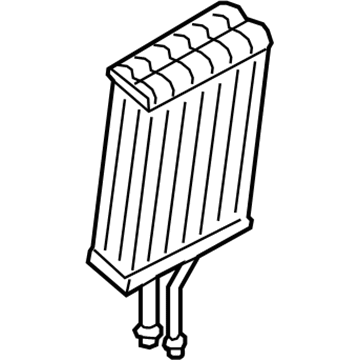
Part Number: 5L1Z-19860-CA$63.25 MSRP: $104.55You Save: $41.30 (40%)Ships in 1-2 Business DaysLincoln Navigator Core - Air Conditioning Evaporator
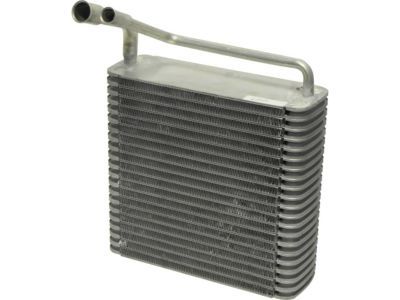
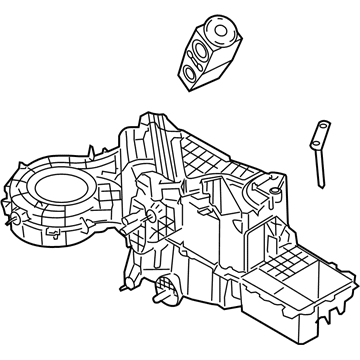
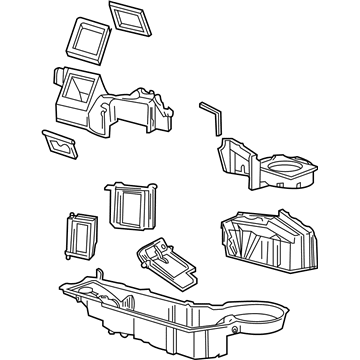
Part Number: XL7Z-19860-AA$132.00 MSRP: $218.18You Save: $86.18 (40%)Lincoln Navigator Evaporator And Housing Assembly
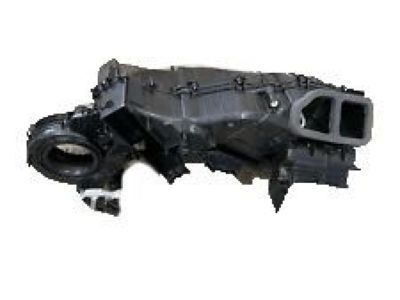
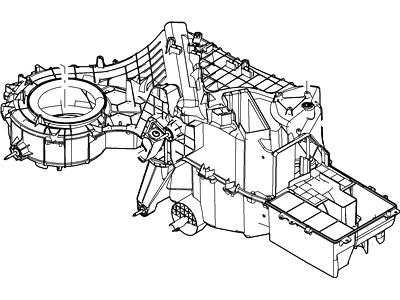
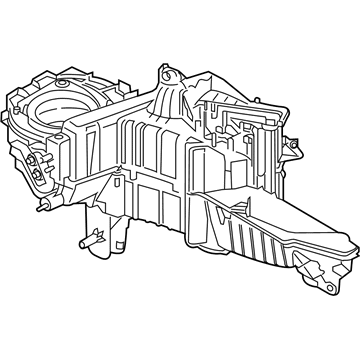
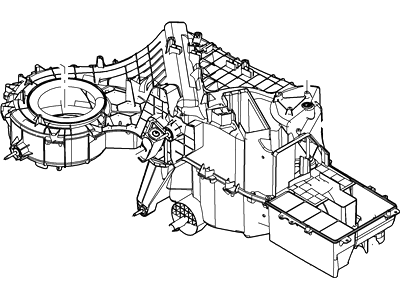
Part Number: 7L1Z-19B555-DB$346.91 MSRP: $511.67You Save: $164.76 (33%)Ships in 1-3 Business DaysLincoln Navigator EVAPORATOR ASY
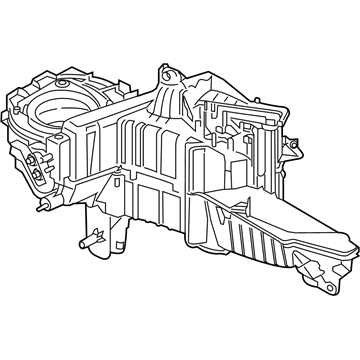
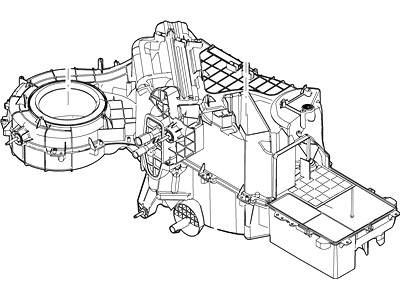
Part Number: HL3Z-19850-GK$539.01 MSRP: $795.00You Save: $255.99 (33%)Ships in 1-2 Business DaysLincoln Navigator Evaporator Assembly
Part Number: DL1Z-19850-B$523.08 MSRP: $655.00You Save: $131.92 (21%)Ships in 1-2 Business DaysLincoln Navigator Evaporator Assembly
Part Number: HL3Z-19850-GF$539.01 MSRP: $795.00You Save: $255.99 (33%)Lincoln Navigator Core - Air Conditioning Evaporator
Part Number: F75Z-19860-BA$132.00 MSRP: $218.18You Save: $86.18 (40%)Lincoln Navigator CORE - AIR CONDITIONING EVAPOR
Part Number: ML3Z-19860-E$145.92 MSRP: $213.33You Save: $67.41 (32%)Ships in 1-2 Business DaysLincoln Navigator Air Conditioning Evapor Core
Part Number: JL1Z-19860-BA$104.20 MSRP: $166.18You Save: $61.98 (38%)Lincoln Navigator Evaporator Assembly
Part Number: FL1Z-19850-B$436.18 MSRP: $643.33You Save: $207.15 (33%)Ships in 1-3 Business DaysLincoln Navigator Evaporator Assembly
Part Number: HL3Z-19850-FF$500.59 MSRP: $738.33You Save: $237.74 (33%)Ships in 1-3 Business DaysLincoln Navigator Core - Air Conditioning Evaporator
Part Number: 5L1Z-19860-AA$87.18 MSRP: $121.11You Save: $33.93 (29%)Ships in 1-2 Business DaysLincoln Navigator Evaporator Assembly
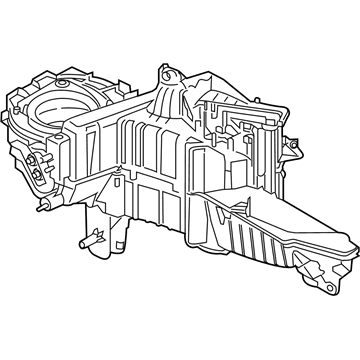
Part Number: BL1Z-19850-D$444.09 MSRP: $655.00You Save: $210.91 (33%)Ships in 1-3 Business DaysLincoln Navigator Evaporator And Housing Assembly
Part Number: 7L1Z-19B555-DA$346.91 MSRP: $511.67You Save: $164.76 (33%)Ships in 1-3 Business DaysLincoln Navigator Evaporator Assembly
Part Number: CL1Z-19850-B$444.09 MSRP: $655.00You Save: $210.91 (33%)Ships in 1-3 Business DaysLincoln Navigator Evaporator Assembly
Part Number: AL1Z-19850-F$459.91 MSRP: $678.33You Save: $218.42 (33%)
| Page 1 of 2 |Next >
1-20 of 29 Results
Lincoln Navigator Evaporator
The Evaporator in Lincoln Navigator vehicles is an important part of A/C systems within a vehicle for cooling; this organizes turn liquid refrigerant vapor to palpable air. Because of its location beneath the dashboard, the evaporator includes aluminum tubes with fins that detain heat from the warm air and transfer it through the refrigerant. Further, depending on the efficiency required, the evaporator doubles up as a dehumider, meaning that it is used to dry the air as well. Due to its high likelihood of corroding or leaking, the A/C Evaporator provides a critical service; it ensures the cabin of the car maintains comfortable temperatures by cooling air through the A/C.
We provide a wide range of Lincoln Navigator Evaporator at the best prices possible. If you need Lincoln Navigator Evaporator, you can shop with confidence on our website. All our OEM parts come with a manufacturer's warranty and are delivered to your door step with a fast delivery service.
Lincoln Navigator Evaporator Parts Questions & Experts Answers
- Q: How to replace an evaporator core in an air conditioning system on Lincoln Navigator?A: On some models, special spring-lock coupling tools are required to release the connectors used on the refrigerant lines throughout the air conditioning system. There are different special tools for each line size; these tools can usually be found at local auto parts stores, often in a set. The evaporator core is located inside the same housing as the Heater Core. Before replacing an evaporator core, determine for certain that the core is leaking by having a leak test performed with special equipment at dealer service department or automotive air conditioning repair facility. The cover to the heater/evaporator housing needs to be removed, which requires the removal of the instrument panel. Whenever the evaporator core is replaced with a new one, the accumulator/drier will also have to be replaced. Disconnect the refrigerant lines at the firewall. Pull the evaporator core from the heater/evaporator housing. Installation is the reverse of the removal process. Add three ounces of new refrigerant oil to the accumulator/drier inlet tube when a new evaporator core is installed. Also, before the lines are reconnected, it's a good idea to replace the orifice tube. On some models of Navigator/Expedition vehicles, there is an optional heat/air-conditioning system located behind the left-rear interior trim panel. The assembly includes a blower, heater core, and evaporator core. Removal and installation procedures are similar to the procedures for the standard evaporator core up front, although the rear unit is much more accessible. Have the system evacuated, recharged, and leak tested by the dealer service department or an air conditioning repair facility.
Related Lincoln Navigator Parts
Browse by Year
2024 Evaporator 2023 Evaporator 2022 Evaporator 2021 Evaporator 2020 Evaporator 2019 Evaporator 2018 Evaporator 2017 Evaporator 2016 Evaporator 2015 Evaporator 2014 Evaporator 2013 Evaporator 2012 Evaporator 2011 Evaporator 2010 Evaporator 2009 Evaporator 2008 Evaporator 2007 Evaporator 2006 Evaporator 2005 Evaporator 2004 Evaporator 2003 Evaporator 2002 Evaporator 2001 Evaporator 2000 Evaporator 1999 Evaporator 1998 Evaporator
