×
- Live Chat
- 1-888-788-9341


My Garage
My Account
Cart
Genuine Lincoln Navigator Shock Absorber
Suspension Shock Absorber- Select Vehicle by Model
- Select Vehicle by VIN
Select Vehicle by Model
orMake
Model
Year
Select Vehicle by VIN
For the most accurate results, select vehicle by your VIN (Vehicle Identification Number).
119 Shock Absorbers found
Lincoln Navigator Shock Absorber Assembly
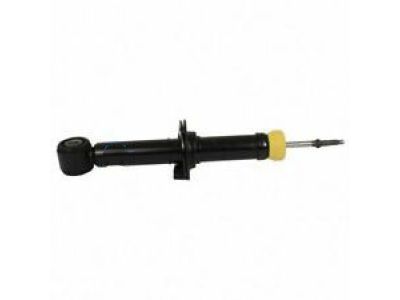
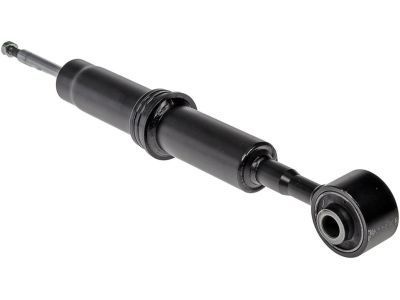
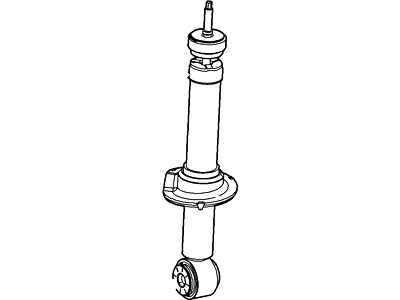
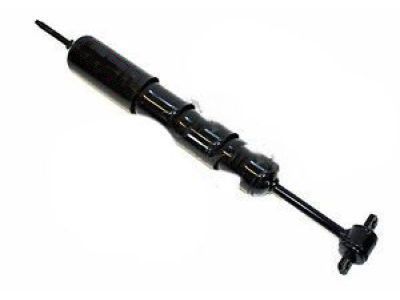
Part Number: JL1Z-18125-E$155.04 MSRP: $247.27You Save: $92.23 (38%)Ships in 1-3 Business DaysLincoln Navigator Shock Absorber Assembly
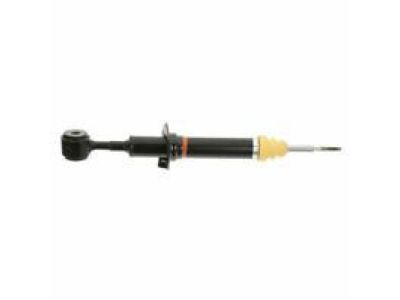
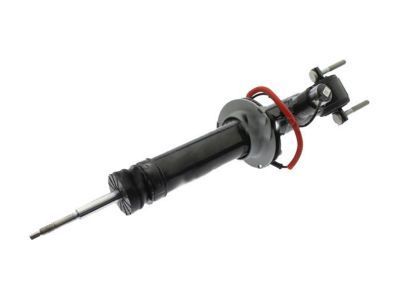
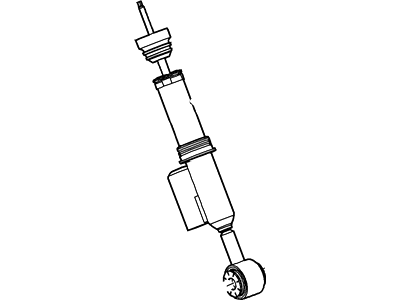
Part Number: JL1Z-18124-E$86.89 MSRP: $146.55You Save: $59.66 (41%)Ships in 1-2 Business DaysLincoln Navigator Shock Absorber Assembly
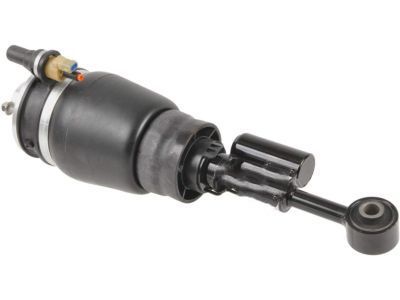
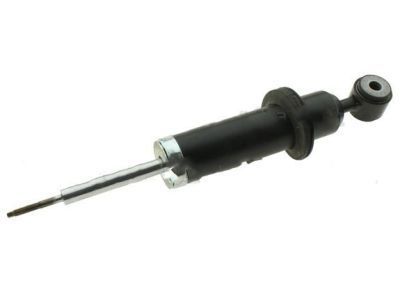
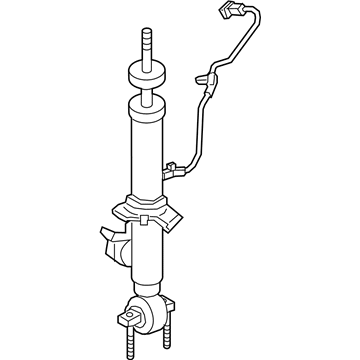
Part Number: 6L7Z-18124-BD$117.14 MSRP: $160.07You Save: $42.93 (27%)Ships in 1-2 Business DaysLincoln Navigator Shock Absorber Assembly
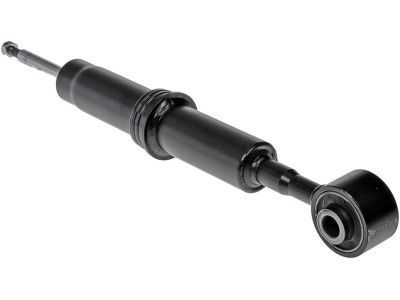
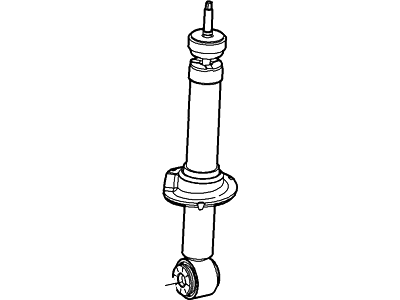
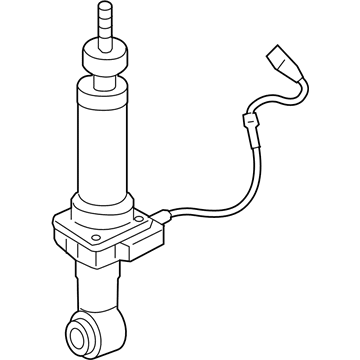
Part Number: 2L7Z-18124-BB$208.03 MSRP: $284.26You Save: $76.23 (27%)Lincoln Navigator Shock Absorber Assembly
Part Number: 2L7Z-18124-CA$208.03 MSRP: $284.26You Save: $76.23 (27%)Lincoln Navigator Shock Absorber Assy - Front
Part Number: 2L7Z-18124-AB$208.13 MSRP: $284.39You Save: $76.26 (27%)Ships in 1 Business DayLincoln Navigator Strut - Suspension
Part Number: FL1Z-18124-B$345.53 MSRP: $576.36You Save: $230.83 (41%)Ships in 1-2 Business DaysLincoln Navigator Shock Absorber Assembly
Part Number: EL1Z-18125-A$161.70 MSRP: $267.27You Save: $105.57 (40%)Ships in 1-2 Business DaysLincoln Navigator Shock Absorber Assembly
Part Number: AL1Z-18125-F$134.38 MSRP: $227.27You Save: $92.89 (41%)Lincoln Navigator Shock Absorber Assembly
Part Number: JL1Z-18124-G$87.21 MSRP: $147.09You Save: $59.88 (41%)Ships in 1-2 Business DaysLincoln Navigator Shock Absorber Assembly
Part Number: AL1Z-18125-E$142.50 MSRP: $227.27You Save: $84.77 (38%)Lincoln Navigator Shock Absorber Assembly
Part Number: 6L7Z-18124-AD$117.14 MSRP: $160.07You Save: $42.93 (27%)Lincoln Navigator Shock Absorber Assembly
Part Number: 2L7Z-18124-CB$208.03 MSRP: $284.26You Save: $76.23 (27%)Lincoln Navigator Shock Absorber Assembly
Part Number: 2L7Z-18124-DA$208.13 MSRP: $284.39You Save: $76.26 (27%)Ships in 1 Business DayLincoln Navigator Shock Absorber Assy - Front
Part Number: 2L7Z-18124-DB$208.13 MSRP: $284.39You Save: $76.26 (27%)Ships in 1 Business DayLincoln Navigator Shock Absorber Assembly
Part Number: 6L7Z-18124-AC$117.14 MSRP: $160.07You Save: $42.93 (27%)Lincoln Navigator Shock Absorber Assembly
Part Number: 6L7Z-18124-BC$117.14 MSRP: $160.07You Save: $42.93 (27%)Lincoln Navigator Strut - Suspension
Part Number: FL1Z-18124-A$345.53 MSRP: $576.36You Save: $230.83 (41%)Ships in 1-2 Business DaysLincoln Navigator Shock Absorber Assembly
Part Number: FL1Z-18125-B$309.56 MSRP: $516.36You Save: $206.80 (41%)Ships in 1-2 Business Days
| Page 1 of 6 |Next >
1-20 of 119 Results
Lincoln Navigator Shock Absorber
The Shock Absorber of Lincoln Navigator vehicles serves an essential part of the suspension system; it collaborates with the struts. These components assist in preventing bouncing and in addition, assist in absorbing the shock impulses to enhance the steadiness, and maneuverability of the car. Various designs have been developed in the shock absorbers among them being the twin tube and the mono tube designs where, the mechanism of operation is based on different ways of control of fluid flow within the hydraulic shock absorbers with different designs intended for diverse driving conditions. In the same period, Electrorheological and magnetorheological damper technologies for suspension systems have made for semi active and adaptive systems that have added to the comfort and control on the roads.
We provide a wide range of Lincoln Navigator Shock Absorber at the best prices possible. If you need Lincoln Navigator Shock Absorber, you can shop with confidence on our website. All our OEM parts come with a manufacturer's warranty and are delivered to your door step with a fast delivery service.
Lincoln Navigator Shock Absorber Parts Questions & Experts Answers
- Q: How to check Shock Absorber on Lincoln Navigator?A: The steering linkage and suspension components should be checked periodically. Worn or damaged suspension and steering linkage components can result in excessive and abnormal tire wear, poor ride quality and vehicle handling and reduced fuel economy. To check the shock absorber, park the vehicle on level ground, turn the engine off and set the parking brake. Check the tire pressures. Push down at one corner of the vehicle, then release it while noting the movement of the body. It should stop moving and come to rest in a level position within one or two bounces. If the vehicle continues to move up-and-down or if it fails to return to its original position, a worn or weak shock absorber is probably the reason. Repeat the above check at each of the three remaining corners of the vehicle. Raise the vehicle and support it securely on jackstands. Check the shock absorbers for evidence of fluid leakage. A light film of fluid is no cause for concern. Make sure that any fluid noted is from the shocks and not from some other source. If leakage is noted, replace the shocks as a set. Check the shocks to be sure that they are securely mounted and undamaged. Check the upper mounts for damage and wear. If damage or wear is noted, replace the shocks as a set (front or rear). Visually inspect the steering and suspension components for damage and distortion. Look for damaged seals, boots and bushings and leaks of any kind. Clean the lower end of the steering knuckle. Have an assistant grasp the lower edge of the tire and move the wheel in-and-out while you look for movement at the steering knuckle-to-control arm balljoint. If there is any movement the suspension balljoint(s) must be replaced. Grasp each front tire at the front and rear edges, push in at the front, pull out at the rear and feel for play in the steering system components If any free play is noted, check the idler arm and the tie-rod ends for looseness.
- Q: How to remove and install a rear shock absorber on a Lincoln Navigator equipped with air suspension?A: If the vehicle has air suspension, turn off the system. Locate the switch in the right kick panel. Loosen lug nuts, raise rear of vehicle, and support securely on jackstands. Block front wheels. Remove rear wheels. Support rear axle with floor jack under differential. Remove shock absorber mounting fasteners. To detach upper end of shock absorber from frame on truck, unscrew nut with ratchet between frame rail and bed. To detach lower end from axle bracket on truck, remove nut and bolt. To detach upper end from frame on SUV, remove nut and bolt; to detach lower end, remove nut and bolt; if removing suspension arm, remove indicated bolts. Remove shock absorber. Installation is reverse of removal. Install nuts and bolts in proper direction. Tighten all fasteners. Reactivate air suspension system, if equipped, after lowering vehicle.
- Q: How to remove and install front Coil Springs and Shock Absorber on Lincoln Navigator?A: If the vehicle is equipped with air suspension, turn OFF the air suspension system. The switch is located in the area of the right kick panel. If the vehicle is equipped with four-wheel air suspension, disconnect the upper end of the front height sensor from the upper frame bracket behind and above the left shock, then firmly push in the red ring on the shock body, hold it there, and pull out the air line. Loosen the front wheel lug nuts, raise the front of the vehicle and support it securely on jackstands. Apply the parking brake. Remove the wheels. Using an open-end wrench to hold the shock from turning, remove the upper shock mounting nut. To detach the upper end of the shock absorber from the frame bracket, remove this nut, the retainer and the bushing; you'll need a back-up wrench on the lower nut to prevent the shock from turning when you loosen the nut. Remove the retainer and bushing. Working from underneath the vehicle, remove the two nuts (2WD models) or bolt and nut (4WD models) which attach the lower end of the shock absorber to the lower Control Arm and pull the shock out from below. Installation is the reverse of removal. Be sure to tighten the upper mounting nut and the lower mounting bolts. On vehicles with four-wheel air suspension, make sure that at least 1/8-inch of air line is inserted into the red fitting. Tighten the upper nut and lower nut and bolt. Lower the vehicle and reactivate the air suspension system, if equipped. It is possible to replace the shocks or springs individually but the unit will have to be disassembled by a qualified repair shop with the proper equipment, and this will add considerable cost to the project. You can compare the cost of replacing the complete assemblies yourself to the cost of replacing individual components (with the help of a shop). Loosen the front wheel lug nuts. Raise the vehicle and support it securely on jackstands. Remove the front wheels. Remove the nuts that attach the upper end of the shock to the frame. Separate the tie-rod end from the Steering Knuckle and secure it aside. Separate the upper balljoint from the control arm. Remove the fasteners attaching the lower end of the shock absorber to the lower control arm. Remove the shock absorber/coil spring assembly. Inspect the shock absorber for leaking fluid, dents, cracks and other damage. Inspect the coil spring for chips and cracks which could cause premature failure. Inspect the spring seats for hardness and general deterioration. If any of the components of the assembly are worn or damaged, have the unit serviced by a qualified repair shop or replace it. Installation is the reverse of removal. Be sure to tighten the fasteners. Tighten the wheel lug nuts. The shock absorber lower mounting fasteners should be tightened with the vehicle at normal ride height. This can be done after the vehicle has been lowered to the ground (on vehicles with adequate clearance), or can be simulated by raising the lower control arm with a floor jack.
- Q: How to replace the Coil Springs,Control Arm,Shock Absorber,Sway Bar and Trailing Arm on Lincoln Navigator?A: If the vehicle is equipped with air suspension, turn off the air suspension system. Loosen the wheel lug nuts, then raise and support the rear of the vehicle. Remove the rear wheels. To remove the brake drum, spray penetration oil around the flange and studs if it's stuck due to corrosion, or remove the plug in the access hole and back off the adjuster wheel if it's locked onto the shoes due to excessive wear. Clean the brake assembly before disassembling it, then remove various components such as the secondary brake shoe retracting spring, primary shoe retracing spring, brake shoe adjusting lever, cable, guide plate, and parking brake link and spring. For shock/spring assembly replacement, position a jack under the Steering Knuckle, remove the nuts securing the top of the assembly, and lower the jack. Remove the lower control arm-to-spring bolt and nut, then remove the assembly. If replacing only the shock, compress the spring and remove the shock rod nut. For lower control arm replacement, disconnect the lower link nut from the Sway Bar Kit, remove the nut and bolt securing the shock/spring assembly, and remove the front and rear bushing nuts and bolts. For upper control arm replacement, remove the parking brake cable bracket bolt, upper arm-to-wheel knuckle bolt, and upper arm bushing nuts and bolts. For toe link rod removal, remove the inner end nut and knuckle nut, and remove the rod. For trailing arms removal on later models, remove the nuts and bolts securing the arms to the knuckle and frame, then install new bolts and nuts loosely. To remove the Sway Bar Kit, disconnect the end links, remove the rear suspension stone shields, and remove the Sway Bar Kit bracket-to-frame bolts. Install new nuts on the links and bracket bolts.
Related Lincoln Navigator Parts
Browse by Year
2024 Shock Absorber 2023 Shock Absorber 2022 Shock Absorber 2021 Shock Absorber 2020 Shock Absorber 2019 Shock Absorber 2018 Shock Absorber 2017 Shock Absorber 2016 Shock Absorber 2015 Shock Absorber 2014 Shock Absorber 2013 Shock Absorber 2012 Shock Absorber 2011 Shock Absorber 2010 Shock Absorber 2009 Shock Absorber 2008 Shock Absorber 2007 Shock Absorber 2006 Shock Absorber 2004 Shock Absorber 2003 Shock Absorber 2002 Shock Absorber 2001 Shock Absorber 2000 Shock Absorber 1999 Shock Absorber 1998 Shock Absorber
