×
- Live Chat
- 1-888-788-9341


My Garage
My Account
Cart
Genuine Lincoln Town Car Headlight
Headlamp- Select Vehicle by Model
- Select Vehicle by VIN
Select Vehicle by Model
orMake
Model
Year
Select Vehicle by VIN
For the most accurate results, select vehicle by your VIN (Vehicle Identification Number).
26 Headlights found
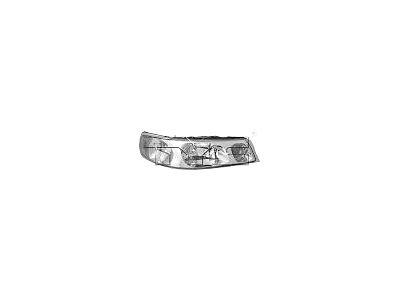
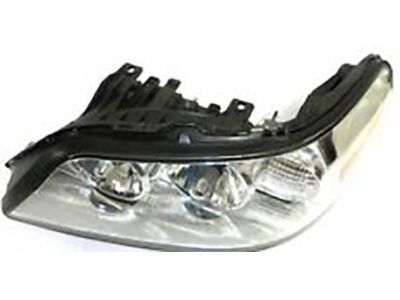
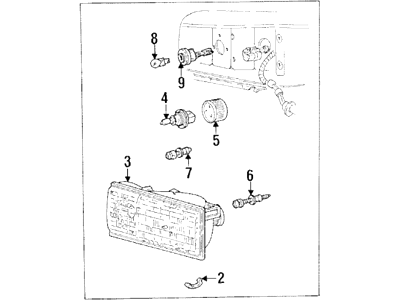
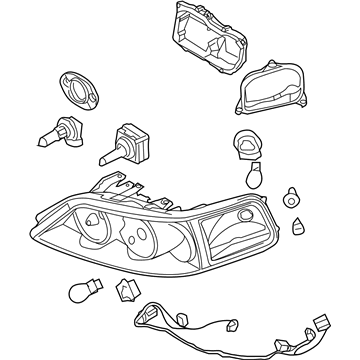
Lincoln Town Car Headlamp Assembly
Part Number: 1W1Z-13008-CA$739.40 MSRP: $1027.16You Save: $287.76 (29%)Ships in 1-2 Business DaysLincoln Town Car Headlamp Assembly
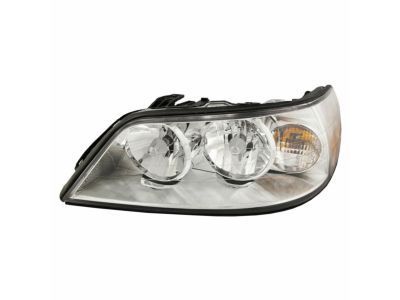
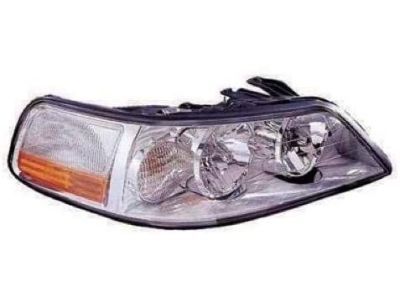
Part Number: 6W1Z-13008-BB$922.15 MSRP: $1372.52You Save: $450.37 (33%)
| Page 1 of 2 |Next >
1-20 of 26 Results
Lincoln Town Car Headlight
The Lincoln Town Car is an excellent car model, and the Headlight is a significant part of the car since it is responsible for the proper illumination of the road to eliminate any risky drive. Beside, latest designs of composite headlights enhance the styling and aerodynamic details and enable the usage of different light forms such as LED and projector beams. Light headlights require constant care and maintenance; therefore, proper cleaning and restoring procedures must be done to ensure that they are up to par for usage. Changing to better headlight to the types like HID Xenon or LED increase a view during difficult weather conditions. General headlight problems such as dimming or non-operation can be solved through correct method of solving problems and the method of repair. Specifically, it is recommended that Lincoln Town Car headlights should be replaced in sets in order to preserve balance. In general, the Lincoln Town Car Headlight is important car part that should not be overlooked by car owners to allow for safe and proper driving.
We provide a wide range of Lincoln Town Car Headlight at the best prices possible. If you need Lincoln Town Car Headlight, you can shop with confidence on our website. All our OEM parts come with a manufacturer's warranty and are delivered to your door step with a fast delivery service.
Lincoln Town Car Headlight Parts Questions & Experts Answers
- Q: How to remove and install a sealed beam or composite bulb-type headlight on Lincoln Town Car?A: Disconnect cable from negative battery terminal. Remove retaining screws and detach headlight bezel. Carefully remove headlight retainer screws, avoiding adjusting screws. Use Phillips head screwdriver. Remove retainer and pull headlight out enough to disconnect electrical connector. Remove headlight and connector. To install, connect electrical connector, place headlight in position, and install retainer and screws. Place bezel and install retaining screws.Composite bulb-type: Warning: Halogen bulbs are under pressure and may shatter if scratched or dropped. Wear eye protection and handle bulbs carefully, grasping only the base. Avoid touching bulb surface with fingers to prevent overheating. Clean surface with rubbing alcohol if touched. Open hood. Twist plastic retainers and remove sight shield for access to headlight housings. Disconnect cable from negative battery terminal. Remove cover and reach behind headlight assembly. Turn bulb holder counterclockwise to remove. Lift holder assembly for bulb access. On newer models, remove headlight housing for bulb holder access. Release clip and disconnect bulb holder from connector. Insert new bulb into connector until it snaps into place. Install bulb holder in headlight assembly.
- Q: How to remove and install headlight housing in Lincoln Town Car?A: Disconnect the cable from the negative battery terminal for models through 1997. Remove the headlight bulb(s). Push forward on the headlight housing while using snap-ring pliers to spread the retainer clips, then detach the housing and remove it through the grille opening. Use snap-ring pliers to spread the clips, then detach the headlight housing. Insert the housing into the grille opening and press it into place until it seats securely in the retainers. For 1998 and later models, remove the plastic sight shield over the radiator. Pull up the three white plastic pins mounted vertically above each headlight housing. Pull the housing forward and disconnect the electrical connectors. Installation is the reverse of the removal procedure.
- Q: How to adjust Headlight on Lincoln Town Car?A: The headlights must be aimed correctly to avoid accidents and ensure good visibility. They should be checked every 12 months and after any headlight replacement or front end body work. Adjusting screws control the up-and-down and left-and-right movement of the headlights. The simplest method for adjustment requires a blank wall, level floor, and masking tape. Position the tape vertically and horizontally in reference to the vehicle centerline and headlight centerlines. Adjust the low beam so the high intensity zone is two inches below and to the right of the horizontal line. Use the adjusting screws to raise, lower, move left, or move right. For the high beams, the high intensity zone should be vertically centered just below the horizontal line. If a compromise is necessary, prioritize the correct aim for the low beams. Get the headlights adjusted by a professional as soon as possible.
Related Lincoln Town Car Parts
Browse by Year
2011 Headlight 2010 Headlight 2009 Headlight 2008 Headlight 2007 Headlight 2006 Headlight 2005 Headlight 2004 Headlight 2003 Headlight 2002 Headlight 2001 Headlight 2000 Headlight 1999 Headlight 1998 Headlight 1997 Headlight 1996 Headlight 1995 Headlight 1994 Headlight 1993 Headlight 1992 Headlight 1991 Headlight 1990 Headlight 1989 Headlight 1988 Headlight 1987 Headlight 1986 Headlight 1985 Headlight 1984 Headlight 1983 Headlight 1982 Headlight
