
My Garage
My Account
Cart
Genuine Mercury Capri Pushrod
Valve Push Rod- Select Vehicle by Model
- Select Vehicle by VIN
Select Vehicle by Model
orMake
Model
Year
Select Vehicle by VIN
For the most accurate results, select vehicle by your VIN (Vehicle Identification Number).
2 Pushrods found
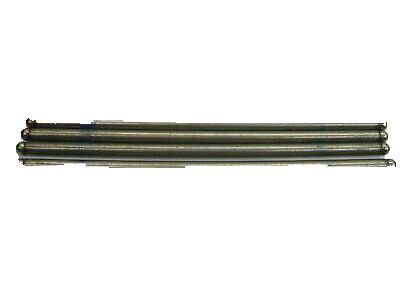
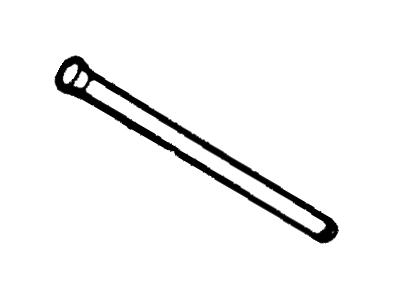
Mercury Capri Rod - Valve Push
Part Number: E5AZ-6565-A$3.64 MSRP: $5.65You Save: $2.01 (36%)Ships in 1-3 Business Days
Mercury Capri Pushrod
We provide a wide range of Mercury Capri Pushrod at the best prices possible. If you need Mercury Capri Pushrod, you can shop with confidence on our website. All our OEM parts come with a manufacturer's warranty and are delivered to your door step with a fast delivery service.
Mercury Capri Pushrod Parts Questions & Experts Answers
- Q: What are the steps involved in the removal, inspection, and installation of the rocker arm and Pushrod in 2.8L V6 engine on Mercury Capri?A: To remove the rocker arm cover(s) from the cylinder head(s), detach them and then loosen the rocker arm shaft support bolts two turns at a time, working from the center out until they can be removed by hand. Lift the rocker assembly and oil baffle off the cylinder head, ensuring the pins hold the components together, and then lift the pushrods out of the engine, placing them in a rack in order for reinstallation. Remove the pins and disassemble the rocker arm assembly, placing the parts in order on a clean workbench. Inspect each rocker arm for wear, cracks, and damage, particularly where the pushrods and valve stems contact the faces. Ensure the hole at the pushrod end of each rocker arm is clear, using a piece of wire if necessary. Check the rocker arm bore and its corresponding position on the rocker shaft for wear, cracks, and galling, replacing any damaged components. Inspect the pushrods for cracks and excessive wear, rolling each across a piece of plate glass to check for bending. If needed, remove the plugs from each end of the rocker shaft, using a long steel rod to knock them out, and tap in new plugs if they were removed. Assemble the rocker assembly, lubricating all friction points with engine oil or assembly lube, and install new cotter pins in the ends of the rocker shaft, ensuring the notches face down. Coat each end of the pushrods with assembly lube before installing them in the engine, returning original pushrods to their original positions. Coat the rocker arm pads with Lubriplate or an equivalent product, loosen the valve adjusting screws several turns, and install the oil baffle and rocker assembly on the engine with the notch on the shaft facing down. Position the rocker arm ball ends in the pushrods, tighten the rocker shaft support bolts two turns at a time from the center out to the specified torque, and complete the installation in reverse order of removal. Finally, adjust the valve clearances and run the engine to check for leaks.


