×
- Live Chat
- 1-888-788-9341


My Garage
My Account
Cart
Genuine Mercury Lynx PCV Valve
Position Crank Ventilation Valve- Select Vehicle by Model
- Select Vehicle by VIN
Select Vehicle by Model
orMake
Model
Year
Select Vehicle by VIN
For the most accurate results, select vehicle by your VIN (Vehicle Identification Number).
2 PCV Valves found
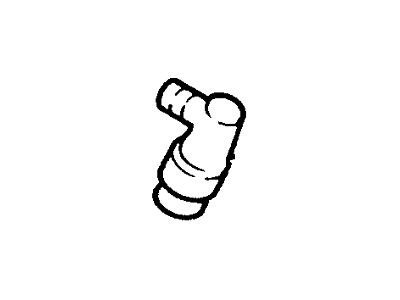
Mercury Lynx Valve Assy - Regulating
Part Number: F2CZ-6A666-A$13.73 MSRP: $18.75You Save: $5.02 (27%)Ships in 1-2 Business DaysMercury Lynx Valve Assy - Crankcase Ventilation
Part Number: E8FZ-6769-A$5.12 MSRP: $7.12You Save: $2.00 (29%)Ships in 1-2 Business Days
Mercury Lynx PCV Valve
We provide a wide range of Mercury Lynx PCV Valve at the best prices possible. If you need Mercury Lynx PCV Valve, you can shop with confidence on our website. All our OEM parts come with a manufacturer's warranty and are delivered to your door step with a fast delivery service.
Mercury Lynx PCV Valve Parts Questions & Experts Answers
- Q: How to replace a crankcase emission filter, oil filler cap filter, and PCV valve on Mercury Lynx?A: Some models are not equipped with a PCV valve. If yours has a PCV valve, it will be mounted in the valve cover. Some models have a crank-case emission filter mounted in the air cleaner; others have the filter mounted in the oil filler cap. Still other models do not have a crankcase emission filter. To determine which type of crankcase emission filter you have (if any), look at your vehicle's engine. For filter replacement in the air cleaner, remove the air cleaner cover. Disconnect the hose from the filter pocket in the side of the air cleaner. Unclip the filter pocket from the air cleaner and take it out. Pull the old filter out of the pocket. Wipe the inside of the pocket clean. Apply a light coat of clean engine oil to a new filter and install it in the pocket. Install the pocket in the air cleaner, reconnect the hose and install the air cleaner cover. For filter in oil filler cap, disconnect the ventilation hose from the oil filler cap and air cleaner. Unscrew the oil filler cap from the engine. The oil filler cap and ventilation filter are replaced as a unit. Clean the hose with solvent. Install the oil filler cap and filter assembly, then connect the hose. For PCV valve check and replacement, pull the PCV valve out of the valve cover. Shake the valve. It should rattle. if not, replace it. Check the valve for built-up deposits. if these are present, the PCV hoses should be removed and cleaned. To replace the valve, disconnect the PCV valve and elbow from the hose(s). If the new valve comes with an elbow, install it. If not, reuse the old one. Do not force the elbow onto the valve or you'll break it, if it is difficult to install, soak it in warm water; you may have to soak it for an hour. Connect the PCV system hose(s).


