×
- Live Chat
- 1-888-788-9341


My Garage
My Account
Cart
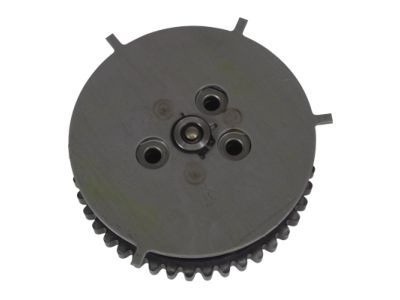
Genuine Mercury Mariner Variable Timing Sprocket
Timing Gear Sprocket- Select Vehicle by Model
- Select Vehicle by VIN
Select Vehicle by Model
orMake
Model
Year
Select Vehicle by VIN
For the most accurate results, select vehicle by your VIN (Vehicle Identification Number).
5 Variable Timing Sprockets found
Mercury Mariner Sprocket - Camshaft
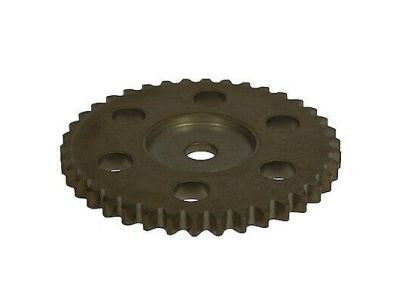
Part Number: 1S7Z-6256-AA$19.15 MSRP: $28.00You Save: $8.85 (32%)Ships in 1-2 Business DaysMercury Mariner Sprocket - Camshaft
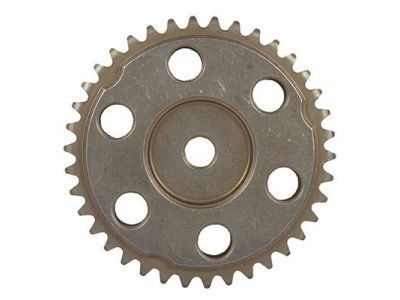
Part Number: 6S4Z-6256-AA$28.27 MSRP: $41.33You Save: $13.06 (32%)Ships in 1-2 Business DaysMercury Mariner Cam
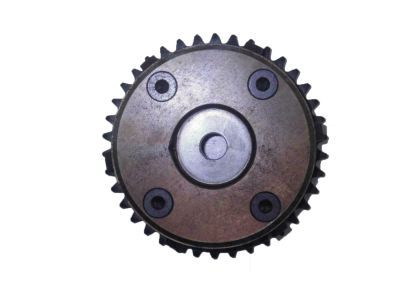
Part Number: 6M8Z-6C525-A$180.60 MSRP: $280.00You Save: $99.40 (36%)Ships in 1-3 Business DaysMercury Mariner Sprocket - Camshaft
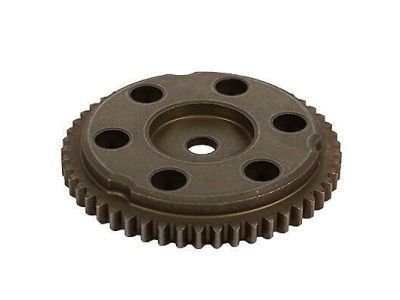
Part Number: 3L8Z-6256-AA$28.08 MSRP: $40.00You Save: $11.92 (30%)Ships in 1-3 Business DaysMercury Mariner Sprocket - Camshaft
Part Number: 9L8Z-6256-A$238.43 MSRP: $351.67You Save: $113.24 (33%)
Mercury Mariner Variable Timing Sprocket
We provide a wide range of Mercury Mariner Variable Timing Sprocket at the best prices possible. If you need Mercury Mariner Variable Timing Sprocket, you can shop with confidence on our website. All our OEM parts come with a manufacturer's warranty and are delivered to your door step with a fast delivery service.
Mercury Mariner Variable Timing Sprocket Parts Questions & Experts Answers
- Q: What are the steps involved in the removal, inspection, and installation of the timing chain,Tensioner and Timing Chain Guide in V6 engine on Mercury Mariner?A: Because of the confined space, it is very difficult to undertake this process with the engine still installed and if a lot of work is needed then it may be advisable to remove the engine in the first instance. Timing is quite complex, and an error in it can cause significant levels of damage to the car engine; thus, it should only be done by professionals or else the expert should be consulted in cases of doubt. Firstly, you would have to take away the timing chain cover and then ease out the crankshaft position sensor trigger wheel off the crankshaft but ensure that you mark the pulse wheel to get a perfect position for a replacement. Take off the spark plugs, then apply the crankshaft with the retaining bolt and rotate the crank to the TDC using both the index marks marked on the camshaft sprockets with the keyway located at 11 o clock position. That is, if the marks are not lined up, the crankshaft should be turned a full turn before rechecking. There it is important to rotate the crank shaft in an anticlockwise direction only to prevent stretching of timing chains. After that, ensure proper alignment of both covers and then, unbolt the rear timing chain tensioner and the tensioner arm while putting numbered marks on those bolts which are supposed to be used again. To do this, first, remove the rear timing chain from the contact with the sprockets and take out the rear chain guide and ultimately move the sprocket from the crankshaft vicinity. Turn the crankshaft 600 ccw to make the camshafts lie in the neutral position, then extract the front timing chain tensioner and the associated arm, the front timing chain off the sprockets, and, finally, the front chain guide. Wash all components diligently and the chain tensioners, guides and chains and check for signs of wear or damage and replace if necessary. However, with the engine off, try to turn the crankshaft at least two complete revolutions by hand before igniting the engine and ensuring there is extra tightness that can be a major issue. For the timing chain tensioners, compress them then lock into position; Introduce the crank sprocket for the front timing chain in which the key way must face 11 o clock position. The index marks on the camshaft sprockets must be aligned and then place the front timing chain guide, then the front timing chain, the colored links of the chain must be properly aligned. Then bolt in the front tensioner arm and the tensioner assembly into its rightful place where it must fit tightly. Perform the same process as the front timing chain, to make sure the rear timing chain and its assembly is also in the right position and fixed tightly. If there are any locking pins still in the tensioners, rotate the crankshaft back to '11 o'clock' and check the timing marks. Set the crankshaft position sensor pulse wheel in its correct position and manually turn the engine to look for signs of bind up. Last of all when all parts are reconnected, fill the crankcase and other system with the correct fluids, reconnecting the battery, and start the engine then check for any sign of leakage while allowing the Powertrain Control Module learn the correct idle and fuel trim strategy for the best performance.
