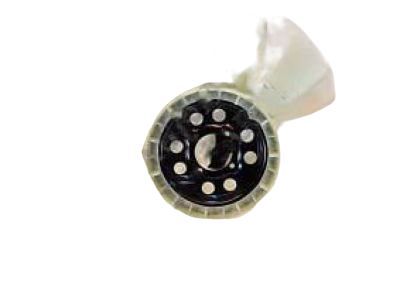
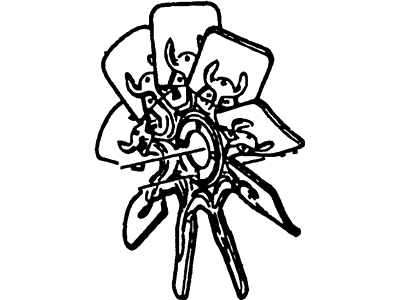
Symptoms of fan clutch failure include continuous noisy operation, looseness, vibration, and silicone fluid leaking from the clutch. For cold engine checks, rock the fan back and forth by hand to check for excessive bearing play, then turn the blades by hand; the fan should turn freely. Visually inspect for substantial fluid leakage from the fan clutch assembly, a deformed bi-metal spring, or grease leakage from the cooling fan bearing, and replace the fan clutch if any of these conditions exist. For hot engine checks, start the engine and allow it to warm up to its normal operating temperature, then turn off the ignition switch and turn the fan by hand; some resistance should be felt, and if the fan turns easily, replace the fan clutch. For removal and installation on 2004 through 2009 models, remove the air inlet duct or air duct depending on the engine model, then remove the radiator cover and air cleaner housing bracket as needed. Detach the battery cable harness from the radiator shroud, use a fan wrench set to remove the cooling fan assembly, and take care not to let the fan fall into the radiator. Remove the fan shroud mounting bolts and carefully take out the fan and clutch assembly from the engine compartment, considering disconnecting the upper radiator hose if necessary. If replacing the fan or clutch, unbolt the two components while keeping the drive unit upright to prevent silicone fluid from draining. Installation is the reverse of removal, ensuring the shroud fasteners are tightened securely. For 2010 and later models, disconnect the cable from the negative battery terminal, remove the air intake duct, and detach various retainers and wiring harnesses from the fan motor and shroud assembly. Remove the battery junction box bracket bolts, set the power steering fluid reservoir aside, and lift the cooling fan motor and shroud assembly out of the engine compartment. If only accessing other components, no further disassembly is needed; otherwise, unbolt the motor being replaced from the shroud, remove the fastener securing the fan to the motor, and complete installation in reverse order.
Posted by FordPartsGiant Specialist 

