×
- Live Chat
- 1-888-788-9341


My Garage
My Account
Cart
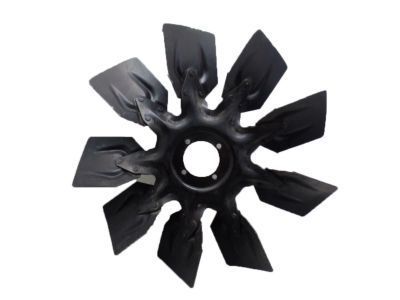
Genuine Ford Expedition Engine Cooling Fan
Radiator Fan- Select Vehicle by Model
- Select Vehicle by VIN
Select Vehicle by Model
orMake
Model
Year
Select Vehicle by VIN
For the most accurate results, select vehicle by your VIN (Vehicle Identification Number).
11 Engine Cooling Fans found
Ford Expedition Fan Assembly
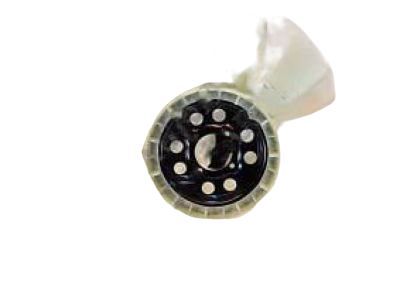
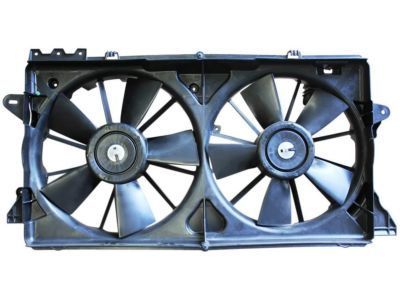
Part Number: F85Z-8600-AA$54.32 MSRP: $92.73You Save: $38.41 (42%)Ships in 1-2 Business DaysFord Expedition Motor And Fan Assembly - Engine Cooling
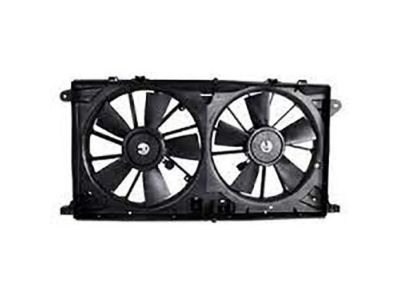
Part Number: JL3Z-8C607-B$133.10 MSRP: $220.00You Save: $86.90 (40%)Ships in 1-2 Business DaysFord Expedition Fan Assembly
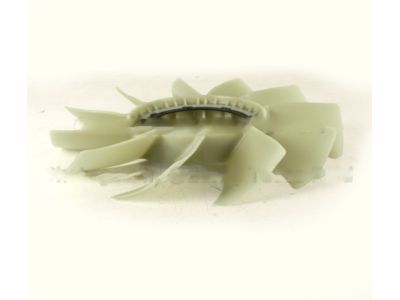
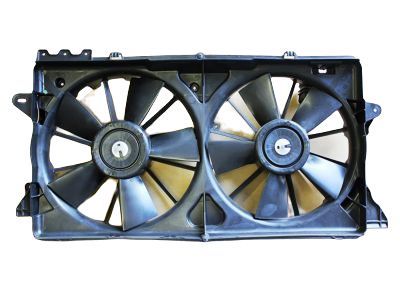
Part Number: 6L2Z-8600-BA$61.93 MSRP: $102.36You Save: $40.43 (40%)Ships in 1-2 Business DaysFord Expedition Engine Cooling Motor And Fan Assembly
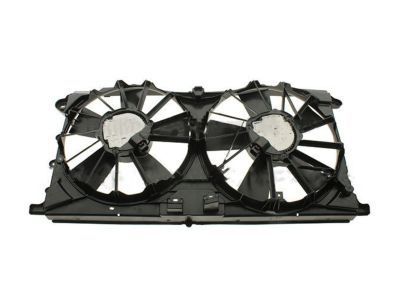
Part Number: HL3Z-8C607-D$565.71 MSRP: $943.64You Save: $377.93 (41%)Ships in 1-2 Business DaysFord Expedition Motor And Fan Assy - Engine Cooling
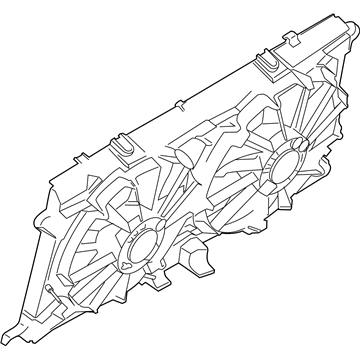
Part Number: AL3Z-8C607-A$197.29 MSRP: $329.09You Save: $131.80 (41%)Ships in 1-2 Business DaysFord Expedition Motor And Fan Assembly - Engine Cooling
Part Number: BL3Z-8C607-A$201.65 MSRP: $336.36You Save: $134.71 (41%)Ships in 1 Business DayFord Expedition Fan Assembly
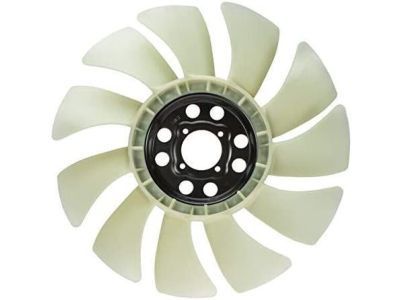
Part Number: 5L1Z-8600-AB$61.17 MSRP: $99.09You Save: $37.92 (39%)Ships in 1-2 Business DaysFord Expedition FAN AND MOTOR ASY
Part Number: NL1Z-8C607-A$293.80 MSRP: $472.73You Save: $178.93 (38%)Ships in 1-2 Business DaysFord Expedition Motor And Fan Assembly - Engine Cooling
Part Number: HL3Z-8C607-C$565.71 MSRP: $943.64You Save: $377.93 (41%)Ships in 1-2 Business DaysFord Expedition MOTOR AND FAN ASY - ENGINE COO
Part Number: ML3Z-8C607-C$373.47 MSRP: $641.82You Save: $268.35 (42%)Ships in 1-2 Business Days
Ford Expedition Engine Cooling Fan
We provide a wide range of Ford Expedition Engine Cooling Fan at the best prices possible. If you need Ford Expedition Engine Cooling Fan, you can shop with confidence on our website. All our OEM parts come with a manufacturer's warranty and are delivered to your door step with a fast delivery service.
Ford Expedition Engine Cooling Fan Parts Questions & Experts Answers
- Q: How to diagnose and replace a failed fan clutch and Engine Cooling Fan on Ford Expedition?A: Symptoms of failure of the fan clutch include continuous noisy operation, looseness, vibration, and evidence of silicone fluid leaks. On 2007 and later Expedition/Navigator models, check for codes related to the electronic fan clutch system using a scan tool. Rock the fan back and forth by hand to check for excessive bearing play. With the engine cold, turn the blades by hand to ensure the fan turns freely. Visually inspect for substantial fluid leakage from the fan clutch assembly, a deformed bi-metal spring, or grease leakage from the cooling fan bearing. If any of these conditions exist, replace the fan clutch. When the engine is warmed up, turn off the ignition switch and turn the fan by hand. Some resistance should be felt. If the fan turns easily, replace the fan clutch. To remove and install the fan clutch, start by disconnecting the battery cable at the negative battery terminal. Remove the air cleaner assembly and, on 2007 and later Expedition/Navigator models, remove the screws securing the underhood fuse/relay box to the fan shroud and set it aside. Drain the cooling system and remove the plastic air deflector over the Radiator. Remove the upper radiator hose and the degas bottle from the left side of the radiator, disconnecting the hose connected to the radiator. Use a special two-part fan wrench set to remove the cooling fan assembly. Hold the water pump pulley with the clutch-holding tool and an extension while turning the clutch nut with the longer tool. Note that on some models, the fan clutch hub nut is left-hand thread. Unbolt the fan shroud and lift the fan assembly and shroud out of the engine compartment together. The fan clutch can be unbolted from the fan blade assembly for replacement. Installation is the reverse of removal.
Related Ford Expedition Parts
Browse by Year
2024 Engine Cooling Fan 2023 Engine Cooling Fan 2022 Engine Cooling Fan 2021 Engine Cooling Fan 2020 Engine Cooling Fan 2019 Engine Cooling Fan 2018 Engine Cooling Fan 2017 Engine Cooling Fan 2016 Engine Cooling Fan 2015 Engine Cooling Fan 2014 Engine Cooling Fan 2013 Engine Cooling Fan 2012 Engine Cooling Fan 2011 Engine Cooling Fan 2010 Engine Cooling Fan 2009 Engine Cooling Fan 2008 Engine Cooling Fan 2007 Engine Cooling Fan 2006 Engine Cooling Fan 2005 Engine Cooling Fan 2004 Engine Cooling Fan 2003 Engine Cooling Fan 2002 Engine Cooling Fan 2001 Engine Cooling Fan 2000 Engine Cooling Fan 1999 Engine Cooling Fan 1998 Engine Cooling Fan 1997 Engine Cooling Fan
