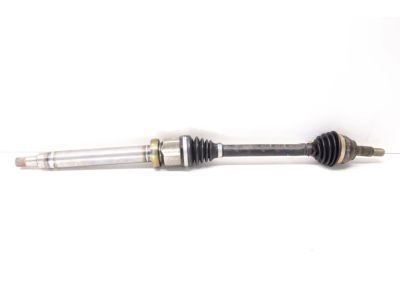
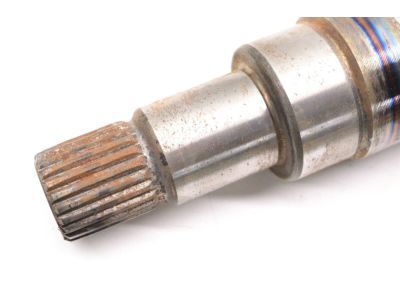
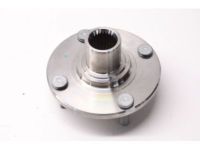
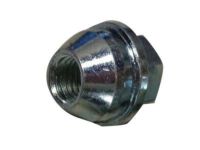
To remove the wheel cover from the wheel, apply the parking brake and engage 1st gear or P, then loosen the axle shaft nut about half a turn before jacking up the vehicle, using high-quality tools and taking precautions against injury. For models through 2002, remove the plastic cap from the top of each front suspension strut and, holding the piston rod against rotation, loosen each strut's center nut by five full turns. For 2003 and later models, loosen the three mounting nuts on the left-hand strut only, and for 2004 and later models, loosen the nuts four turns. Drain the transaxle fluid to avoid spillage when separating the axle shafts from the MTX 75 transaxle, and use a container to catch any oil if draining facilities are unavailable. Loosen the front wheel retaining nuts, jack up the front of the vehicle, and support it on axle stands before removing the wheel. Unscrew the lower arm balljoint clamp bolt from the hub carrier, carefully pry the balljoint down, and take care not to damage the seal. Completely unscrew the axle shaft nut, which should only be reused a maximum of four times, and press the axle shaft through the front hub and hub carrier. Use a lever or slide hammer to disengage the inner axle shaft joint from the transaxle case, ensuring not to damage the adjacent components or the oil seal. If the right-hand axle shaft has already been removed, the left-hand axle shaft can be released from the right-hand side with caution. Withdraw the axle shaft from under the vehicle and extract the snap-ring from the inner end. For the right-hand side, the axle shaft may be removed complete with the intermediate shaft or disconnected from the outer end. If removing the complete axle shaft, unscrew the nuts securing the support bearing bracket and, if necessary, remove the bolt from the rear engine/transaxle mount on automatic models. Withdraw the complete axle shaft and check the condition of the differential oil seals and support bearing, replacing them if necessary. For installation, carefully install the complete axle shaft into the support bearing and transaxle, ensuring not to damage the oil seal, and tighten the bolts securing the support bearing to the specified torque. Locate the inner tripod joint into the intermediate shaft, pack the joint with new grease, and install the boot. Fit a new snap-ring to the inner end of the axle shaft and use a special sleeve to protect the differential oil seal during insertion. Insert the axle shaft into the transaxle, ensuring the snap-ring is fully engaged, then pull the hub carrier outwards and insert the outer end of the axle shaft through the hub, turning it to engage the splines. Screw on the axle shaft nut finger-tight, locate the front suspension lower arm balljoint stub, insert the clamp bolt, and tighten it to the specified torque. Tighten the suspension strut upper mounting nut, fill the transaxle with oil or fluid, check the level, install the wheel, lower the vehicle, and tighten the wheel retaining nuts. Finally, fully tighten the axle shaft nut and install the wheel cover.
Posted by FordPartsGiant Specialist 


