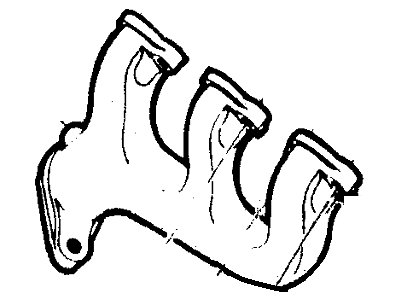
To remove the exhaust manifold from carbureted models, first take off the air cleaner, intake duct, and heat duct if working on the right side. For the left side on a 351M or 400 engine, remove the engine oil filter and cruise control bracket if present, along with the oil dipstick and tube assembly for all engines except the 460. If the vehicle has a column selector and automatic transmission, disconnect the cross lever shaft for clearance. For EFI models, remove the air cleaner and intake duct for the right side manifold, then take off the upper intake manifold-to-exhaust manifold support bracket for 5.0L and 5.8L engines, followed by the engine or transmission dipstick tube bracket as applicable. Also, remove the EGR tube for the 5.8L engine on the right side and for the 7.5L engine on the left side, along with the engine oil dipstick tube bracket if equipped. For all models, disconnect the retaining bolts holding the exhaust pipe(s) to the exhaust manifold(s), remove the spark plug wires and heat shields if equipped, and then take off the exhaust manifold retaining bolts, lifting eyes, and nuts, noting any locking tabs that need to be bent down before removal. Keep track of parts location and bolt lengths for reinstallation. After removing the exhaust manifold, clean the mating surfaces of the exhaust manifold and cylinder head, as well as the mounting flange of the exhaust manifold and the exhaust pipe. For installation, apply graphite grease to the mating surface of the exhaust manifold and cylinder head, install a new exhaust manifold gasket for the 5.8L Lightning, position the exhaust manifold on the head, and install the attaching bolts, tightening them from the center to the ends. If equipped, install the spark plug heat shields and lifting eyes, then complete the installation in reverse order of removal. Finally, start the engine and check for exhaust leaks.
Posted by FordPartsGiant Specialist 


