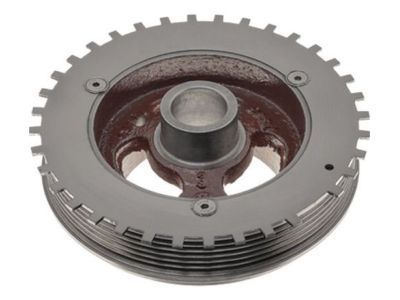
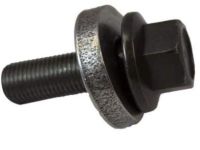
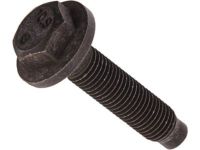
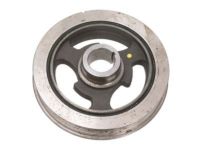
For the removal procedure, several special tools are required for the timing procedure, including the camshaft positioning tool 303-465 for 2.3L and 2.5L models or 303-1565 for 2.0L models, along with the timing pin (303-507), camshaft positioning tool 303-1552 for 1.5L and 1.6L models, variable camshaft sprocket timing (VCT) locking tool 303-1097 for 1.5L and 1.6L models, crankshaft pulley alignment tool 303-1550 for 1.5L and 1.6L models, flywheel locking tools 303-393A and 303-393-02 for 1.5L and 1.6L models, and timing pin 303-748 for 1.5L and 1.6L models. Only rotate the crankshaft in the clockwise direction. Begin by removing the drivebelt and drivebelt tensioner, followed by the timing belt cover. Remove the starter motor and rotate the crankshaft until the camshaft phaser timing marks are at the 11 o'clock position. Remove the TDC timing hole plug and insert the timing pin. For 1.6L engines, the TDC timing hole is covered by the passenger's side driveaxle intermediate shaft support bearing bracket, which requires removal of the driveaxle intermediate shaft and support bearing bracket. Slowly rotate the crankshaft clockwise until the crankshaft balance weight contacts the timing pin, indicating TDC. Assemble the flywheel locking tools and install them securely using the starter mounting bolts. Caution is advised to prevent engine damage when removing the crankshaft pulley bolt and pulley, and always replace the crankshaft pulley bolt with a new one during installation. For 2.0L, 2.3L, and 2.5L engines, remove the drivebelt, and for 2.3L engines with an automatic transaxle, remove the two bolts from the right driveaxle intermediate shaft bracket. Set the engine to TDC using the camshaft and crankshaft locking tools, ensuring the crankshaft is held to prevent rotation while unscrewing the pulley bolt. Use a special tool to hold the crankshaft pulley in place, and remove the pulley and any necessary washers. For installation on 1.5L and 1.6L engines, rotate the VCT sprockets until the timing marks are at the 12 o'clock position, then install the camshaft positioning tool and VCT locking tool. Remove the crankshaft position sensor and install the crankshaft pulley alignment tool, followed by the crankshaft pulley and new bolt. Tighten the bolt and remove the alignment tools. Rotate the crankshaft clockwise for 1-3/4 turns, reinstall the timing pin, and ensure the VCT sprocket timing marks are at the 12 o'clock position. For 2.0L, 2.3L, and 2.5L engines, install a new diamond washer onto the crankshaft, coat the crankshaft front seal with clean engine oil, and install the crankshaft pulley. Hand-tighten the new crankshaft pulley bolt and washer, then install a crankshaft pulley alignment bolt. Tighten the crankshaft pulley bolt and remove the holding tool and alignment bolt. For the 2.0L engine, install the CKP sensor alignment tool, hand-tighten a new crankshaft pulley bolt and washer, and remove the tool. Tighten the crankshaft pulley bolt in stages using a strap wrench. For all models except 1.5L and 1.6L, remove the timing pin and camshaft alignment tool, then rotate the engine clockwise two complete revolutions and achieve TDC. Install the timing pin into the cylinder block, and for 2.3L and 2.5L engines, install the crankshaft pulley alignment bolt, ensuring correct alignment. The correct engine timing is confirmed when the camshaft alignment tool, timing pin, and crankshaft pulley alignment bolt can be placed simultaneously. Finally, remove all alignment tools and bolts, install the timing pin plug, and reinstall all previously removed components.
Posted by FordPartsGiant Specialist 

