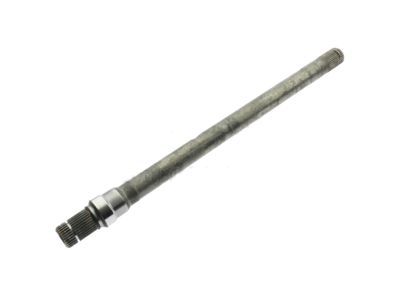
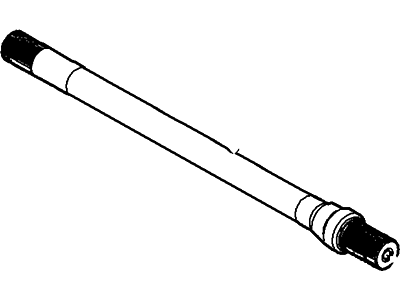
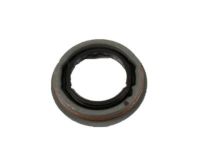
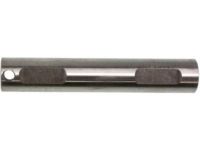
To remove and install front driveaxles on 2004 and earlier models, turn off air suspension (if equipped), loosen lug nuts, raise vehicle, remove wheel, cotter pin, nut lock, and hub nut. Remove driveaxle flange bolts, steering knuckle, and driveaxle assembly. For installation, follow reverse order, tighten hub nut and CV joint flange bolts, and use new cotter pin. Reactivate air suspension if applicable. On 2005 and later models, remove hub dust cap and driveaxle nut. Loosen lug nuts, raise front of vehicle, support with jackstands, disconnect vacuum tube(s), remove IWE retainer bolts, and disconnect tie-rod end and upper ball joint. Pull steering knuckle outward while pushing inward on driveaxle, use special tool to pull inner driveaxle CV joint away from differential. For rear driveaxles on 2003 and later Expedition/Navigator models, block front wheels, loosen lug nuts, raise rear of vehicle, remove wheel. Depress brake pedal, unscrew driveaxle/hub nut, remove brake disc, suspend brake caliper, remove parking brake cable bolt, cover stabilizer bar link stud threads, detach lower control arm and toe link from rear knuckle. Use puller tool to push driveaxle out of hub, raise lower end of knuckle outward, drive inner end of driveaxle out of differential. For installation, pry off old spring clip, replace it, apply grease, insert splined end of inner CV joint into differential, ensure spring clip locks in place. Apply grease to outer CV joint splines, insert outer end of driveaxle into hub, connect lower control arm and toe link to knuckle, tighten fasteners. Install new driveaxle/hub nut, tighten securely, install parking brake cable, brake disc, and caliper. Have assistant push brake pedal, tighten driveaxle/hub nut, reinstall wheel and lug nuts, lower vehicle, tighten lug nuts.
Posted by FordPartsGiant Specialist 

