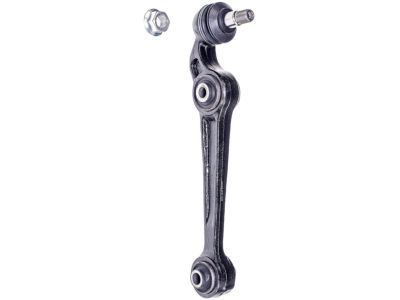
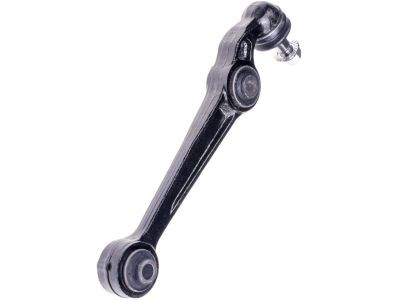
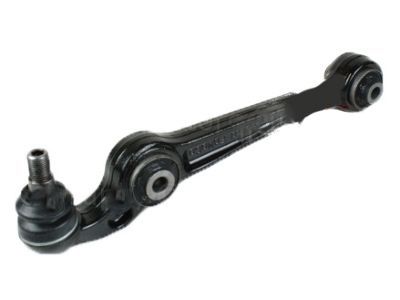
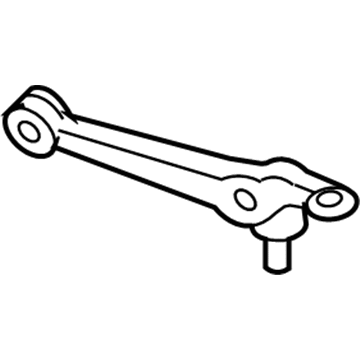
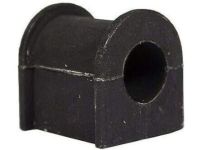
A suspension bolt should be replaced with new fasteners during assembly. For 2012 and earlier models, begin by loosening the wheel lug nuts on the side to be dismantled, raising the front of the vehicle, supporting it securely on jackstands, and removing the wheel. Disconnect the steering shaft from the steering gear, ensuring the steering wheel does not turn to avoid damaging the airbag clockspring. Disconnect the tie-rod ends from the steering knuckles, then remove the steering gear mounting bolts. Detach the exhaust pipe(s) from the exhaust manifold(s) and, if working on an All-Wheel Drive model, detach the driveshaft from the transfer case. Support the rear of the subframe with a floor jack, loosen the front subframe mounting fasteners, remove the rear subframe fasteners, and lower the rear of the subframe with the jack. For either lower arm, loosen the lower arm-to-balljoint nut, position a block of wood under the outer CV joint of the driveaxle to prevent damage, and use a balljoint removal tool to separate the balljoint. If removing the front lower arm, remove the damper fork mounting bolt at the front lower control arm, then remove the arm-to-subframe mounting bolt and the lower control arm. The upper control arm is attached to the top of the steering knuckle with a balljoint and to two positions on the chassis with pivot bolts. Unbolt the wheel speed sensor and the three upper strut-to-body nuts, disconnect the balljoint at the top of the steering knuckle, then remove the inner arm mounting bolts and the upper arm. For 2013 and later models, repeat the initial steps of loosening the wheel lug nuts, raising the vehicle, and removing the wheel, then remove the engine lower splash shields. Remove the nut and pinch bolt, separate the balljoint from the steering knuckle, and remove the control arm front pivot bolt and spacer, followed by the two rear bushing bracket bolts to remove the control arm. Inspect the control arm for distortion and the bushings for wear, replacing parts as necessary, and do not attempt to straighten a bent control arm. Installation is the reverse of removal, ensuring all fasteners are tightened to the specified torque values. Before tightening the control arm fasteners, raise the outer end of the control arm with a floor jack to simulate normal ride height. For upper control arms from 2012 and earlier, install the pivot bolts loosely, then use a 0.25-inch drill bit through the two holes in the chassis just below the bushing to set the proper height for tightening the pivot bolts. Finally, install the wheel and lug nuts, lower the vehicle, and tighten the lug nuts to the specified torque, and it is advisable to have the front wheel alignment checked and adjusted if necessary after completing the job.
Posted by FordPartsGiant Specialist 

