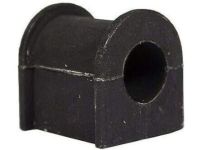
Make sure this part fits

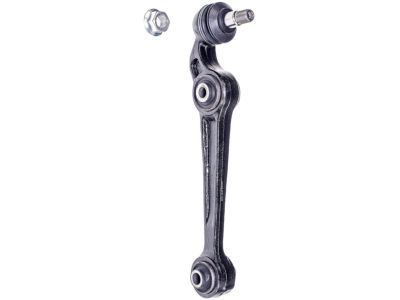
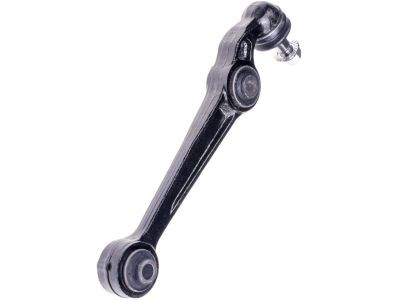
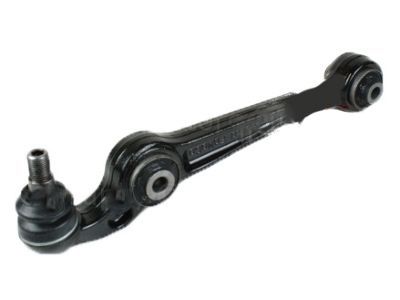
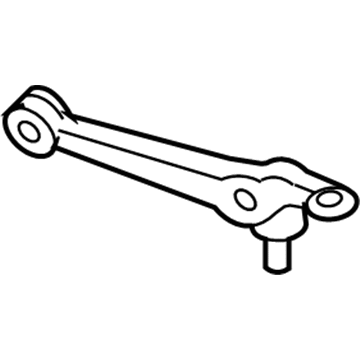
Mercury 5M8Z-3078-S Arm Assembly - Front Suspension

2006-2007 Mercury Milan 5M8Z3078S

Customer Questions & Expert Answers (2)
Ford 5M8Z-3078-S Arm Assembly - Front Suspension
  • Part Description
    Arm Assy - Front Suspension
  • Position
    Front
  • Replaced By
    6M8Z-3078-A
  • Manufacturer
    Ford
  • Manufacturer's Notes
    This part is discontinued.
Make sure this part fits
  • Related Parts
  • Product Specifications
  • Vehicle Fitment
  • Customer Questions & Expert Answers
  • Product Specifications

    BrandGenuine Mercury
    Manufacturer Part Number5M8Z-3078-S, 5M8Z3078S
    Part DescriptionArm Assy - Front Suspension
    Item Dimensions2.1 x 5.8 x 14.3 inches
    Item Weight4.80 Pounds
    PositionFront
    ConditionNew
    Fitment TypeDirect Replacement
    Require Quantity2
    ManufacturerFord
    SKU5M8Z-3078-S
    WarrantyThis genuine Ford part is guaranteed by Ford's factory warranty.
    Shipping & ReturnShipping Policy Return Policy
    Warning: California’s Proposition 65
  • Vehicle Fitment

    Year Make Model Engine Important vehicle option details
    2006-2007 Mercury Milan4 Cyl 2.3L, 6 Cyl 3.0L DOHC EFI, 6 Cyl 3.5L DOHC VCT SMPI5-Speed Automatic Transmission Mazda FNR5, 5-Speed Manual Transmission (G5M), 6-Speed Automatic Transaxle - AWF21, 6-Speed Automatic Transmission 6F Mid-Range, 6-Speed Manual Transmission Mazda G6M, CVT Auto Trans Powersplit Elec, Four-Wheel Drive (Full Time) (Left Hand Drive), Front-Wheel Drive (Left Hand Drive), Left Hand Drive
  • Customer Questions & Expert Answers

    Q:
    Will these fit my car and if not which part will? Thank you. Posted by FordPartsGiant Specialist
    A:
    You can Select Your Vehicle to check if 5M8Z-3078-S fits your vehicle.
    Posted by FordPartsGiant Specialist
    Q:
    How to remove and install the Control Arm on Ford Fusion? Posted by Customer
    A:
    A suspension bolt should be replaced with new fasteners during assembly. For 2012 and earlier models, begin by loosening the wheel lug nuts on the side to be dismantled, raising the front of the vehicle, supporting it securely on jackstands, and removing the wheel. Disconnect the steering shaft from the steering gear, ensuring the steering wheel does not turn to avoid damaging the airbag clockspring. Disconnect the tie-rod ends from the steering knuckles, then remove the steering gear mounting bolts. Detach the exhaust pipe(s) from the exhaust manifold(s) and, if working on an All-Wheel Drive model, detach the driveshaft from the transfer case. Support the rear of the subframe with a floor jack, loosen the front subframe mounting fasteners, remove the rear subframe fasteners, and lower the rear of the subframe with the jack. For either lower arm, loosen the lower arm-to-balljoint nut, position a block of wood under the outer CV joint of the driveaxle to prevent damage, and use a balljoint removal tool to separate the balljoint. If removing the front lower arm, remove the damper fork mounting bolt at the front lower control arm, then remove the arm-to-subframe mounting bolt and the lower control arm. The upper control arm is attached to the top of the steering knuckle with a balljoint and to two positions on the chassis with pivot bolts. Unbolt the wheel speed sensor and the three upper strut-to-body nuts, disconnect the balljoint at the top of the steering knuckle, then remove the inner arm mounting bolts and the upper arm. For 2013 and later models, repeat the initial steps of loosening the wheel lug nuts, raising the vehicle, and removing the wheel, then remove the engine lower splash shields. Remove the nut and pinch bolt, separate the balljoint from the steering knuckle, and remove the control arm front pivot bolt and spacer, followed by the two rear bushing bracket bolts to remove the control arm. Inspect the control arm for distortion and the bushings for wear, replacing parts as necessary, and do not attempt to straighten a bent control arm. Installation is the reverse of removal, ensuring all fasteners are tightened to the specified torque values. Before tightening the control arm fasteners, raise the outer end of the control arm with a floor jack to simulate normal ride height. For upper control arms from 2012 and earlier, install the pivot bolts loosely, then use a 0.25-inch drill bit through the two holes in the chassis just below the bushing to set the proper height for tightening the pivot bolts. Finally, install the wheel and lug nuts, lower the vehicle, and tighten the lug nuts to the specified torque, and it is advisable to have the front wheel alignment checked and adjusted if necessary after completing the job.
    Posted by FordPartsGiant Specialist
    If you have any questions about this product, please don't hesitate to ask us. We will be happy to help you!

Genuine Ford Part 5M8Z-3078-S, the Right Choice

To ensure reliability, purchase Ford part # 5M8Z-3078-S Arm Assembly - Front Suspension. It is sometimes referred to as Mercury Control Arm. In terms of quality and longevity, OEM parts are top-tier. This is because they are made according to Ford's demanding factory specifications and go through strict quality control. This part fits specific Mercury Milan models.

FordPartsGiant.com is a leading supplier of genuine Ford parts and accessories such as Ford 5M8Z3078S Arm Assembly - Front Suspension. On our platform, we provide genuine Ford parts at incredible prices while ensuring top-tier quality. Feel at ease shopping with us, knowing our parts have a hassle-free return policy and rapid delivery service. For detailed Mercury parts information, click here.

Why choose Ford Parts Giant

  • Dedicated Service

    Your complete satisfaction is our #1 goal

  • Lowest Prices

    Best deals on genuine OE parts from dealerships

  • Fast Delivery

    Orders are processed and delivered promptly