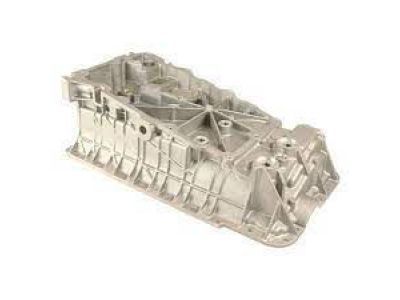
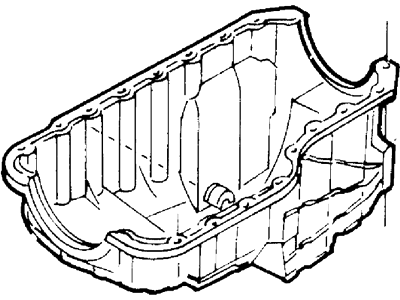
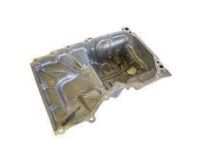
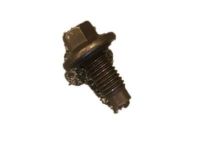
To execute it for 2WD models, first remove the negative cable of the battery and take out the oil dipstick. Remove the screws to the fan shroud and place it over the fan and the final step is the removal of the engine, which is mounted on the frame using special mounts. Lift the car and effect proper jack-staning to do the work on the car area very easily. If so fitted remove the retainer clip and separate the connector from low oil level sensor. Discard the oil and put in a fresh oil filter. The mechanical starter motor must be eradicated, as well as front transmission shroud which has the appearance of a cover. Take off the nuts on the engine mounts and lift the engine by 2 inches using the three-bar engine support fixture, and pull off the transmission, and the engine flywheel or drive plate. Take out the passenger side axle beams, it is advised to take of the brake caliper then fasten it somewhere out of the way. Remove the bolts that fix the oil pan into position and then, with the help of a hoist, lift the engine to about two inches so that enough space will be created to allow the oil pan to be freed and taken out-using a little force, if need be. Before fitting, degrease the sealing surfaces of the block and pan, then fit a new gasket to the oil pan in contact adhesive way. Wipe the majority of the 4 to 5 mm thick RTV sealer off the junction of the rear main bearing cap and engine block and the timing chain cover-to-block surface, and put it around the edges of the bearing cap and to the mating area of the cover to the block, making sure that the sealant does not dry up before fitting the pan. Place the pan on the engine, fasten the oil pan bolts, and apply only the recommended amounts of force in order to tighten them. Any parts removed should be reinstalled and the engine oil topped up before engaging the engine to look for any signs of leakage. On the 4WD models, the engine has to be dismantled to get at the oil pan. Next, supporting the engine on a suitable engine stand, have the oil pan bolted, and if required, eased off slightly. Scrub the gasket surfaces nicely and insert a new one that you'll be using contact adhesive; apply a 4 to 5 mm thick of RTV sealer on the relevant joints but make sure the sealant has not cured before you fit the pan. Place the pan in the position of the engine, screw the bolts of the oil pan, and fasten it accordingly. Last but not the least, place back the engine, other components that were unclipped, add the engine oil, and start the engine for leakage test.
Posted by FordPartsGiant Specialist 

