×
- Live Chat
- 1-888-788-9341


My Garage
My Account
Cart
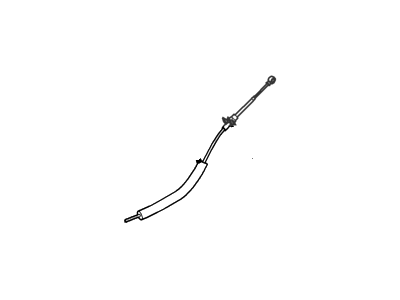
Genuine Ford Escape Shift Cable
Transmission Shift Cable- Select Vehicle by Model
- Select Vehicle by VIN
Select Vehicle by Model
orMake
Model
Year
Select Vehicle by VIN
For the most accurate results, select vehicle by your VIN (Vehicle Identification Number).
22 Shift Cables found
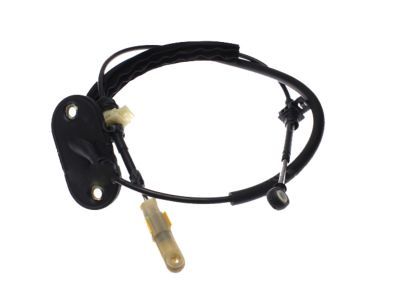
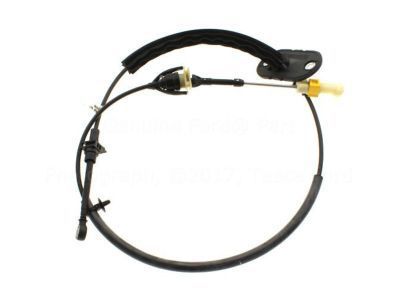
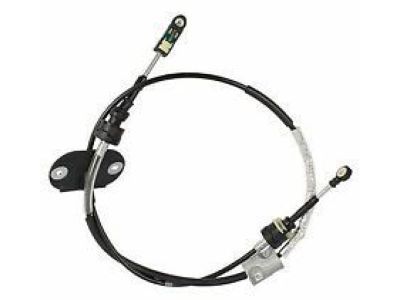
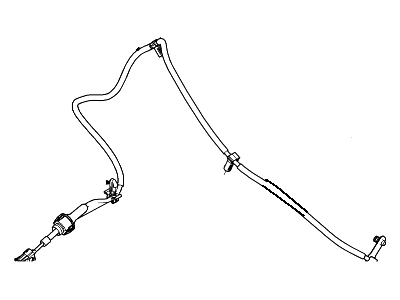
Ford Escape Selector Lever Control Cable Assembly
Part Number: AL8Z-7E395-A$98.77 MSRP: $128.50You Save: $29.73 (24%)Ford Escape Selector Lever Control Cable Assembly
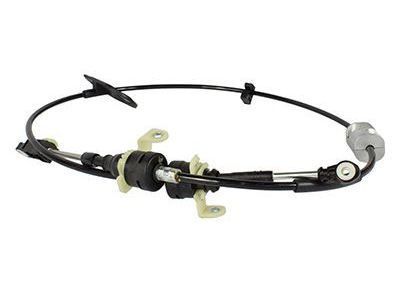
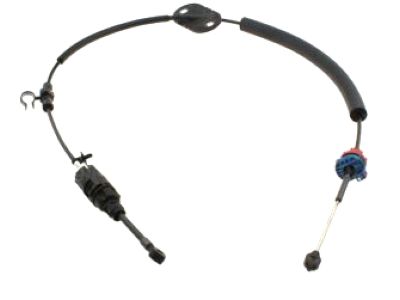
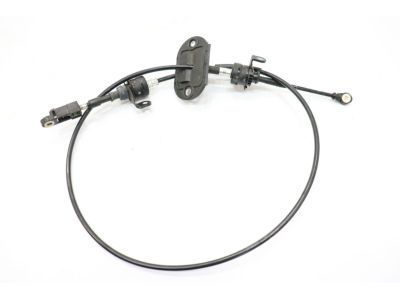
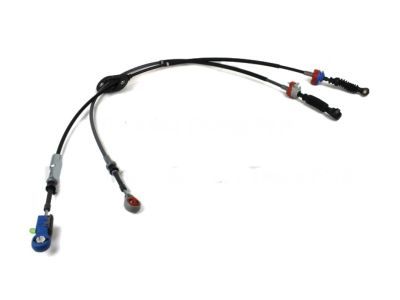
Part Number: CJ5Z-7E395-A$54.11 MSRP: $83.50You Save: $29.39 (36%)Ford Escape Selector Lever Control Cable Assembly
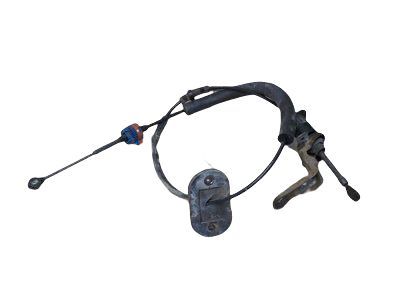
Part Number: 8L8Z-7E395-B$55.02 MSRP: $68.33You Save: $13.31 (20%)Ford Escape Selector Lever Control Cable Assembly
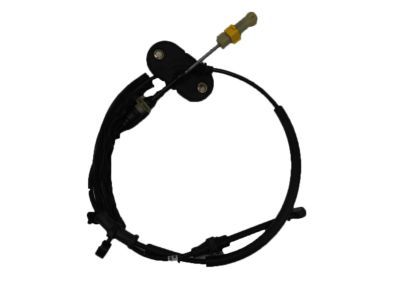
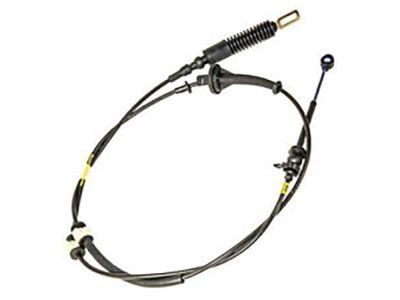
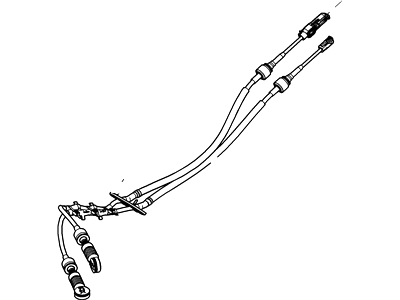
Part Number: YL8Z-7E395-BA$92.71 MSRP: $143.33You Save: $50.62 (36%)Ford Escape Automatic Transmission Shifter Cable
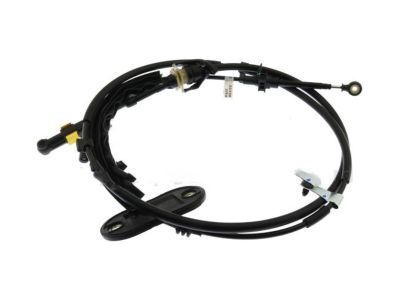
Part Number: 9L8Z-7E395-A$103.47 MSRP: $128.50You Save: $25.03 (20%)Ford Escape Selector Lever Control Cable Assembly
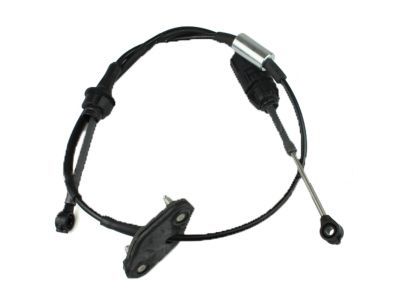
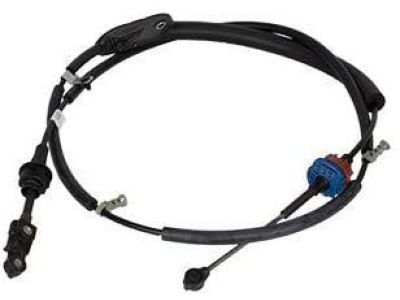
Part Number: 5L8Z-7E395-C$91.54 MSRP: $133.83You Save: $42.29 (32%)Ford Escape Selector Lever Control Cable Assembly
Part Number: 6L8Z-7E395-AA$98.15 MSRP: $143.50You Save: $45.35 (32%)Ford Escape Selector Lever Control Cable Assembly
Part Number: 5M6Z-7E395-A$82.88 MSRP: $121.17You Save: $38.29 (32%)Ford Escape Selector Lever Control Cable Assembly
Part Number: 9M6Z-7E395-A$127.68 MSRP: $186.67You Save: $58.99 (32%)Ford Escape Selector Lever Control Cable Assembly
Part Number: GV6Z-7E395-A$79.23 MSRP: $115.83You Save: $36.60 (32%)Ships in 1-3 Business DaysFord Escape Selector Lever Control Cable Assembly
Part Number: 5L8Z-7E395-AD$91.54 MSRP: $133.83You Save: $42.29 (32%)Ships in 1-3 Business DaysFord Escape CABLE ASY - SELECTOR LEVER CON
Part Number: LX6Z-7D246-L$32.89 MSRP: $47.67You Save: $14.78 (31%)Ships in 1-2 Business DaysFord Escape CABLE ASY - SELECTOR LEVER CON
Part Number: LX6Z-7D246-V$32.60 MSRP: $47.67You Save: $15.07 (32%)Ships in 1-2 Business DaysFord Escape Selector Lever Control Cable Assembly
Part Number: 5L8Z-7E395-AC$98.15 MSRP: $143.50You Save: $45.35 (32%)Ships in 1-3 Business DaysFord Escape Selector Lever Control Cable Assembly
Part Number: 5M6Z-7E395-BA$82.88 MSRP: $121.17You Save: $38.29 (32%)Ships in 1-3 Business Days
| Page 1 of 2 |Next >
1-20 of 22 Results
Ford Escape Shift Cable
We provide a wide range of Ford Escape Shift Cable at the best prices possible. If you need Ford Escape Shift Cable, you can shop with confidence on our website. All our OEM parts come with a manufacturer's warranty and are delivered to your door step with a fast delivery service.
Ford Escape Shift Cable Parts Questions & Experts Answers
- Q: How to replace and adjust the shift cable on Ford Escape?A: For 2004 and earlier models with a column mounted shifter begin with disconnecting the negative terminal of the battery and thereafter waiting for at least 2 minutes. Take out the bonnet shield, disengage the shift cable from the shift lever and the steering head by pulling out the C-clip and slotting off the cable end. Between front fenders remove nuts fastening the cable to the firewall Pull the shift cable out of the vehicle and detach the shift cable from the shift lever and transaxle mounting bracket. They include; Replacing is the reverse of removal but must take care to tension the cable as desired. For adjustment, with the steering column covers off, insert a 0,023 in (0.6mm) feeler gauge between the shift lever and the shift lever detent and while in Drive place the secondary selector lever and have an assistant hold it. In the engine-compartmant area, disconnect the cable from the selector ball stud, unbolt the cable adjuster, perform cable adjustment, while the trans-axle selector lever is in the DRIVES position, and reconnect the cable with the ball stud. Slightly tighten the cable adjuster, withdraw the feeler gauge and perform the shift lever operation check in each of the gear selection position before reinstalling the steering column shrouds. However, the idle and the fuel mixture trim strategy in the Powertrain Control Module would have been lost once the battery was disconnected and it needs to learn it again for enhanced drivability and performance. In console mounted shifters you have to first unconnected the negative battery cable, properly jack up the car, remove the LS splash shield, engage 1st gear and remove the snow shield of the transaxle. The adjustment bolts of the transaxle shift cable should be taken out, and the cable must be disconnected from the shifter lever adjustment screw; further, most of the cable retainers along its whole length should be disconnected. The following are the steps; first, you need to pull off the floor console finish panel, then, the cable body pass through grommet nuts, then disconnect the cable from the shifter ball stud the release the housing from the shifter. When installing it is done in reverse of the removal process, and the new cable is adjusted to fit. For adjustment, remove the left splash shield, switch off the ignition and then take out the key, place the gearshift lever in drive, remove the nuts holding the cable bracket, loosen the screw of the shifter cable adjustment, position the shifter lever between the two ribs of the transaxle and tighten the cable bracket nuts and the shifter cable adjustment screw. After installation, use the parking brake, and reduce the height if there are other components remaining, then to test its correctness, go through all the ranges of the vehicle. For 2005 through 2007 models, remove the batt negative terminal, turn the ignition On, shift into Drive, remove upper Console, reduce the shift cable from shift lever and bracket and lastly unbolt the shift cable nut at front of the console. In the engine compartment, the clamping bolt of the Z-shaped bracket is slackened until the bracket is positioned near the shift cable, the shift cable is disconnected from the shift lever of the transaxle, the shift cable is relieved from the mounting bracket, the cable is passed through the space between the air conditioning ducts and is pulled out from under the instrument panel. Removal is the process of dismantling while installation is the process of putting up that which was removed. For models produced after 2008, turn the key to On, take off the negative battery terminal, pry the rectangular ring around the base of the shift lever with a plastic trim tool or a stripped screwdriver, pop off the inner tray that is located at the rear of the center console, remove the top part of trim panel from the console, disconnect the shift cable from the shift lever and the nearby bracket, unscrew the shift cable mounting bolts Removal: Installation is the same in reverse.
Related Ford Escape Parts
Browse by Year
2023 Shift Cable 2022 Shift Cable 2021 Shift Cable 2020 Shift Cable 2019 Shift Cable 2018 Shift Cable 2017 Shift Cable 2016 Shift Cable 2015 Shift Cable 2014 Shift Cable 2013 Shift Cable 2012 Shift Cable 2011 Shift Cable 2010 Shift Cable 2009 Shift Cable 2008 Shift Cable 2007 Shift Cable 2006 Shift Cable 2005 Shift Cable 2004 Shift Cable 2003 Shift Cable 2002 Shift Cable 2001 Shift Cable
