×
- Live Chat
- 1-888-788-9341


My Garage
My Account
Cart
Genuine Ford Expedition Intake Manifold
Engine Intake Manifold- Select Vehicle by Model
- Select Vehicle by VIN
Select Vehicle by Model
orMake
Model
Year
Select Vehicle by VIN
For the most accurate results, select vehicle by your VIN (Vehicle Identification Number).
21 Intake Manifolds found
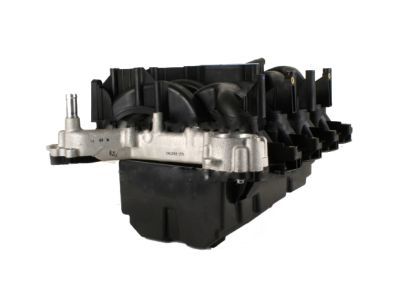
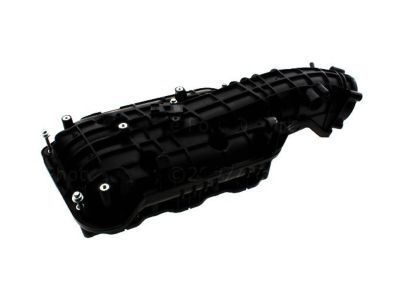
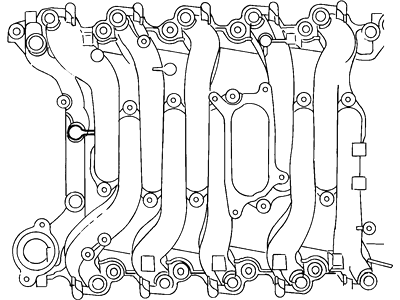
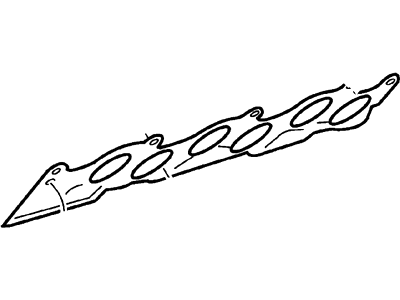
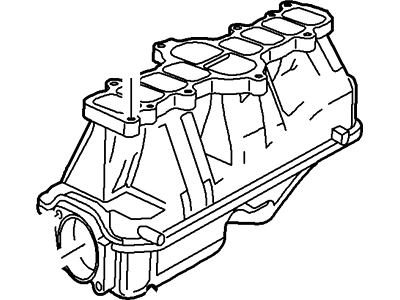
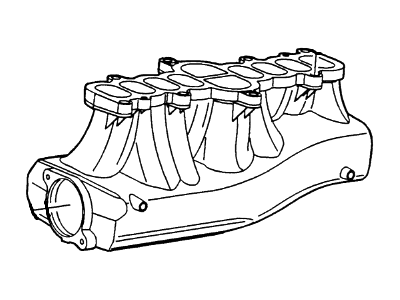
Ford Expedition Manifold Assembly - Inlet
Part Number: 2L1Z-9424-AA$284.76 MSRP: $420.00You Save: $135.24 (33%)Ford Expedition Manifold Assembly - Inlet
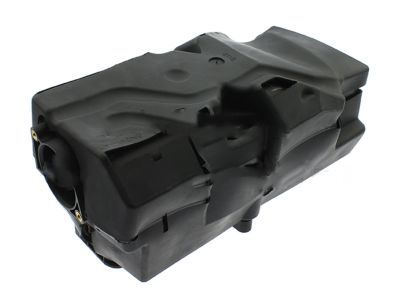
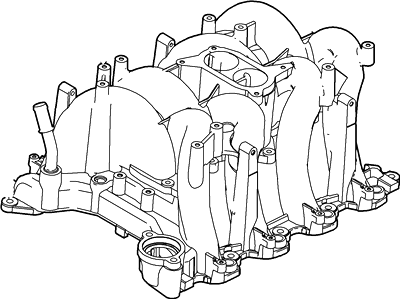
Part Number: DL3Z-9424-C$90.40 MSRP: $132.17You Save: $41.77 (32%)Ships in 1-2 Business DaysFord Expedition Manifold Assembly - Inlet
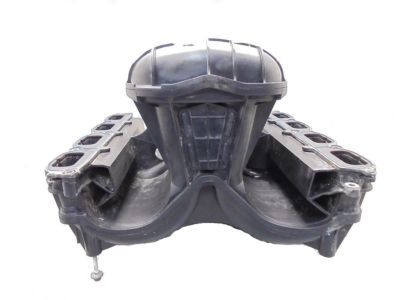
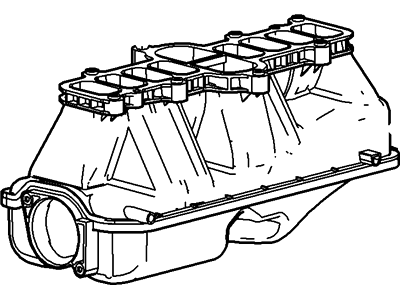
Part Number: 9L3Z-9424-A$274.77 MSRP: $430.00You Save: $155.23 (37%)Ford Expedition MANIFOLD ASY - INLET
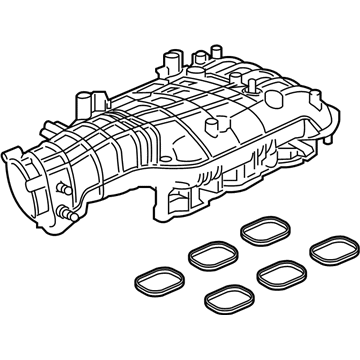
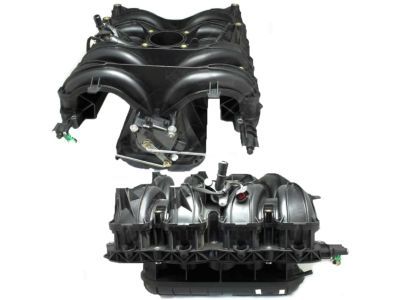
Part Number: HL3Z-9424-B$76.27 MSRP: $111.50You Save: $35.23 (32%)Ships in 1-2 Business DaysFord Expedition Manifold Assembly - Inlet
Part Number: HL3Z-9424-A$76.27 MSRP: $111.50You Save: $35.23 (32%)Ships in 1-2 Business DaysFord Expedition MANIFOLD ASY - INLET
Part Number: ML3Z-9424-G$66.78 MSRP: $98.50You Save: $31.72 (33%)Ships in 1-2 Business DaysFord Expedition Manifold Assembly - Inlet
Part Number: YL3Z-9424-CA$284.76 MSRP: $420.00You Save: $135.24 (33%)
| Page 1 of 2 |Next >
1-20 of 21 Results
Ford Expedition Intake Manifold
Intake Manifold: In Ford Expedition vehicles, Intake Manifold is responsible for supplying air or a combination of air and fuels to the cylinders and thus determine the power and performance of the engine. Working on the notion of the throttle body or carburetor, it varies in its designs depending on the type if the engine. For example, as we have learned the earlier models with carburetors operate differently than the latest multi-point fuel injected models with fuel injectors for each cylinder. Early designs of the Ford Expedition intake manifolds use cast iron and aluminum but has shifted to a light weight composite plastic in order to improve fuel efficiency and cooling access. Some of the models have intake manifolds that are of variable length (VLIM) for enhancing the flow of fresh combustion air and hence enhance the performance depending on the load of the engine. Such improvements help to keep the Ford Expedition with the desired level of efficiency and power in various configurations of the power plant.
We provide a wide range of Ford Expedition Intake Manifold at the best prices possible. If you need Ford Expedition Intake Manifold, you can shop with confidence on our website. All our OEM parts come with a manufacturer's warranty and are delivered to your door step with a fast delivery service.
Ford Expedition Intake Manifold Parts Questions & Experts Answers
- Q: How to remove and install the intake manifold in V8 engine on Ford Expedition?A: Disconnect the cable from the negative battery terminal and relieve the fuel system pressure. Drain the cooling system and remove the drivebelt. Disconnect the radiator hose from the thermostat housing and remove the thermostat housing, which also retains the intake manifold. Remove the air cleaner and outlet tube, label and disconnect all vacuum lines connected to the intake manifold, and remove the PCV and canister purge hoses from the valve covers. Disconnect the accelerator cable, speed control linkage if equipped, electrical connectors at the throttle body, fuel injectors, fuel rails, and plug the fuel supply and return lines. Disconnect the ignition wire brackets, boots, and wires, ensuring to pull the spark plug wire separators from their mounts on the valve cover studs. Disconnect the idle air control valve, differential pressure feedback transducer and hoses, engine vacuum regulator sensor, and EGR valve-to-exhaust manifold pipe. Disconnect the alternator electrical connectors and remove the alternator, then remove the bolts retaining the alternator bracket to the intake manifold. Disconnect the ignition coils and the electrical connectors from the camshaft sensor, coolant temperature sending unit, air charge temperature sensor, throttle positioner, and idle speed control solenoid. For models through 2004, disconnect the heater hose at the manifold and unbolt the heater hose tube from the back of the engine; for 2005 and later models, disconnect the hoses and remove the coolant crossover. Pull the engine wiring harness off the valve cover and intake studs, unbolt the power steering reservoir bracket and set the pump aside, and unbolt the bracket supporting the power brake booster hose. Loosen the intake manifold bolts and nuts in 1/4-turn increments until they can be removed by hand, then lift the intake manifold from the cylinder heads and disconnect the intake manifold tuning valve from the lower plenum, using a prybar if necessary while ensuring all bolts and nuts have been removed. Remove the intake manifold gaskets and clean all traces of gasket or sealant material from the sealing surfaces of the cylinder heads and intake manifold, ensuring the mating surfaces are perfectly clean. If the intake manifold was disassembled from the lower plenum, reassemble it or transfer all components to the new intake manifold, using electrically conductive sealant on the temperature sending unit threads and a new EGR valve gasket. Clean the mating surfaces with lacquer thinner or acetone, cover open engine areas with shop rags to keep debris out, and use a vacuum cleaner to remove any gasket material that falls into the intake ports. Use a tap to chase the threads in the bolt holes and remove debris with compressed air. Remove excessive carbon deposits and corrosion from the exhaust and coolant passages. Install the gaskets on the cylinder heads, ensuring all alignment tabs and openings are correctly aligned, then carefully set the intake manifold in place without disturbing the gaskets. Install the intake manifold bolts and tighten them to the specified torque, replace the O-ring seal on the thermostat housing, install the thermostat housing, and tighten the bolts. For 2005 and later models, install the coolant crossover with new gaskets and reconnect the hoses. Complete the remaining installation steps in reverse order of removal, then start the engine and check for oil and coolant leaks.
Related Ford Expedition Parts
Browse by Year
2024 Intake Manifold 2023 Intake Manifold 2022 Intake Manifold 2021 Intake Manifold 2020 Intake Manifold 2019 Intake Manifold 2018 Intake Manifold 2017 Intake Manifold 2016 Intake Manifold 2015 Intake Manifold 2014 Intake Manifold 2013 Intake Manifold 2012 Intake Manifold 2011 Intake Manifold 2010 Intake Manifold 2009 Intake Manifold 2008 Intake Manifold 2007 Intake Manifold 2006 Intake Manifold 2005 Intake Manifold 2004 Intake Manifold 2003 Intake Manifold 2002 Intake Manifold 2001 Intake Manifold 2000 Intake Manifold 1998 Intake Manifold 1997 Intake Manifold
