×
- Live Chat
- 1-888-788-9341


My Garage
My Account
Cart
Genuine Ford Taurus Shift Cable
Transmission Shift Cable- Select Vehicle by Model
- Select Vehicle by VIN
Select Vehicle by Model
orMake
Model
Year
Select Vehicle by VIN
For the most accurate results, select vehicle by your VIN (Vehicle Identification Number).
18 Shift Cables found
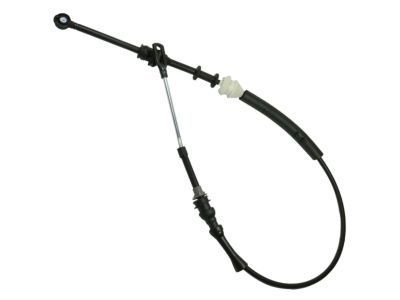
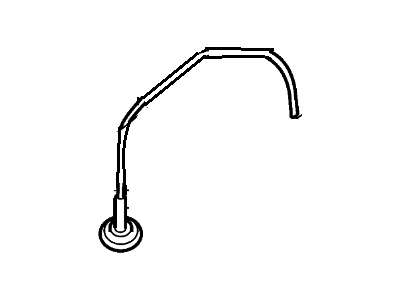
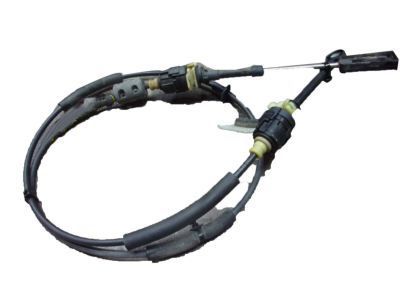
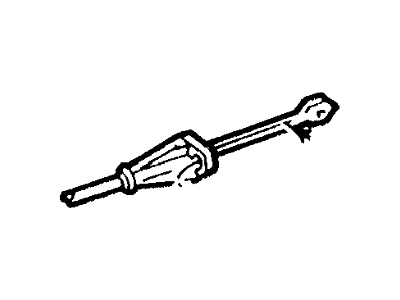
Ford Taurus Transmission Gear Shifter Shift Control Cable
Part Number: 6F1Z-7E395-A$109.96 MSRP: $170.00You Save: $60.04 (36%)Ships in 1-3 Business DaysFord Taurus Selector Lever Control Cable Assembly
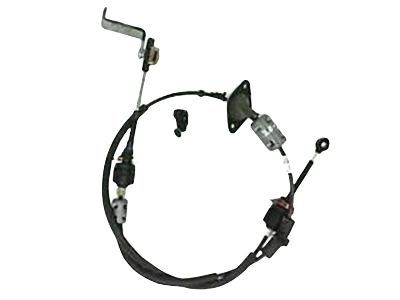
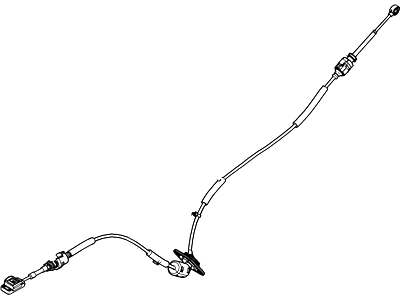
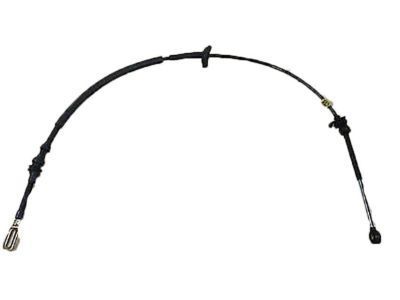
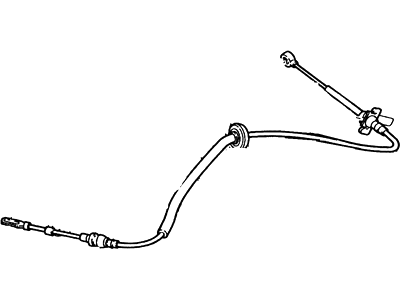
Part Number: AA5Z-7E395-C$81.62 MSRP: $119.33You Save: $37.71 (32%)Ford Taurus Selector Lever Control Cable Assembly
Part Number: YF1Z-7E395-BA$91.63 MSRP: $141.67You Save: $50.04 (36%)Ford Taurus Selector Lever Control Cable Assembly
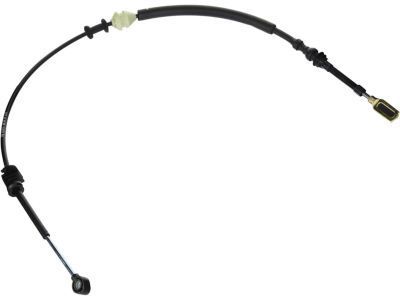
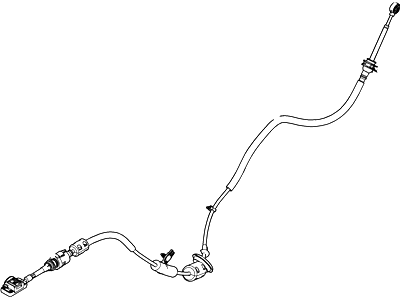
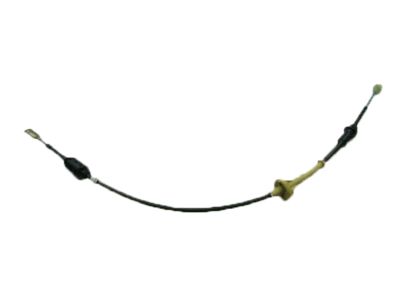
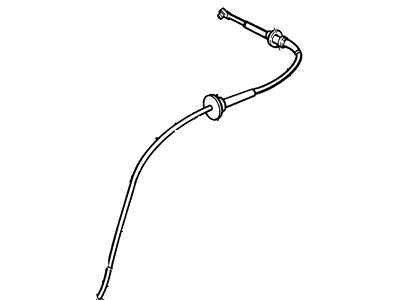
Part Number: DG1Z-7E395-C$93.59 MSRP: $136.83You Save: $43.24 (32%)Ships in 1-3 Business DaysFord Taurus Selector Lever Control Cable Assembly
Part Number: 1F1Z-7E395-AA$109.96 MSRP: $170.00You Save: $60.04 (36%)Ships in 1-3 Business DaysFord Taurus Selector Lever Control Cable Assembly
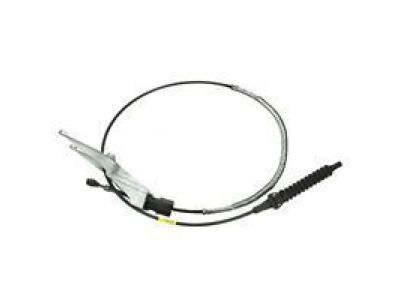
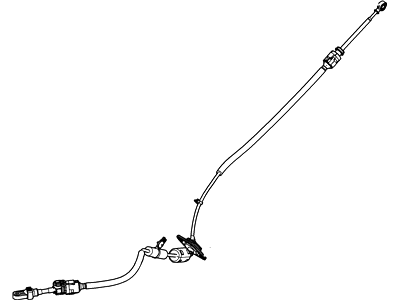
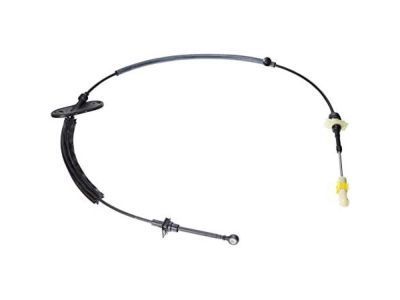
Part Number: AA5Z-7E395-A$81.62 MSRP: $119.33You Save: $37.71 (32%)Ships in 1-2 Business DaysFord Taurus Selector Lever Control Cable Assembly
Part Number: YF1Z-7E395-AA$91.63 MSRP: $141.67You Save: $50.04 (36%)Ford Taurus Selector Lever Control Cable Assembly
Part Number: DG1Z-7E395-B$83.82 MSRP: $127.00You Save: $43.18 (34%)Ships in 1-2 Business DaysFord Taurus Selector Lever Control Cable Assembly
Part Number: EG1Z-7E395-A$79.42 MSRP: $120.33You Save: $40.91 (34%)Ships in 1-3 Business Days
Ford Taurus Shift Cable
We provide a wide range of Ford Taurus Shift Cable at the best prices possible. If you need Ford Taurus Shift Cable, you can shop with confidence on our website. All our OEM parts come with a manufacturer's warranty and are delivered to your door step with a fast delivery service.
Ford Taurus Shift Cable Parts Questions & Experts Answers
- Q: How do you disconnect and adjust the shift cable on Ford Taurus?A: If the vehicle has just been driven, wait several hours to allow the engine to cool down before beginning this procedure. Disconnect both the negative and positive cables from the battery and wait at least two minutes before proceeding. Place the shifter in neutral, then raise the vehicle on a hoist or securely support it on jackstands. Remove the air filter housing. For a floor shifter, remove the center console and trim to access the shift cable and disconnect it from the shift lever, then remove the driver's side knee bolster. Use a trim tool to pry the cable eye from the ballstud on the shifter and release the tabs on the sides of the shift cable to detach it from the console. On 2007 and earlier models, remove the two instrument panel brace bolts at the floor, slide the cable under the brace, and remove it. For a column shifter, remove the upper and lower steering column covers, then the center dash bezel and driver's side trim panel. Use a trim tool to pry the cable eye from the ballstud on the shifter and release the tabs on the sides of the shift cable to detach it from the bracket. For all models, remove the insulation from the floor area under the center of the instrument panel to access the fasteners securing the cable grommet to the floorpan, then remove the fasteners securing the transaxle cable plate/grommet. To disconnect the shift cable at the transaxle control lever, pop the cable end off of the lever ballstud, then depress the tabs and slide the cable housing out of the bracket. Squeeze the retaining tab(s) and detach the cable housing from the mounting bracket on the transaxle, disconnect any cable retainers along the length of the cable, and remove the grommet plate nuts from the floorpan studs below the HVAC housing. Pull the shift cable through the floor from the inside, passing it under and to the left of the air duct that leads to the rear seats, noting that the grommet is integral to the cable assembly. Installation is the reverse of removal, and the new cable should be adjusted after installation. Set the parking brake, then disconnect the cable from the negative battery terminal and remove the air filter housing. Place the shifter in Drive, pop the cable off of the shift lever ballstud, and manually move the shift arm at the transaxle clockwise until it stops, then rotate the lever counterclockwise one click. On 2007 and earlier models, slide the release tab toward the cable end to unlock it and pull out the adjusting tab. On 2008 and later models, carefully pry up on the release tab, then pull up the lock tab. On 2013 and later models without paddle shift, pry the lock tabs out and slide the lock forward to release. Slide the shift lever cable end until the cable is aligned with the control lever, then reconnect the cable end to the manual lever ballstud with the lock still released. Slide back the lock on the adjuster, ensuring the adjuster is locked and the cable is securely seated onto the ball stud. Install any remaining components, then apply the parking brake, start the engine, and shift into each range to verify the adjustment is correct.
Related Ford Taurus Parts
Browse by Year
2019 Shift Cable 2018 Shift Cable 2017 Shift Cable 2016 Shift Cable 2015 Shift Cable 2014 Shift Cable 2013 Shift Cable 2012 Shift Cable 2011 Shift Cable 2010 Shift Cable 2009 Shift Cable 2008 Shift Cable 2007 Shift Cable 2006 Shift Cable 2005 Shift Cable 2004 Shift Cable 2003 Shift Cable 2002 Shift Cable 2001 Shift Cable 2000 Shift Cable 1999 Shift Cable 1998 Shift Cable 1997 Shift Cable 1996 Shift Cable 1995 Shift Cable 1994 Shift Cable 1993 Shift Cable 1992 Shift Cable 1991 Shift Cable 1990 Shift Cable 1989 Shift Cable 1988 Shift Cable 1987 Shift Cable 1986 Shift Cable
