
My Garage
My Account
Cart
Genuine Ford Thunderbird Brake Disc
Disc Rotor- Select Vehicle by Model
- Select Vehicle by VIN
Select Vehicle by Model
orMake
Model
Year
Select Vehicle by VIN
For the most accurate results, select vehicle by your VIN (Vehicle Identification Number).
12 Brake Discs found
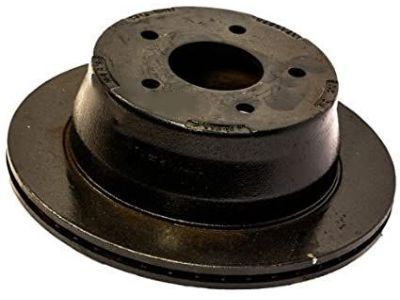
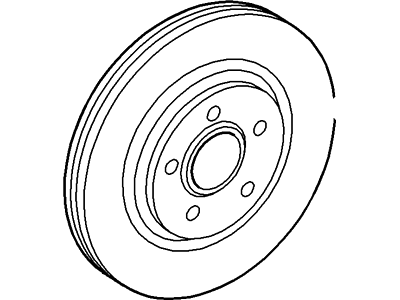
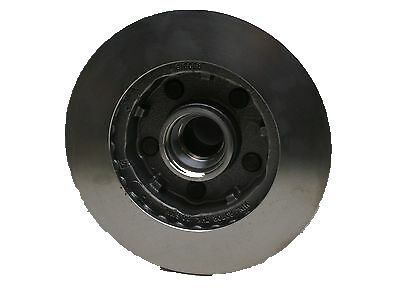
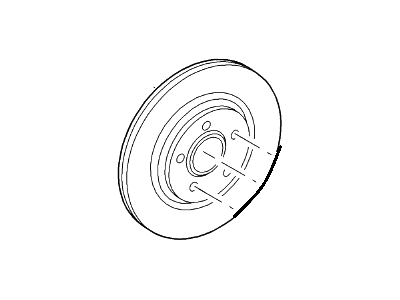
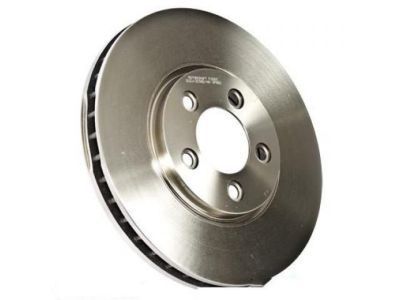
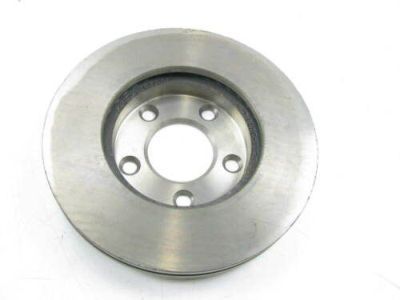
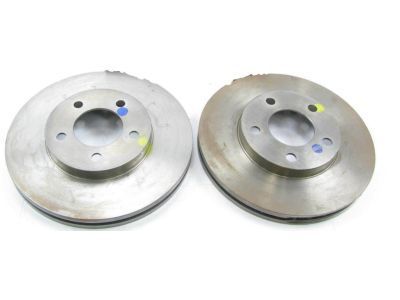
Ford Thunderbird Rotor Assembly
Part Number: XW4Z-1125-AA$75.45 MSRP: $116.65You Save: $41.20 (36%)Ships in 1 Business DayFord Thunderbird Rotor Assembly
Part Number: 2U2Z-1V125-EA$75.45 MSRP: $116.65You Save: $41.20 (36%)Ships in 1-2 Business DaysFord Thunderbird Rotor Assembly
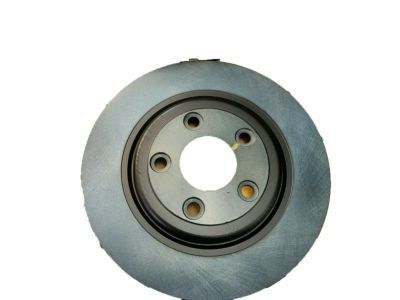
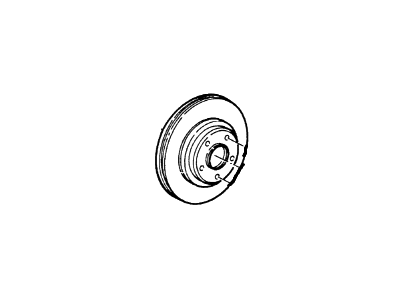
Part Number: 2U2Z-1V125-HA$75.45 MSRP: $116.65You Save: $41.20 (36%)Ships in 1 Business DayFord Thunderbird Rotor Assembly - Brake
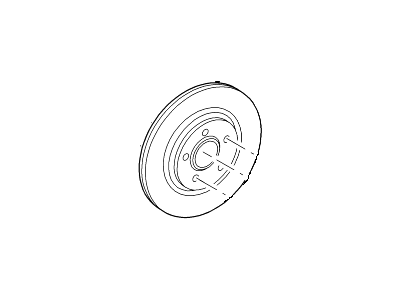
Part Number: XW4Z-2C026-AA$54.30 MSRP: $133.32You Save: $79.02 (60%)Ford Thunderbird Rotor Assembly - Brake
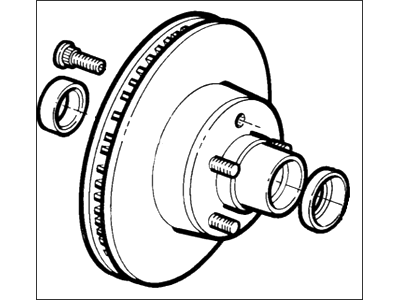
Part Number: 1R8Z-2C026-AA$75.45 MSRP: $116.65You Save: $41.20 (36%)Ships in 1-2 Business Days
Ford Thunderbird Brake Disc
The Brake Disc of Ford Thunderbird vehicles is a subsystem of the whole disc brake that is mandated with the task of providing the friction required to bring the car to a stop. Usually, these discs are produced from grey iron, although some may have special cooling integrations in the form of fins or vanes to increase heat output that is essential for the effective operation of the brake. Through the years, the different types of Brake Discs have been used in Thunderbird models, and these include: the forward solid, vented, drilled, and slotted. Each of these types has advantages, for instance, cooling, silence and among others. Varieties of Brake Discs also influence the cars' performance; drilled or slotted types are common as they remove heat and water but come with the disadvantage of fast wearing down of the pad. Or lack of it is crucial as factors such as warping, cracking, and rusting reduces the braking effectiveness. The presence of Ford Thunderbird vehicles requires that the Brake Discs are inspected on a regular basis and replaced when they are worn out.
We provide a wide range of Ford Thunderbird Brake Disc at the best prices possible. If you need Ford Thunderbird Brake Disc, you can shop with confidence on our website. All our OEM parts come with a manufacturer's warranty and are delivered to your door step with a fast delivery service.
Ford Thunderbird Brake Disc Parts Questions & Experts Answers
- Q: How to remove and install Brake disc on Ford Thunderbird?A:This procedure applies to both front and rear disc brake assemblies. Loosen the wheel lug nuts, raise the vehicle and support it securely on jack stands. Remove the wheel. Remove the Brake Caliper, suspending it out of the way with a piece of wire. Reinstall two lug nuts to hold the disc against the hub. Visually check the disc surface for score marks and other damage. Deep score marks require disc removal and refinishing. Check disc run out using a dial indicator, and if it exceeds the allowable limit, the disc should be refinished. The disc must not be machined to a thickness less than the specified minimum refinish thickness. Remove the lug nuts holding the disc to the hub and lift the disc off. Install the disc onto the hub assembly. Install the caliper and brake pad assembly over the disc and tighten the caliper bolts. Install the wheel, lower the vehicle, and depress the brake pedal to bring the brake pads into contact with the rotor. Check the operation of the brakes carefully before placing the vehicle into normal service.
Related Ford Thunderbird Parts
Browse by Year
2005 Brake Disc 2004 Brake Disc 2003 Brake Disc 2002 Brake Disc 1997 Brake Disc 1996 Brake Disc 1995 Brake Disc 1994 Brake Disc 1993 Brake Disc 1992 Brake Disc 1991 Brake Disc 1990 Brake Disc 1989 Brake Disc 1988 Brake Disc 1987 Brake Disc 1986 Brake Disc 1985 Brake Disc 1984 Brake Disc 1983 Brake Disc 1982 Brake Disc 1981 Brake Disc 1980 Brake Disc
