×
- Live Chat
- 1-888-788-9341


My Garage
My Account
Cart
Genuine Lincoln MKX Crankshaft Position Sensor
Engine Crankshaft Position Sensor- Select Vehicle by Model
- Select Vehicle by VIN
Select Vehicle by Model
orMake
Model
Year
Select Vehicle by VIN
For the most accurate results, select vehicle by your VIN (Vehicle Identification Number).
5 Crankshaft Position Sensors found
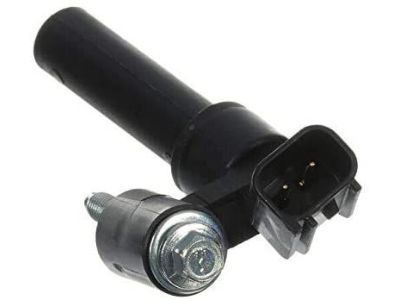
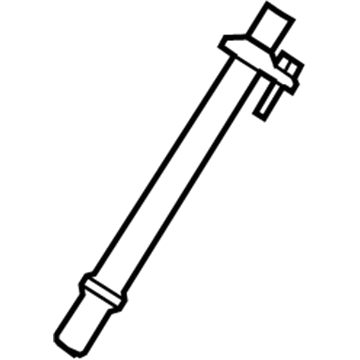
Lincoln MKX Sensor - Crankshaft Position
Part Number: AA5Z-6C315-A$45.71 MSRP: $72.91You Save: $27.20 (38%)Ships in 1-2 Business DaysLincoln MKX Sensor - Crankshaft Position
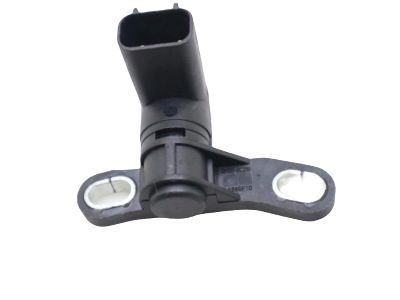
Part Number: 6M8Z-6C315-AA$68.31 MSRP: $112.91You Save: $44.60 (40%)Ships in 1-2 Business DaysLincoln MKX Sensor - Crankshaft
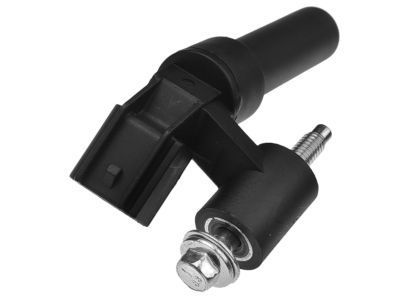
Part Number: 7T4Z-6C315-B$45.71 MSRP: $72.91You Save: $27.20 (38%)Ships in 1-2 Business DaysLincoln MKX Sensor - Crankshaft Position
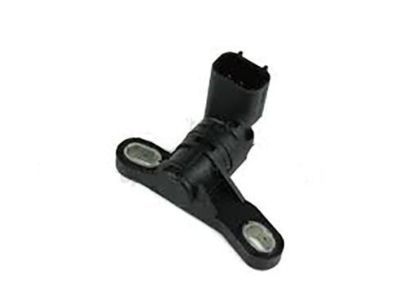
Part Number: AS7Z-6C315-A$35.50 MSRP: $55.64You Save: $20.14 (37%)Ships in 1-3 Business DaysLincoln MKX Sensor - Crankshaft Position
Part Number: FT4Z-6C315-A$49.42 MSRP: $77.45You Save: $28.03 (37%)Ships in 1-3 Business Days
Lincoln MKX Crankshaft Position Sensor
Lincoln MKX vehicles have the Crankshaft Position Sensor as it is a vital part of the vehicles' engine, as it informs the powertrain control module the position and rotational speed of the crankshaft. Al this information is used in the management of ignition time and fuel injected time with referred to as timing which in turn influences different characteristics of the engine. It is nearly indispensable for modern engine management systems; in combination with the camshaft position sensor it effectively controls the variable valve timing and also synchronizes the engine start. Various types of sensors including, inductive type, Hall Effect sensors, magnetoresistive type, and optical type may be fitted in Lincoln MKX vehicles, thus are characterized by their advantages and possible failure indications. All in all, Crankshaft Position Sensor plays a vital role in proper working and longevity of Lincoln MKX automobiles.
We provide a wide range of Lincoln MKX Crankshaft Position Sensor at the best prices possible. If you need Lincoln MKX Crankshaft Position Sensor, you can shop with confidence on our website. All our OEM parts come with a manufacturer's warranty and are delivered to your door step with a fast delivery service.
Lincoln MKX Crankshaft Position Sensor Parts Questions & Experts Answers
- Q: How to replace the CKP sensor on Lincoln MKX?A: Replacing the CKP sensor may trigger a Diagnostic Trouble Code (DTC). If this occurs and you have a generic scan tool that can clear codes, erase the code and check if it reappears. If it does, take the vehicle to a dealer service department to perform a Misfire Monitor Neutral Profile Correction procedure with a factory scan tool. To begin the removal process, disconnect the cable from the negative battery terminal and remove the engine cover if present. For four-cylinder models, loosen the right front wheel lug nuts, raise the front of the vehicle and secure it on jackstands. Remove the right front wheel and the inner fender splash shield. On all models, remove the engine under-cover. For four-cylinder models, put the No. 1 cylinder at Top Dead Center (TDC). Disconnect the electrical connector from the CKP sensor and unscrew the mounting bolts to remove the sensor. For installation, install the CKP sensor without tightening the mounting bolts. If using a new CKP sensor, align it with the special alignment jig provided and tighten the bolts securely before removing the jig. If using the old CKP sensor, align it with the timing plate by counting 20 teeth counterclockwise from the blank spot and drawing a straight line from the center of the 20th tooth through the center of the crankshaft pulley. Position the centerline of the CKP sensor with the line and tighten the bolts securely. Installation is the reverse of removal. For V6 models, the CKP sensor is located on the left front side of the engine block near the transaxle. For 2.7L models, remove the right-hand air cleaner outlet and the Charge Air Cooler (CAC) intake pipe. For 3.5L and 3.7L models, remove the upstream and downstream Oxygen Sensors and the catalyst for the front cylinder head. Remove the CKP sensor heat shield mounting bolt and nut, as well as the rubber grommet cover. Disconnect the CKP sensor electrical connector and remove the mounting bolt to take out the sensor. Installation is the reverse of removal.
Related Lincoln MKX Parts
Browse by Year
2018 Crankshaft Position Sensor 2017 Crankshaft Position Sensor 2016 Crankshaft Position Sensor 2015 Crankshaft Position Sensor 2014 Crankshaft Position Sensor 2013 Crankshaft Position Sensor 2012 Crankshaft Position Sensor 2011 Crankshaft Position Sensor 2010 Crankshaft Position Sensor 2009 Crankshaft Position Sensor 2008 Crankshaft Position Sensor 2007 Crankshaft Position Sensor
