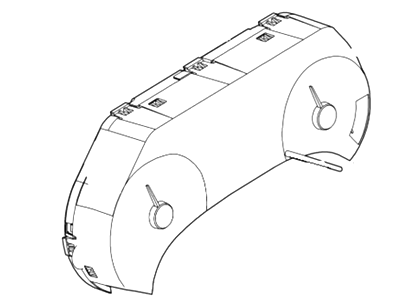
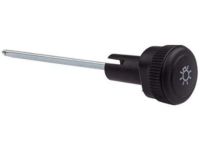
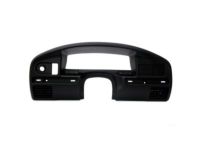
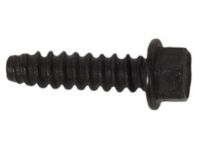
Disconnect the cable from the negative battery terminal. Using a hook tool to release each knob lock tab, remove the knobs from the wiper-washer, headlight, and fog light switches if equipped. Remove the screws retaining the steering column shrouds, taking care not to damage the transmission control selector indicator on vehicles with an automatic transmission. For vehicles with an automatic transmission, remove the loop on the indicator cable assembly from the retainer pin and open the cable retaining clips, then remove the bracket screw from the cable bracket and slide the bracket out of the column slot. Remove the screws retaining the cluster finish panel to the dash and take out the finish panel. Remove the four instrument cluster retaining screws and pull the cluster out far enough to reach behind it and pry the retaining tab up to release the speedometer cable. Disconnect the wire connector from the printed circuit, disconnect the 4x4 indicator light if equipped, and remove the instrument cluster. Replace the failed bulbs as needed by twisting the socket from the back of the instrument cluster. When installing the instrument cluster, reconnect the wire connector, cable, and light if equipped, then install the cluster and retaining screws. For vehicles with an automatic transmission, place the loop on the transmission indicator cable assembly over the retainer on the column, position the tab on the cable bracket in the column slot, align the pointer, and attach the retaining screw. Reposition the cable conduit in the retaining clip(s) and secure it. With the parking brake applied, place the transmission selector at the steering column in the Drive position, holding the lever against the Drive stop using a weight of approximately eight pounds attached to the selector lever knob. Secure the cable to the column mounting clip(s) and adjust the bracket to position the pointer correctly, shifting the transmission lever to each gear to check the pointer position at each shift. The remainder of the installation steps are the reverse of removal. For later models with a programmable speedometer/odometer, disconnect the cable from the negative battery terminal, unsnap the right and left moldings by prying at the notches, and remove the headlight knob using a hooked tool. Remove the exposed screws under the moldings, then unsnap the instrument cluster finish panel's retaining clips, disconnect the wiring attached to the finish panel, and remove it. For automatic transmissions, remove the transmission indicator cable loop from the ball stud on the shift lever and the thumbwheel bracket from the steering column by removing the screws. Remove the screws attaching the instrument cluster assembly to the instrument panel and pull the cluster out, ensuring it is stored upright to prevent loss of gauge anti-vibration fluid and contamination. Disconnect the electrical connectors and remove the instrument cluster assembly, replacing any failed bulbs as needed. The remainder of the installation is the reverse of removal.
Posted by FordPartsGiant Specialist 

