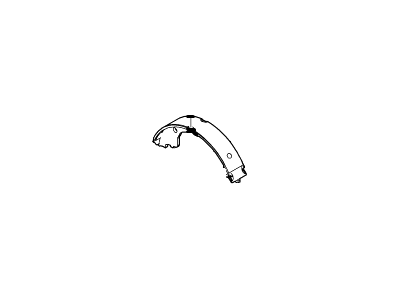
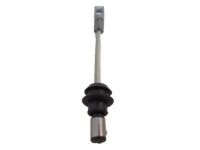
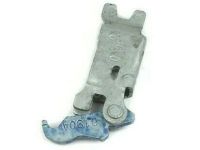
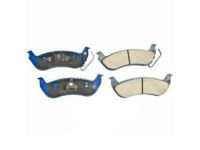
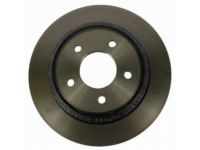
Whenever the brake shoes are replaced, the retractor and hold down springs should also be replaced due to the continuous heating and cooling cycle that causes them to lose tension over time, potentially leading to faster wear of the shoes. Begin by loosening the wheel lug nuts, raising the rear of the vehicle, and securely supporting it on jackstands while blocking the front wheels to prevent rolling. Release the parking brake and remove the wheel, ensuring that all four rear brake shoes are replaced simultaneously, but work on one brake assembly at a time to avoid mixing parts. If the drum is difficult to remove, retract the brake shoes by removing the rubber plug from the backing plate and using a narrow screwdriver to push the adjusting lever away from the adjusting screw star wheel, allowing the star wheel to be turned down with a brake tool. Before removing any internal drum brake components, clean them with brake cleaner and allow them to dry, using a drain pan to catch any residue. Use a brake spring removal tool to take off the shoe retracting springs, disconnect the adjusting cable, and remove the anchor pin plate along with the shoe retaining springs and pins. Pull the shoes apart, remove the adjusting screw, primary shoe, parking brake strut, and spring, then take out the adjuster pawl and secondary shoe. Separate the parking brake cable and spring from the actuating lever, and remove the retaining clip holding the parking brake actuating lever to the brake shoes. Install the parking brake actuator lever on the new brake shoe, secure it with the retaining clip, and connect the brake cable. Lubricate the adjusting screw assembly and shoe guide pads with high-temperature brake grease, position the shoes on the backing plate, and insert the retaining pins and springs. Install the retaining spring caps, ensuring proper engagement of the wheel cylinder pushrods and parking brake strut with the brake shoes. Install the adjusting screw, adjusting pawl, anchor pin plate, cable guide, and cable, followed by the shoe guide and adjusting cable eye. Connect the cable and spring to the adjuster lever, then install the drum and adjust the shoe-to-drum clearance until the shoes rub slightly against the drum, then back off the adjuster until they no longer rub. If the drum is difficult to remove, pry the rubber plug from the backing plate inspection hole and use a screwdriver and brake adjusting tool to lift the adjusting lever and rotate the adjusting screw, which will pull the brake shoes together. Spray the assembly with penetrating oil if necessary. Before reinstalling the drum, check it for cracks, score marks, deep scratches, and hard spots, which may require resurfacing at an automotive machine shop if they cannot be removed. It is recommended to resurface the drums whenever a brake job is performed to prevent out-of-round conditions. If resurfacing is not done, at least remove any glazing with medium-grit emery cloth. Install the brake drum on the hub, adjust the wheel until the brake shoes just drag on the drum, then back off the adjuster wheel. Finally, mount the wheel, install the lug nuts, lower the vehicle, and make several forward and reverse stops to adjust the brakes for satisfactory pedal action.
Posted by FordPartsGiant Specialist 

