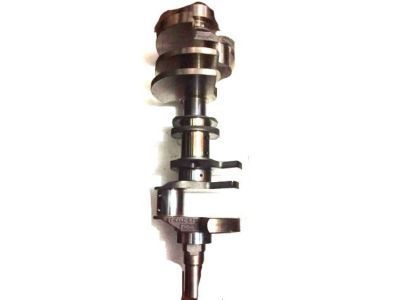
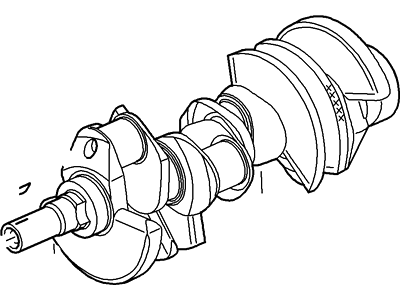
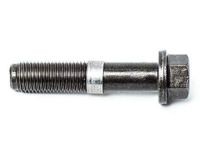
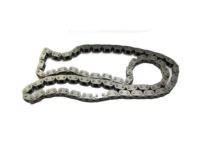
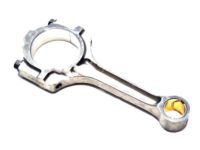
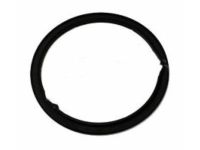
Prior to the removal of crankshaft, to determine its endplay, slide a dial indicator with the face touching the end of the crankshaft, and parallel to it. Push the crankshaft to the back so the dial indicator reads zero, and then push it to the front to take the reading; the regular endplay measures between 0.003 and 0.010 inches or 0.076mm-0.254 mm. If the endplay varies in this range, there is no sign of wear on the thrust surfaces after removal; new main bearings may solve the problem as previously described. Thrust bearings are different for different engines and are positioned differently in the engine; positions for 4.2L V6, 4.6 L V8, 5.4 L V8, 3.5/3.7L V6, 5.0/6.2L V8. If a dial indicator is not available, the amount of clearance can be measured by feeler gauges. Turn the main bearing cap bolts slowly but steadily, to the point that they can be easily unsturted and for V8 models the loosening must be done as follows. Approximately 2005 and later models of the 4.6L V8 engine have jack screws that need to be loosened in a counter clockwise manner to remove the cap. Carefully untighten the main bearing caps and then using your hand tap the caps so that you can lift them off without dropping the bearing inserts. Slowly raise the crankshaft out and if possible, do so with help; place the main bearing cap assembly back over the engine block, while torqueing the bolt just enough to be finger tight but checking the location of the cap. For installation, make sure that component such as the engine block and the crankshaft are clean and checked. Place it in an inverted manner, take off the main bearing caps and clean the bearings of the places where the main bearing caps are placed. Replace the wear bar of each saddle with a new upper main bearing insert that has oil grooves and holes. Scrub the matt surfaces of the crankshaft and bearing insert faces and then inspect the oil way for dirt. Place the crankshaft in its rightful position and measure the main bearing oil clearance through the aid of Plastigage, which has to be slightly shorter than the width of the journals. After applying Plastigage on both journals, fit the main-bearing cap, assembly without shifting it, apply clean engine oil on the bolts, and tighten the bolts in the manner described next. Bolt in the reverse coming off, lift the caps and to make the clearance you need to measure the crushed Plastigage. If the clearance is incorrect the cause should be sought in dirt or oil interference and the bearing inserts should be replaced if necessary. The Plastigage must be removed from the journals and insert faces by washing and after that apply some thin coat of grease or assembly lube on the bearing surfaces and thrust faces. Place the crankshaft back to its position, clean the bearing insert surfaces and put a coat of oil. Ref to V6 engines, the RTV sealant should be applied to the rear main bearing cap parting line and placed the cap before four minutes. Bolt back on and tighten up, then re-measure the crankshaft end play, then turn the crankshaft over to check for any binding and insure that turning the crank with running torque of 50 in-lbs or less. Last but not the least, fit the new rear main oil seal.
Posted by FordPartsGiant Specialist 

