
My Garage
My Account
Cart
Genuine Ford Expedition Brake Disc
Disc Rotor- Select Vehicle by Model
- Select Vehicle by VIN
Select Vehicle by Model
orMake
Model
Year
Select Vehicle by VIN
For the most accurate results, select vehicle by your VIN (Vehicle Identification Number).
28 Brake Discs found

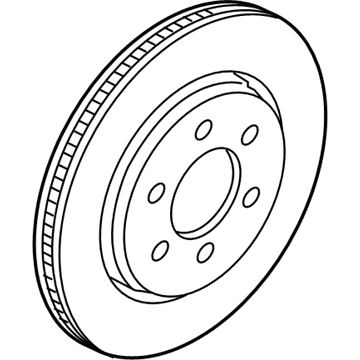
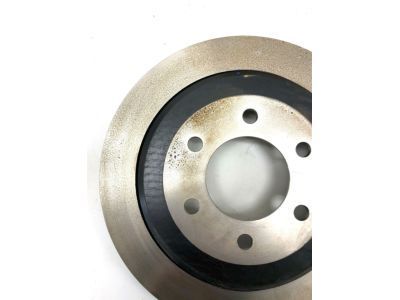
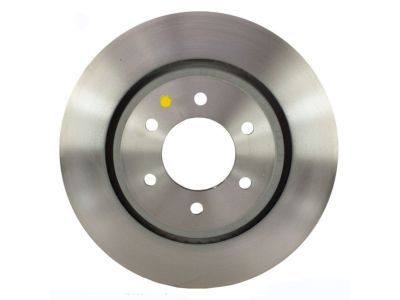
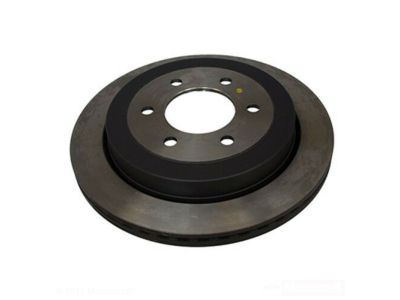
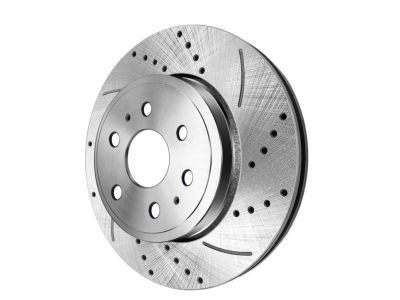
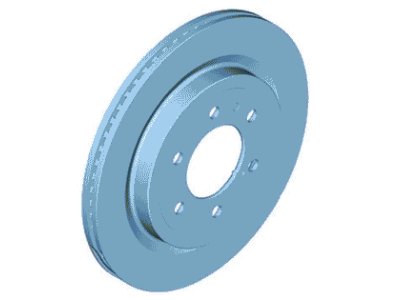
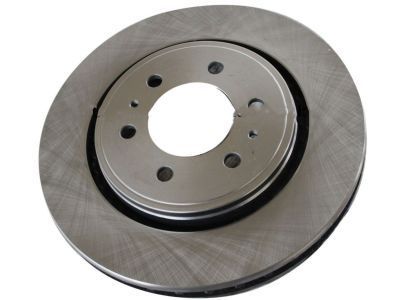
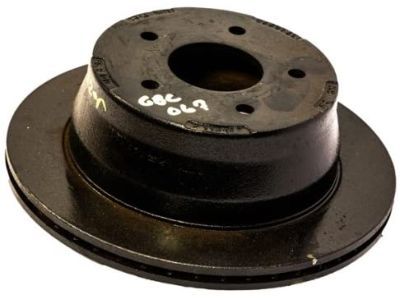
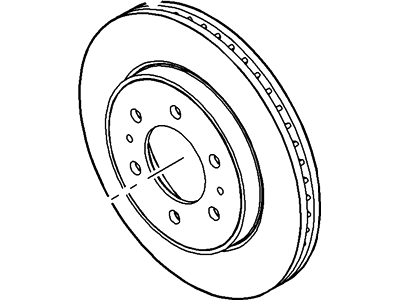
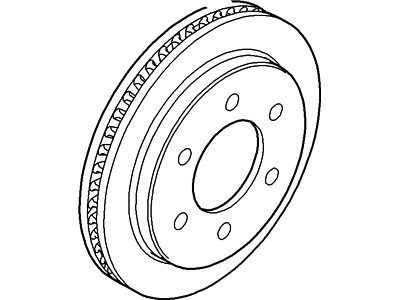
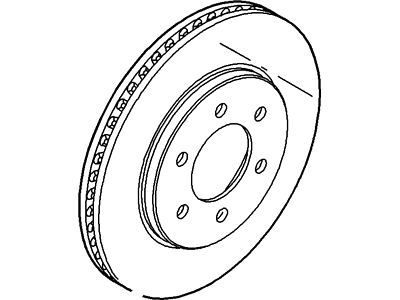
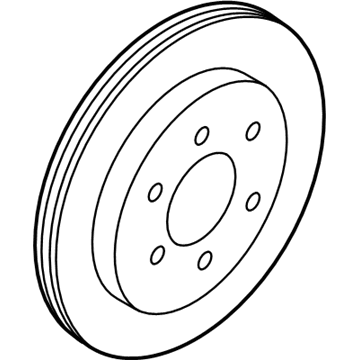
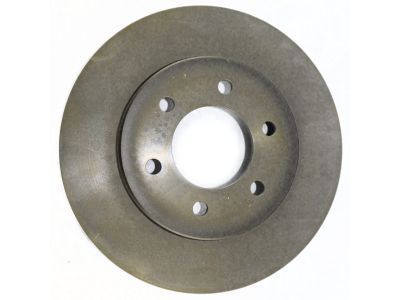
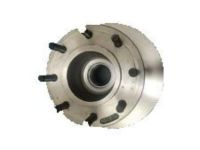
Ford Expedition Brake Rotor Assembly
Part Number: JL3Z-1125-C$127.95 MSRP: $190.00You Save: $62.05 (33%)Ships in 1 Business Day
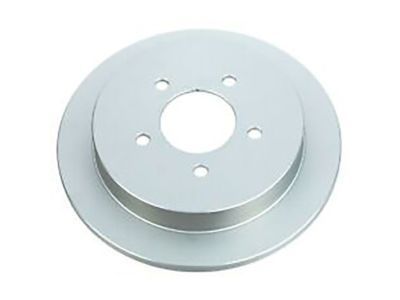
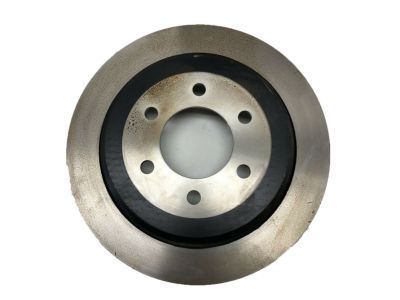
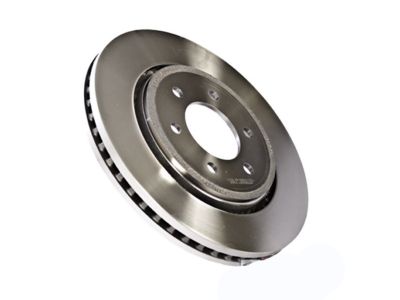
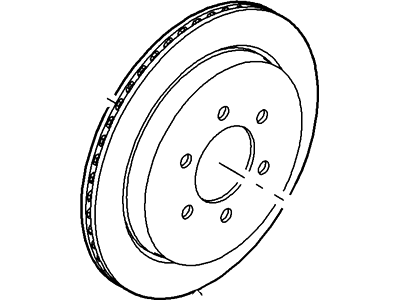
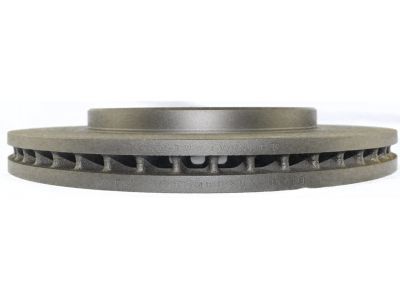
Ford Expedition Brake Rotor Assembly
Part Number: JL3Z-2C026-D$134.51 MSRP: $175.00You Save: $40.49 (24%)Ford Expedition Brake Rotor Assembly
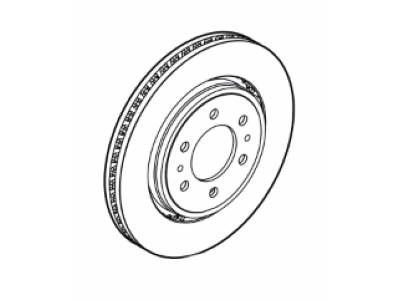
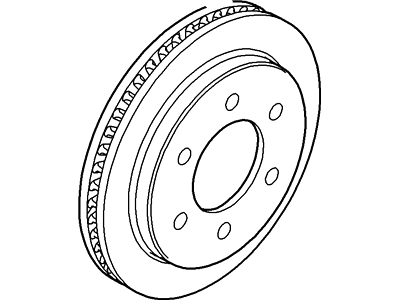
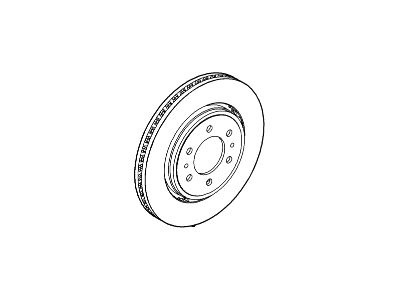
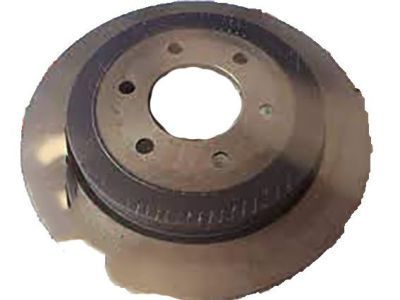
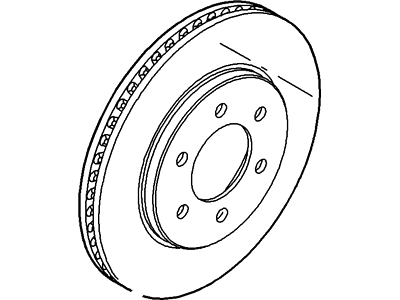
Part Number: G2MZ-1V125-AA$82.29 MSRP: $133.32You Save: $51.03 (39%)Ford Expedition Disc - Brake
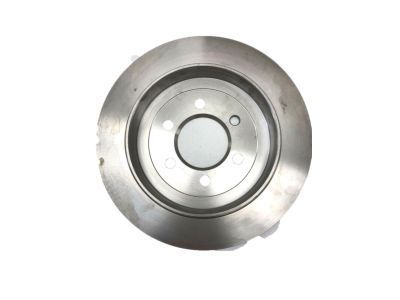
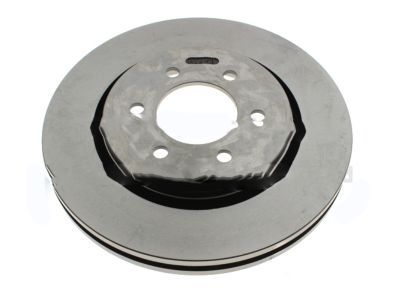
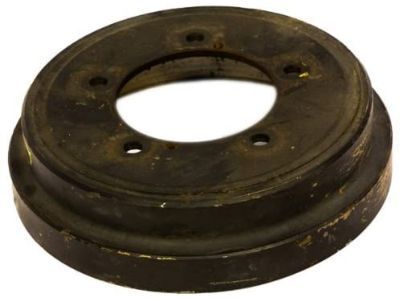
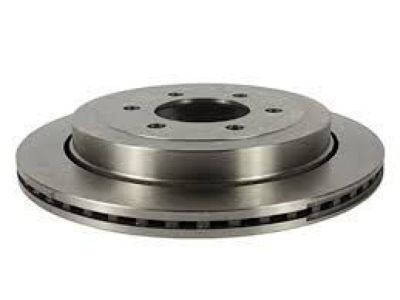
Part Number: 2L1Z-2C026-AA$93.14 MSRP: $144.00You Save: $50.86 (36%)Ships in 1-2 Business DaysFord Expedition Brake Rotor Assembly
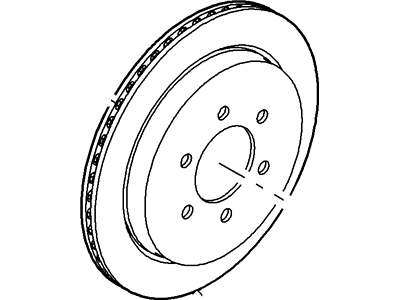
Part Number: CL1Z-2C026-A$98.99 MSRP: $149.98You Save: $50.99 (34%)Ships in 1 Business DayFord Expedition Brake Rotor Assembly
Part Number: AL1Z-2C026-AA$98.99 MSRP: $149.98You Save: $50.99 (34%)Ships in 1 Business DayFord Expedition Brake Rotor Assembly
Part Number: JL3Z-1125-A$125.40 MSRP: $190.00You Save: $64.60 (34%)Ships in 1 Business DayFord Expedition Brake Rotor Assembly
Part Number: JL3Z-2C026-A$115.50 MSRP: $175.00You Save: $59.50 (34%)Ships in 1 Business DayFord Expedition Rotor Assembly
Part Number: 7L1Z-1125-A$87.99 MSRP: $133.32You Save: $45.33 (34%)Ships in 1 Business DayFord Expedition Rotor Assembly
Part Number: AL3Z-1125-B$87.99 MSRP: $133.32You Save: $45.33 (34%)Ships in 1 Business DayFord Expedition Rotor Assembly
Part Number: 2L1Z-1V125-BA$87.99 MSRP: $133.32You Save: $45.33 (34%)Ships in 1-2 Business DaysFord Expedition Rotor Assembly
Part Number: 2L1Z-1V125-AA$86.23 MSRP: $133.32You Save: $47.09 (36%)Ships in 1-2 Business DaysFord Expedition Brake Rotor Assembly
Part Number: AL1Z-2C026-B$98.99 MSRP: $149.98You Save: $50.99 (34%)Ships in 1 Business DayFord Expedition Brake Rotor Assembly
Part Number: ML1Z-1125-D$100.76 MSRP: $152.67You Save: $51.91 (34%)Ships in 1-2 Business DaysFord Expedition Brake Rotor Assembly
Part Number: ML1Z-2C026-C$98.99 MSRP: $149.98You Save: $50.99 (34%)Ships in 1-2 Business DaysFord Expedition Rotor Assembly
Part Number: 9L1Z-1125-A$87.99 MSRP: $133.32You Save: $45.33 (34%)Ships in 1 Business DayFord Expedition Rotor Assembly
Part Number: 7U2Z-1V125-HA$87.99 MSRP: $133.32You Save: $45.33 (34%)Ships in 1 Business Day
| Page 1 of 2 |Next >
1-20 of 28 Results
Ford Expedition Brake Disc
The Brake Disc of the Ford Expedition is a component of one of the kinds of brake system, in this case, the disc brake systems, which main role is to offer the friction that is required in order to stop or reduce the speed of the vehicle. These discs were conventionally produced from gray iron; they might incorporate fins or vanes for better heat control and reduction. The company has been ringing various styles of break discs over the years some of which include the following; the solid typed, vented styled, the drilled styled and the slotted styled break disc types, each of the above has peculiarities that make it suitable for used in certain situations due its heat control capability. Vented rotors found mostly at the front of the vehicle have better cooling than solid rotors Drilled or slotted rotors removes more water than capped designs and also reduces noise. Luckily, all these extra elemencts make the pad run a higher risk of wearing out. Brake Disc requires routine maintenance due to factors such as the warping, cracking, or rust which affects the braking system.
We provide a wide range of Ford Expedition Brake Disc at the best prices possible. If you need Ford Expedition Brake Disc, you can shop with confidence on our website. All our OEM parts come with a manufacturer's warranty and are delivered to your door step with a fast delivery service.
Ford Expedition Brake Disc Parts Questions & Experts Answers
- Q: How to remove and inspect the brake discs on a Ford Expedition equipped with air suspension?A:If the vehicle is equipped with air suspension, turn off the air suspension system. The switch is located in the area of the right kick panel. Loosen the wheel lug nuts, raise the vehicle and support it securely on jackstands. Apply the parking brake. Remove the wheels. Visually inspect the disc surface for score marks and other damage. Light scratches and shallow grooves are normal after use and won't affect brake operation. Deep grooves - over 0.015-inch(0.38 mm) deep - require disc removal and refinishing by an automotive machine shop. Be sure to check both sides of the disc. To check disc run out, place a dial indicator at a point about 1/2- inch from the outer edge of the disc. On 4WD model front discs and all rear discs, install the lug nuts, with the flat sides facing in, and tighten them securely to hold the disc in place. Set the indicator to zero and turn the disc. If it does, the disc should be refinished by an automotive machine shop. The manufacturer recommends resurfacing the brake discs only in the event of pedal pulsations or hard (overheated) spots on the disc. If you elect not to have the discs resurfaced, deglaze them with sandpaper or emery cloth. The disc must not be machined to a thickness less than the specified minimum thickness, which is cast into the disc. The disc thickness can be checked with a micrometer. Remove the Brake Calipers (don't disconnect the brake hoses) and hang them out of the way. If you're removing a front disc, remove the caliper anchor bracket. On 2WD model front discs, remove the grease cap, wheel bearing retainer nut, spindle nut, outer bearing retainer washer and outer wheel bearing, then remove the disc/hub. On 4WD model front discs and all rear discs, simply remove the lug nuts installed and pull the disc off the hub. Installation is the reverse of removal. Lower the vehicle and reactivate the air suspension system, if equipped. Tighten the wheel lug nut.
Related Ford Expedition Parts
Browse by Year
2024 Brake Disc 2023 Brake Disc 2022 Brake Disc 2021 Brake Disc 2020 Brake Disc 2019 Brake Disc 2018 Brake Disc 2017 Brake Disc 2016 Brake Disc 2015 Brake Disc 2014 Brake Disc 2013 Brake Disc 2012 Brake Disc 2011 Brake Disc 2010 Brake Disc 2009 Brake Disc 2008 Brake Disc 2007 Brake Disc 2006 Brake Disc 2005 Brake Disc 2004 Brake Disc 2003 Brake Disc 2002 Brake Disc 2001 Brake Disc 2000 Brake Disc 1999 Brake Disc 1998 Brake Disc 1997 Brake Disc


