×
- Live Chat
- 1-888-788-9341


My Garage
My Account
Cart
Genuine Ford Expedition Coil Springs
Strut Spring- Select Vehicle by Model
- Select Vehicle by VIN
Select Vehicle by Model
orMake
Model
Year
Select Vehicle by VIN
For the most accurate results, select vehicle by your VIN (Vehicle Identification Number).
45 Coil Springs found
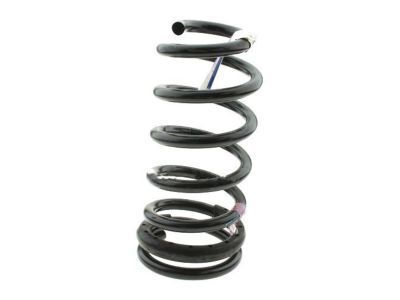
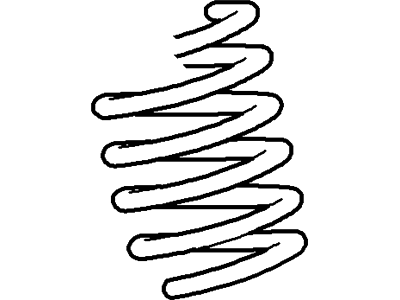
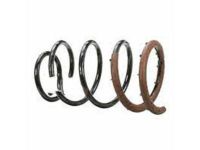
Ford Expedition Spring - Front
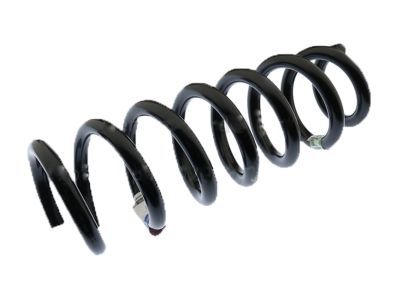
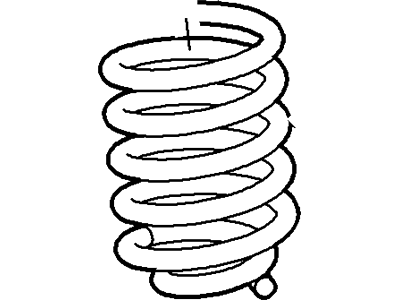
Part Number: 9L1Z-5310-M$106.29 MSRP: $164.33You Save: $58.04 (36%)Ships in 1-3 Business DaysFord Expedition Spring - Front
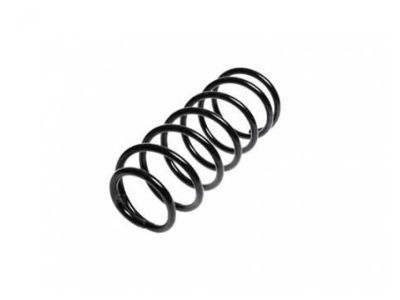
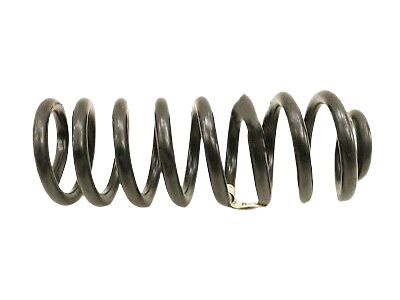
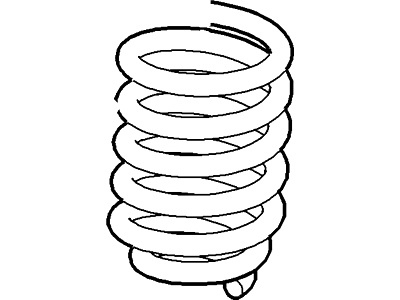
Part Number: 9L1Z-5310-P$105.64 MSRP: $163.33You Save: $57.69 (36%)Ships in 1-3 Business DaysFord Expedition Spring - Front
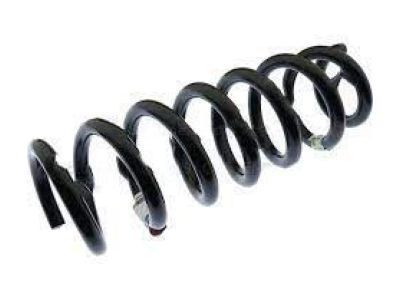
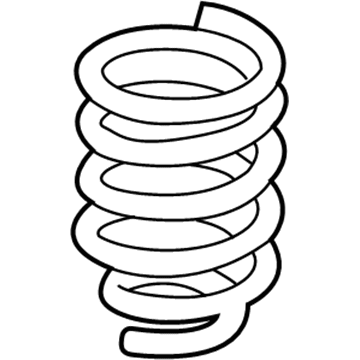
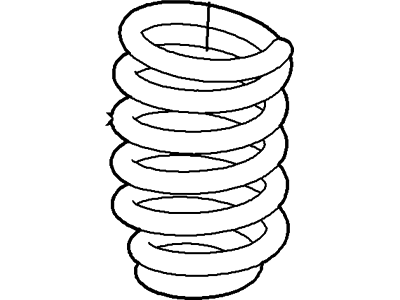
Part Number: 9L1Z-5310-B$106.29 MSRP: $164.33You Save: $58.04 (36%)Ships in 1-3 Business DaysFord Expedition Spring - Front
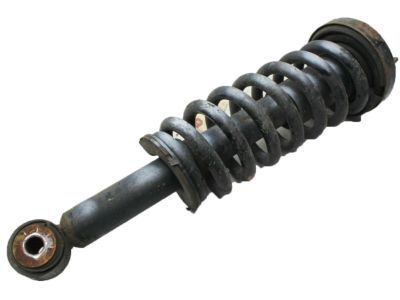
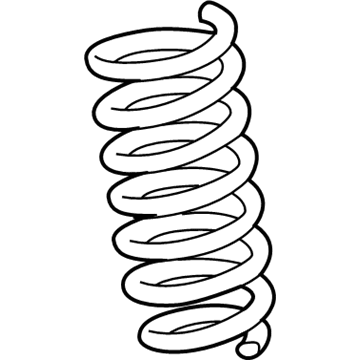
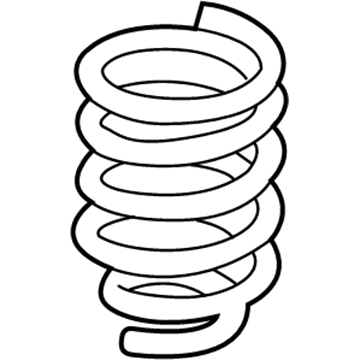
Part Number: 9L1Z-5310-Q$107.50 MSRP: $157.17You Save: $49.67 (32%)Ships in 1-3 Business DaysFord Expedition Spring - Coil
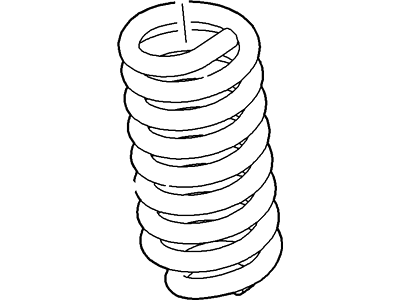
Part Number: EL1Z-5560-A$141.36 MSRP: $206.67You Save: $65.31 (32%)Ships in 1-3 Business DaysFord Expedition Spring - Front
Part Number: 9L1Z-5310-L$107.74 MSRP: $160.33You Save: $52.59 (33%)Ships in 1-3 Business DaysFord Expedition Spring - Front
Part Number: JL1Z-5310-A$93.19 MSRP: $145.83You Save: $52.64 (37%)Ships in 1-2 Business DaysFord Expedition Spring - Front
Part Number: 7L7Z-5310-J$105.64 MSRP: $163.33You Save: $57.69 (36%)Ships in 1-3 Business DaysFord Expedition Spring - Front
Part Number: 9L1Z-5310-J$105.64 MSRP: $163.33You Save: $57.69 (36%)Ships in 1-3 Business DaysFord Expedition Spring - Front
Part Number: 7L1Z-5310-C$106.29 MSRP: $164.33You Save: $58.04 (36%)Ships in 1-3 Business DaysFord Expedition Spring - Coil
Part Number: AL1Z-5560-C$115.50 MSRP: $175.00You Save: $59.50 (34%)Ships in 1-2 Business DaysFord Expedition Spring - Coil
Part Number: AL1Z-5560-B$115.50 MSRP: $175.00You Save: $59.50 (34%)Ships in 1-2 Business DaysFord Expedition Spring - Coil
Part Number: JL1Z-5560-A$106.82 MSRP: $156.17You Save: $49.35 (32%)Ships in 1-2 Business DaysFord Expedition Spring - Coil
Part Number: JL1Z-5560-C$105.79 MSRP: $154.67You Save: $48.88 (32%)Ships in 1-3 Business DaysFord Expedition Spring - Front
Part Number: 7L7Z-5310-K$107.50 MSRP: $157.17You Save: $49.67 (32%)Ships in 1-3 Business DaysFord Expedition Spring - Coil
Part Number: 2L1Z-5560-BA$101.57 MSRP: $148.50You Save: $46.93 (32%)Ships in 1-3 Business DaysFord Expedition Spring - Front
Part Number: 3L1Z-5310-CA$106.36 MSRP: $155.50You Save: $49.14 (32%)Ships in 1-3 Business DaysFord Expedition Spring - Front
Part Number: JL1Z-5310-B$99.98 MSRP: $146.17You Save: $46.19 (32%)Ships in 1-3 Business DaysFord Expedition Spring - Coil
Part Number: 9L1Z-5560-A$129.19 MSRP: $179.47You Save: $50.28 (29%)Ships in 1-2 Business DaysFord Expedition Spring - Front
Part Number: JL1Z-5310-G$99.98 MSRP: $146.17You Save: $46.19 (32%)Ships in 1-3 Business Days
| Page 1 of 3 |Next >
1-20 of 45 Results
Ford Expedition Coil Springs
Coil Springs in the Ford Expedition vehicles serve a very important function of bearing the weight of the car and cushioning the car bottom on bad roads. Some of the signs of worn or bad coil springs are, the car is sagging or bottoming out and uneven tire wear. New shock absorber springs can help you return your ride height and smoothness, with OEM, progressive, or cargo specific springs for additional weight. Coil springs are available in different sizes of height and rate, that relates to handling and traction. Just like the name suggests, there are linear rate springs, progressive springs and the dual rate springs which provide different rates of stiffness for the optimal performance. Normally on adjustable damping coilovers it possible to change the height of the car and maintain the same lowering kit without the need to change.
We provide a wide range of Ford Expedition Coil Springs at the best prices possible. If you need Ford Expedition Coil Springs, you can shop with confidence on our website. All our OEM parts come with a manufacturer's warranty and are delivered to your door step with a fast delivery service.
Ford Expedition Coil Springs Parts Questions & Experts Answers
- Q: How to replace the Coil Springs,Control Arm,Shock Absorber,Sway Bar and Trailing Arm on Ford Expedition?A: If the vehicle is equipped with air suspension, turn off the air suspension system. Loosen the wheel lug nuts, then raise and support the rear of the vehicle. Remove the rear wheels. To remove the brake drum, spray penetration oil around the flange and studs if it's stuck due to corrosion, or remove the plug in the access hole and back off the adjuster wheel if it's locked onto the shoes due to excessive wear. Clean the brake assembly before disassembling it, then remove various components such as the secondary brake shoe retracting spring, primary shoe retracing spring, brake shoe adjusting lever, cable, guide plate, and parking brake link and spring. For shock/spring assembly replacement, position a jack under the Steering Knuckle, remove the nuts securing the top of the assembly, and lower the jack. Remove the lower control arm-to-spring bolt and nut, then remove the assembly. If replacing only the shock, compress the spring and remove the shock rod nut. For lower control arm replacement, disconnect the lower link nut from the Sway Bar Kit, remove the nut and bolt securing the shock/spring assembly, and remove the front and rear bushing nuts and bolts. For upper control arm replacement, remove the parking brake cable bracket bolt, upper arm-to-wheel knuckle bolt, and upper arm bushing nuts and bolts. For toe link rod removal, remove the inner end nut and knuckle nut, and remove the rod. For trailing arms removal on later models, remove the nuts and bolts securing the arms to the knuckle and frame, then install new bolts and nuts loosely. To remove the Sway Bar Kit, disconnect the end links, remove the rear suspension stone shields, and remove the Sway Bar Kit bracket-to-frame bolts. Install new nuts on the links and bracket bolts.
- Q: How to install the coil spring and lower control arm on 2WD Ford Expedition?A: Take out the lower Control Arm with the coil spring. Take out the top insulator from the coil spring and replace it if there are any signs of cracks or wear. Put it on top of the coil spring, its top end is flat. Put the top in the spring pocket and the bottom in the lower control arm. The seal in the spring has two drain holes in it that go into the lower control arm. When the bottom end is correctly installed, it will cover up one hole and hide about half of the second opening here. Install lower control arm as well as coil spring.
- Q: How to remove and install front Coil Springs and Shock Absorber on Ford Expedition?A: If the vehicle is equipped with air suspension, turn OFF the air suspension system. The switch is located in the area of the right kick panel. If the vehicle is equipped with four-wheel air suspension, disconnect the upper end of the front height sensor from the upper frame bracket behind and above the left shock, then firmly push in the red ring on the shock body, hold it there, and pull out the air line. Loosen the front wheel lug nuts, raise the front of the vehicle and support it securely on jackstands. Apply the parking brake. Remove the wheels. Using an open-end wrench to hold the shock from turning, remove the upper shock mounting nut. To detach the upper end of the shock absorber from the frame bracket, remove this nut, the retainer and the bushing; you'll need a back-up wrench on the lower nut to prevent the shock from turning when you loosen the nut. Remove the retainer and bushing. Working from underneath the vehicle, remove the two nuts (2WD models) or bolt and nut (4WD models) which attach the lower end of the shock absorber to the lower Control Arm and pull the shock out from below. Installation is the reverse of removal. Be sure to tighten the upper mounting nut and the lower mounting bolts. On vehicles with four-wheel air suspension, make sure that at least 1/8-inch of air line is inserted into the red fitting. Tighten the upper nut and lower nut and bolt. Lower the vehicle and reactivate the air suspension system, if equipped. It is possible to replace the shocks or springs individually but the unit will have to be disassembled by a qualified repair shop with the proper equipment, and this will add considerable cost to the project. You can compare the cost of replacing the complete assemblies yourself to the cost of replacing individual components (with the help of a shop). Loosen the front wheel lug nuts. Raise the vehicle and support it securely on jackstands. Remove the front wheels. Remove the nuts that attach the upper end of the shock to the frame. Separate the tie-rod end from the Steering Knuckle and secure it aside. Separate the upper balljoint from the control arm. Remove the fasteners attaching the lower end of the shock absorber to the lower control arm. Remove the shock absorber/coil spring assembly. Inspect the shock absorber for leaking fluid, dents, cracks and other damage. Inspect the coil spring for chips and cracks which could cause premature failure. Inspect the spring seats for hardness and general deterioration. If any of the components of the assembly are worn or damaged, have the unit serviced by a qualified repair shop or replace it. Installation is the reverse of removal. Be sure to tighten the fasteners. Tighten the wheel lug nuts. The shock absorber lower mounting fasteners should be tightened with the vehicle at normal ride height. This can be done after the vehicle has been lowered to the ground (on vehicles with adequate clearance), or can be simulated by raising the lower control arm with a floor jack.
- Q: How to remove and install the Rear coil spring and air spring on Ford Expedition?A: For coil spring, Loosen rear wheel lug nuts, raise rear of vehicle and support securely on jackstands. Remove rear wheels. Remove driveshaft. Unplug rear ABS speed sensor connector. Release parking brake system and disconnect cables. Remove calipers and hang safely. Detach axle vent tube and rear stabilizer bar. Support rear axle with floor jack. Disconnect Shock Absorbers, track bar, and suspension arms from axle. Lower axle and remove coil springs. Installation is reverse of removal. Don't tighten suspension fasteners until vehicle is on ground.For air spring: Turn off air suspension system. Loosen rear wheel lug nuts, raise rear of vehicle and support securely on jackstands. Remove rear wheels. Remove air spring retainer. Lift bottom of air spring off axle. Unplug air spring solenoid connector. Disconnect air line and remove air spring. Installation is reverse of removal. Ensure 1/8 inch of white air line is inserted into solenoid. Reactivate air suspension system, start engine, and allow compressor to pump up system to normal trim height.
Related Ford Expedition Parts
Browse by Year
2024 Coil Springs 2023 Coil Springs 2022 Coil Springs 2021 Coil Springs 2020 Coil Springs 2019 Coil Springs 2018 Coil Springs 2017 Coil Springs 2016 Coil Springs 2015 Coil Springs 2014 Coil Springs 2013 Coil Springs 2012 Coil Springs 2011 Coil Springs 2010 Coil Springs 2009 Coil Springs 2008 Coil Springs 2007 Coil Springs 2006 Coil Springs 2005 Coil Springs 2004 Coil Springs 2003 Coil Springs 2002 Coil Springs 2001 Coil Springs 2000 Coil Springs 1999 Coil Springs 1998 Coil Springs 1997 Coil Springs
