×
- Live Chat
- 1-888-788-9341


My Garage
My Account
Cart
Genuine Ford Explorer Sport Trac A/C Condenser
Air Conditioning Condenser- Select Vehicle by Model
- Select Vehicle by VIN
Select Vehicle by Model
orMake
Model
Year
Select Vehicle by VIN
For the most accurate results, select vehicle by your VIN (Vehicle Identification Number).
5 A/C Condensers found
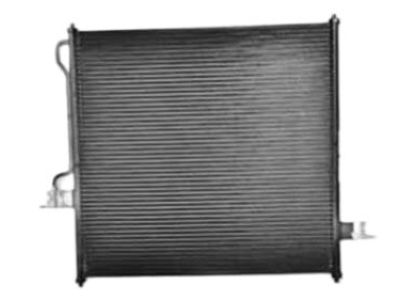
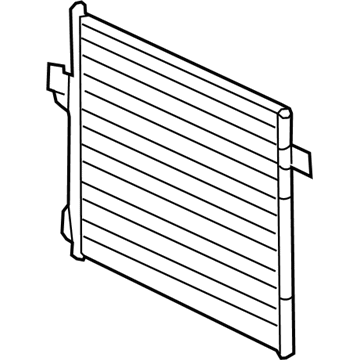
Ford Explorer Sport Trac Condenser Assembly
Part Number: 8L2Z-19712-AA$193.20 MSRP: $268.39You Save: $75.19 (29%)Ships in 1-2 Business DaysFord Explorer Sport Trac Condenser Assembly
Part Number: YL2Z-19712-CA$197.29 MSRP: $329.09You Save: $131.80 (41%)Ships in 1-2 Business DaysFord Explorer Sport Trac Condenser Assembly
Part Number: 2L2Z-19712-BA$76.73 MSRP: $106.59You Save: $29.86 (29%)Ships in 1-2 Business Days
Ford Explorer Sport Trac A/C Condenser
The A/C Condenser in Ford Explorer Sport Trac vehicles acts as a heat exchanger whose main duty is to cool the gaseous refrigerant in order to turn into a liquid that it can be passed on to the accumulator. In some cases, it sits in front of the radiator while the A/C Condenser is a series of tubes through which this kind of cooling is effected. Although the overview does not indicate various types or models of A/C Condenser employed in different model years of the Explorer Sport Trac, the underlying structure and process is aligned towards the proper handling of the refrigerant for the right climate control in the vehicle. The A/C Condenser plays a crucial role of regulating the temperature of the cabin and, therefore, needs to work optimally.
We provide a wide range of Ford Explorer Sport Trac A/C Condenser at the best prices possible. If you need Ford Explorer Sport Trac A/C Condenser, you can shop with confidence on our website. All our OEM parts come with a manufacturer's warranty and are delivered to your door step with a fast delivery service.
Ford Explorer Sport Trac A/C Condenser Parts Questions & Experts Answers
- Q: How to remove and replace A/C Condenser on Ford Explorer Sport Trac?A: The accumulator/drier and the orifice tube should be replaced whenever the condenser is replaced. First, have the air conditioning system discharged and recovered. Then, remove the battery. Drain the cooling system. On 2001 and later models, remove the air cleaner assembly. On models through 2000, remove the Radiator. On later models, the radiator can be unbolted and leaned back from the radiator support to allow condenser removal. Disconnect the refrigerant lines from the condenser. On 1996 and earlier models, this requires a spring-lock coupling tool similar to that used for fuel injection lines. You remove the metal clips from the connection, then use the tool to release the coupling. On later models the condenser lines have bolted flanges. Working from below, remove the mounting nuts from the condenser studs. On 1996 and 1997 models, the condenser bolts (no studs) to the radiator support, and on 1998 through 2000 models, the condenser has plastic squeeze-tabs that fit into plastic receptors on the body. On 2001 and later models, the condenser is retained by bolts. Lift the condenser out of the vehicle and plug the lines to keep dirt and moisture out. If the original condenser will be reinstalled, store it with the line fittings on top to prevent oil from draining out. If a new condenser is being installed, pour 1 ounce of refrigerant oil into it prior to installation. Reinstall the components in the reverse order of removal. Be sure the rubber pads are in place under the condenser. Be sure the seals are in place around the condenser. Have the system evacuated, recharged and leak tested by the shop that discharged it.
