×
- Live Chat
- 1-888-788-9341


My Garage
My Account
Cart
Genuine Ford F-150 Universal Joint
U-Joint- Select Vehicle by Model
- Select Vehicle by VIN
Select Vehicle by Model
orMake
Model
Year
Select Vehicle by VIN
For the most accurate results, select vehicle by your VIN (Vehicle Identification Number).
21 Universal Joints found
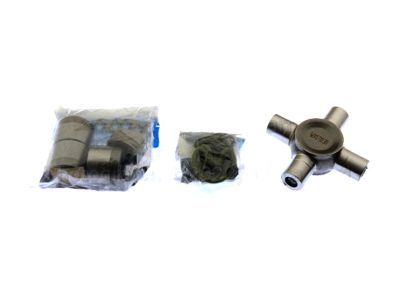
Ford F-150 U-Joint Repair Kit
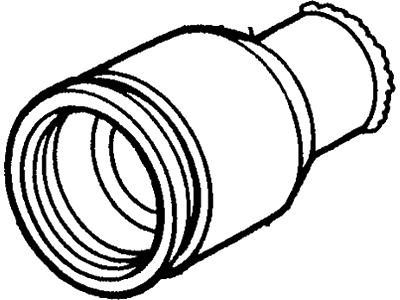
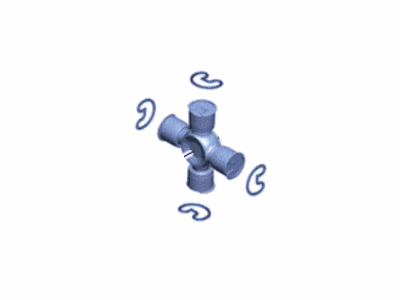
Part Number: 7L1Z-4635-A$36.01 MSRP: $54.17You Save: $18.16 (34%)Ships in 1-2 Business DaysFord F-150 Universal Joint Repair Kit
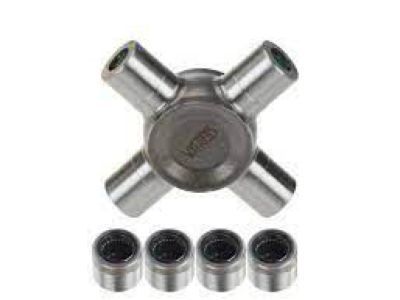
Part Number: 7L1Z-4635-B$36.01 MSRP: $54.17You Save: $18.16 (34%)Ford F-150 U-Joint Repair Kit
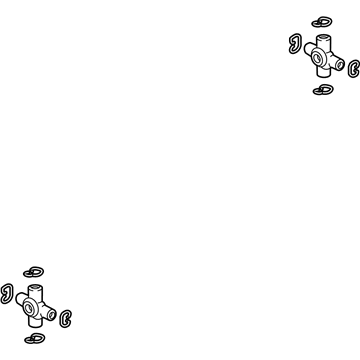
Part Number: FL3Z-4635-A$69.65 MSRP: $101.83You Save: $32.18 (32%)Ships in 1-2 Business DaysFord F-150 U-Joint Kit
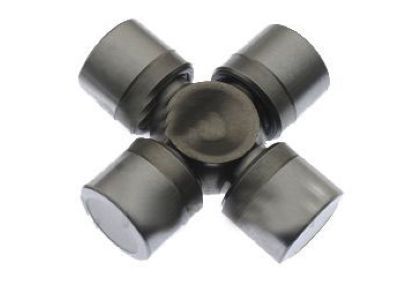
Part Number: F5TZ-4635-A$37.05 MSRP: $54.17You Save: $17.12 (32%)Ships in 1-2 Business DaysFord F-150 U-Joint Repair Kit
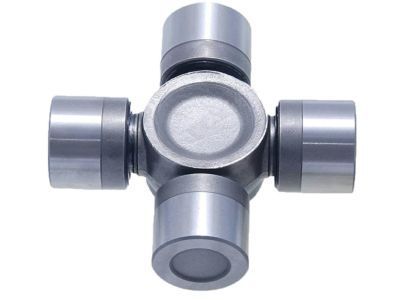
Part Number: 3G3Z-4635-A$35.45 MSRP: $51.83You Save: $16.38 (32%)Ships in 1-2 Business DaysFord F-150 U-Joint Repair Kit
Part Number: 4L3Z-4635-A$31.01 MSRP: $44.17You Save: $13.16 (30%)Ships in 1-2 Business DaysFord F-150 Universal Joint Repair Kit
Part Number: FL3Z-4635-B$69.65 MSRP: $101.83You Save: $32.18 (32%)Ships in 1-2 Business DaysFord F-150 U-Joint Repair Kit
Part Number: F2TZ-4635-B$60.65 MSRP: $88.67You Save: $28.02 (32%)Ships in 1-3 Business DaysFord F-150 U-Joint Repair Kit
Part Number: F2TZ-4635-C$27.45 MSRP: $37.51You Save: $10.06 (27%)Ships in 1-2 Business DaysFord F-150 KIT - UNIVERSAL JOIN
Part Number: E3TZ4635B$18.29 MSRP: $24.99You Save: $6.70 (27%)Ships in 1-2 Business DaysFord F-150 U-Joint Repair Kit
Part Number: C3AZ-4635-M$18.37 MSRP: $25.11You Save: $6.74 (27%)Ships in 1-2 Business DaysFord F-150 U-Joint Repair Kit
Part Number: C3AZ-4635-L$10.62 MSRP: $14.75You Save: $4.13 (28%)Ships in 1-2 Business DaysFord F-150 Universal Joint Repair Kit
Part Number: 3G3Z-4635-B$35.45 MSRP: $51.83You Save: $16.38 (32%)Ships in 1-3 Business DaysFord F-150 U-Joint Repair Kit
Part Number: F3TZ-4635-A$22.57 MSRP: $33.00You Save: $10.43 (32%)Ships in 1-2 Business DaysFord F-150 U-Joint Repair Kit
Part Number: F2AZ-4635-A$34.88 MSRP: $51.00You Save: $16.12 (32%)Ships in 1-3 Business DaysFord F-150 U-Joint Repair Kit
Part Number: F2TZ-4635-E$27.83 MSRP: $40.33You Save: $12.50 (31%)Ships in 1 Business DayFord F-150 KIT - UNIVERSAL JOINT REPAIR
Part Number: ML3Z-4635-AA$127.68 MSRP: $186.67You Save: $58.99 (32%)Ships in 1-2 Business DaysFord F-150 KIT - UNIVERSAL JOINT REPAIR
Part Number: ML3Z-4635-BA$129.96 MSRP: $190.00You Save: $60.04 (32%)Ships in 1-2 Business Days
| Page 1 of 2 |Next >
1-20 of 21 Results
Ford F-150 Universal Joint
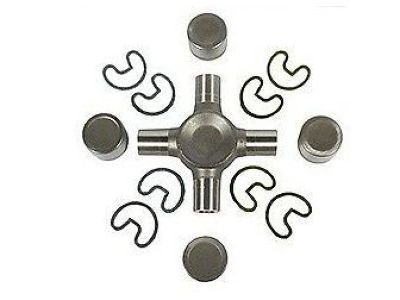
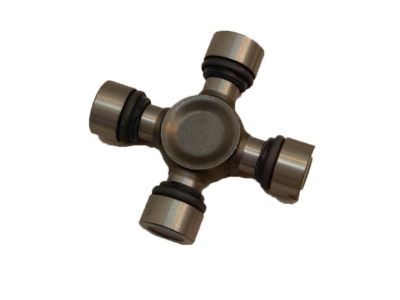
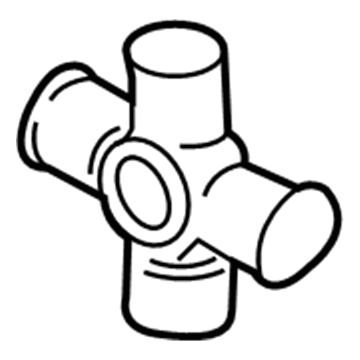
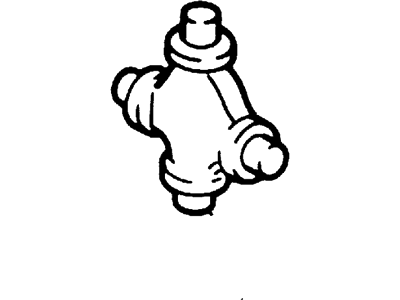
A Universal Joint in Ford F-150 vehicles specifically plays the role of interface of the driveshaft with the axle assembly which requires some degree of rotation when the suspension moves according to road topography. This mechanism helps to correct deviations in the angle of the segments and makes possible the continuous transmission of power. Normally, it is a cross with needle bearings and is made of hardened steel, with clips to hold the cups in place and usually comes pre-greased. In F-150 models, different types of Universal Joints have been incorporated due notably to variation in the methods of lubrication. Originally, the factory U Joints are often greasable, but they have a attractive cap, while U Joints may have a grease zerk installed for easy lubrication. Damaged u joints may cause the vehicle to produce certain sounds and vibrations thus may need to be inspected and probably replaced to enhance vehicle performance.
We provide a wide range of Ford F-150 Universal Joint at the best prices possible. If you need Ford F-150 Universal Joint, you can shop with confidence on our website. All our OEM parts come with a manufacturer's warranty and are delivered to your door step with a fast delivery service.
Ford F-150 Universal Joint Parts Questions & Experts Answers
- Q: How to replace universal joints on a driveshaft on Ford F-150?A: A press or large vise will be required for this procedure. It may be advisable to take the driveshaft to a local dealer service department, service station or machine shop where the universal joints can be replaced for you, normally at a reasonable charge. The front driveshafts on 2009 and later models use CV joints Instead of U-joints. These CV Joints are not rebuildable; they must be replaced. Remove the driveshaft. Use a small pair of pliers to remove the snap-rings from the spider. A pair of needle-nose pliers can be used to remove the universal joint snap-rings. Supporting the driveshaft, place it in position on a workbench equipped with a vise. Place a piece of pipe or a large socket, having an inside diameter slightly larger than the outside diameter of the bearing caps, over one of the bearing caps. Position a socket with an outside diameter slightly smaller than that of the opposite bearing cap against the cap. Use the vise or press to force the bearing cap out. Use the vise or large pliers to work the bearing cap the rest of the way out. Transfer the sockets to the other side and press the opposite bearing cap out in the same manner. Pack the new universal joint bearings with grease. Ordinarily, specific instructions for lubrication will be included with the universal joint servicing kit and should be followed carefully. Position the spider in the yoke and partially install one bearing cap in the yoke. Start the spider into the bearing cap and then partially install the other cap. Align the spider and press the bearing caps into position, being careful not to damage the dust seals. Install the snap-rings. If difficulty is encountered in seating the snap-rings, strike the driveshaft yoke sharply with a hammer. This will spring the yoke ears slightly and allow the snap-rings to seat in the groove. If the snap-ring will not seat in the groove, strike the yoke with a brass hammer - this will relieve the tension that has set up in the yoke and slightly spring the yoke ears. If equipped, install the grease fitting and fill the joint with grease. Be careful not to overfill the joint, as this could blow out the grease seals. Install the driveshaft.
Related Ford F-150 Parts
Browse by Year
2023 Universal Joint 2022 Universal Joint 2021 Universal Joint 2020 Universal Joint 2019 Universal Joint 2018 Universal Joint 2017 Universal Joint 2016 Universal Joint 2015 Universal Joint 2014 Universal Joint 2013 Universal Joint 2012 Universal Joint 2011 Universal Joint 2010 Universal Joint 2009 Universal Joint 2008 Universal Joint 2007 Universal Joint 2006 Universal Joint 2005 Universal Joint 2004 Universal Joint 2003 Universal Joint 2002 Universal Joint 2001 Universal Joint 2000 Universal Joint 1999 Universal Joint 1998 Universal Joint 1997 Universal Joint 1996 Universal Joint 1995 Universal Joint 1994 Universal Joint 1993 Universal Joint 1992 Universal Joint 1989 Universal Joint 1988 Universal Joint 1987 Universal Joint 1986 Universal Joint 1985 Universal Joint 1984 Universal Joint 1983 Universal Joint 1982 Universal Joint 1981 Universal Joint 1980 Universal Joint
