×
- Live Chat
- 1-888-788-9341


My Garage
My Account
Cart
Genuine Ford F-150 Water Pump
H2O Pump- Select Vehicle by Model
- Select Vehicle by VIN
Select Vehicle by Model
orMake
Model
Year
Select Vehicle by VIN
For the most accurate results, select vehicle by your VIN (Vehicle Identification Number).
50 Water Pumps found
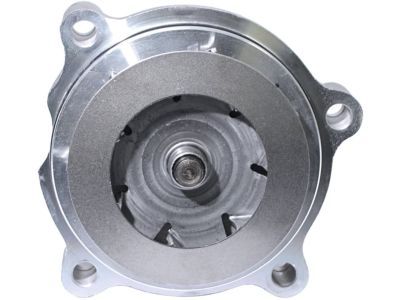
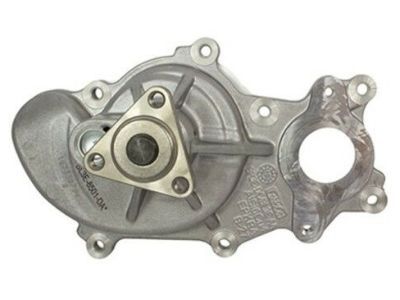
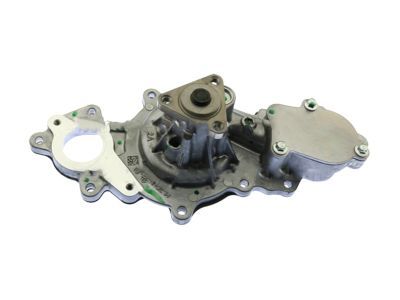
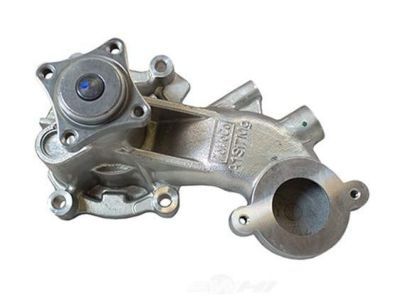
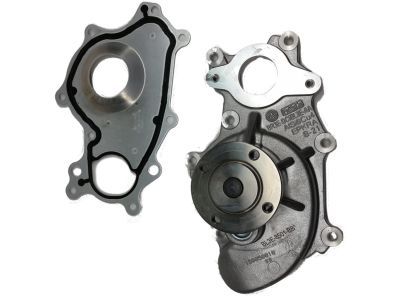
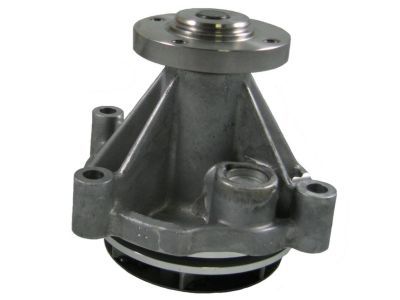
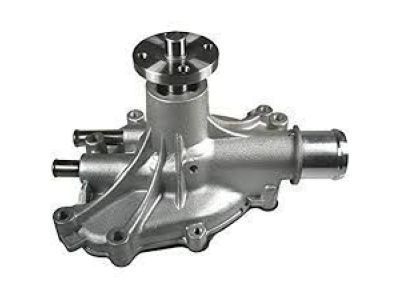
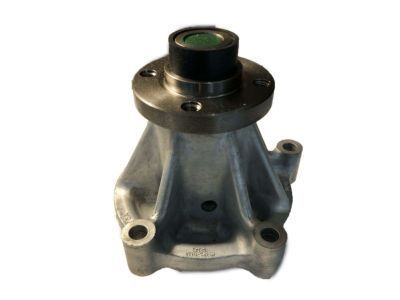
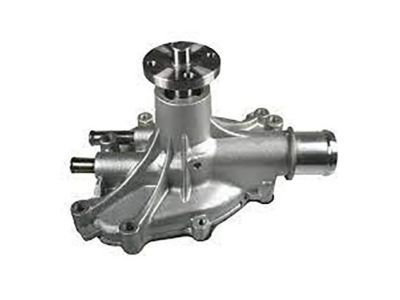
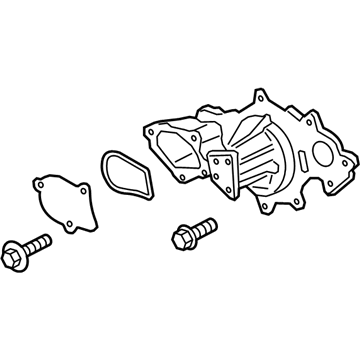
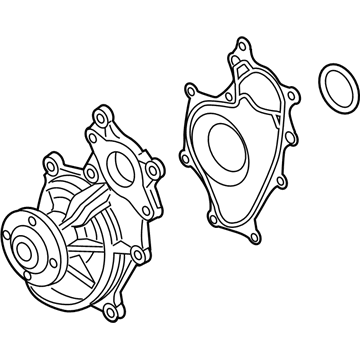
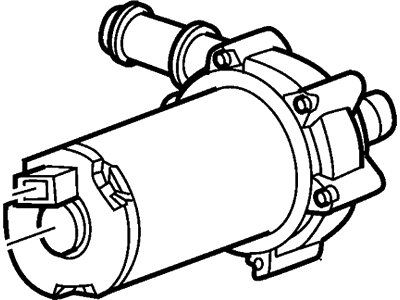
Ford F-150 Pump Assembly - Water
Part Number: 3L3Z-8501-CA$50.62 MSRP: $82.00You Save: $31.38 (39%)Ships in 1 Business DayFord F-150 Pump Assembly - Water
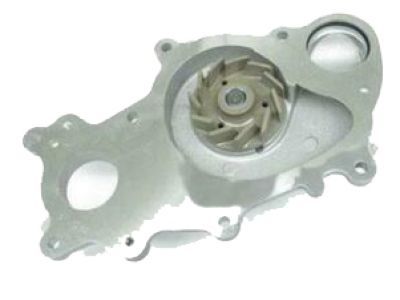
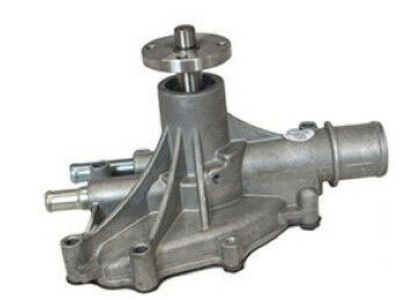
Part Number: BL3Z-8501-C$103.29 MSRP: $170.73You Save: $67.44 (40%)Ships in 1 Business DayFord F-150 Pump Assembly - Water
Part Number: HL3Z-8501-A$91.96 MSRP: $152.00You Save: $60.04 (40%)Ships in 1-2 Business DaysFord F-150 Pump Assembly - Water
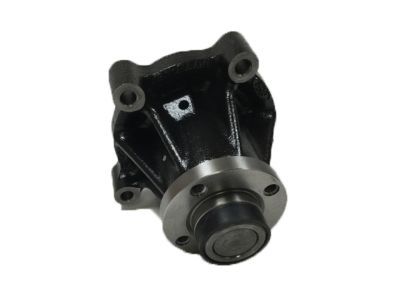
Part Number: BR3Z-8501-H$116.60 MSRP: $192.73You Save: $76.13 (40%)Ships in 1 Business DayFord F-150 Pump Assembly - Water
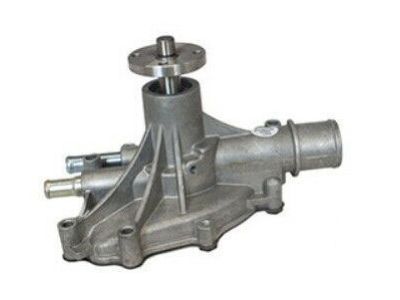
Part Number: BL3Z-8501-A$78.32 MSRP: $129.45You Save: $51.13 (40%)Ships in 1 Business DayFord F-150 Pump Assembly - Water
Part Number: BR3Z-8501-G$121.00 MSRP: $200.00You Save: $79.00 (40%)Ships in 1-2 Business DaysFord F-150 Pump Assembly - Water
Part Number: 7L3Z-8501-A$73.26 MSRP: $121.09You Save: $47.83 (40%)Ships in 1 Business DayFord F-150 Pump Assembly - Water
Part Number: F3TZ-8501-C$75.24 MSRP: $124.36You Save: $49.12 (40%)Ships in 1-2 Business DaysFord F-150 Pump Assembly - Water
Part Number: AL3Z-8501-B$49.61 MSRP: $82.00You Save: $32.39 (40%)Ships in 1 Business DayFord F-150 Pump Assembly - Water
Part Number: F8YZ-8501-AA$328.09 MSRP: $547.27You Save: $219.18 (41%)Ships in 1-2 Business DaysFord F-150 Pump Assembly - Water
Part Number: BR3Z-8501-C$116.60 MSRP: $192.73You Save: $76.13 (40%)Ships in 1 Business DayFord F-150 Pump Assembly - Water
Part Number: YC2Z-8501-BA$49.61 MSRP: $82.00You Save: $32.39 (40%)Ships in 1 Business DayFord F-150 Pump Assembly - Water
Part Number: FOTZ-8501-E$75.24 MSRP: $124.36You Save: $49.12 (40%)Ships in 1-2 Business DaysFord F-150 Pump Assembly - Water
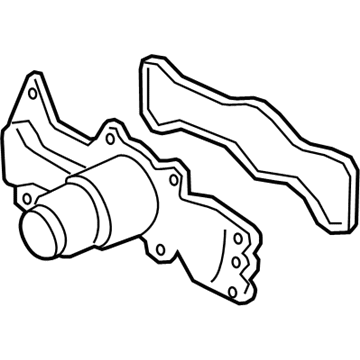
Part Number: F3TZ-8501-D$75.24 MSRP: $124.36You Save: $49.12 (40%)Ships in 1-2 Business DaysFord F-150 COVER
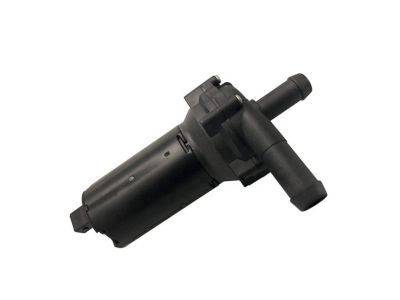
Part Number: HL3Z-8501-C$20.07 MSRP: $32.73You Save: $12.66 (39%)Ships in 1-2 Business DaysFord F-150 PUMP ASY
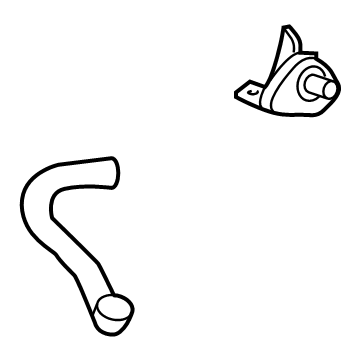
Part Number: ML3Z-18D473-G$89.65 MSRP: $135.83You Save: $46.18 (34%)Ships in 1-2 Business DaysFord F-150 Pump Assembly - Water
Part Number: JL3Z-8501-B$92.07 MSRP: $152.18You Save: $60.11 (40%)Ships in 1 Business DayFord F-150 Pump Assembly - Water
Part Number: BR3Z-8501-Q$96.47 MSRP: $159.45You Save: $62.98 (40%)Ships in 1-2 Business DaysFord F-150 Pump Assembly - Water
Part Number: FT4Z-8501-A$139.70 MSRP: $230.91You Save: $91.21 (40%)Ships in 1-2 Business DaysFord F-150 Pump Assembly - Water
Part Number: XC2Z-8501-BA$49.61 MSRP: $82.00You Save: $32.39 (40%)Ships in 1 Business Day
| Page 1 of 3 |Next >
1-20 of 50 Results
Ford F-150 Water Pump
Water Pump is situated in the Ford F-150 vehicles and it is responsible of circulating the coolant from the radiator to the engine in order to regulate temperatures. This process enables the coolant to draw heat produced by the engine to enable the optimal performances as the vehicle speeds up. Most of the time, the Water Pump is associated with the radiator and cooling fan, where both perform the function of controlling the heat of the engine. Over the years of production the Ford F-150 has incorporated different styles of Water pumps depending on the modern technology in production. Although the differences that distinguish these types are not highlighted, development of the Ford F-150 at thirteen generations assures an advancement in the Water Pump systems' performance as a reliable engine component.
We provide a wide range of Ford F-150 Water Pump at the best prices possible. If you need Ford F-150 Water Pump, you can shop with confidence on our website. All our OEM parts come with a manufacturer's warranty and are delivered to your door step with a fast delivery service.
Ford F-150 Water Pump Parts Questions & Experts Answers
- Q: How to replace the water pump on Ford F-150?A: For 2010 and earlier models, use the cap of the expansion tank as a hot radiator cap. To start the job, remove the cable from the negative terminal of the battery and flush the cooling system. For models made from 2004 to 2009, there is an engine cooling fan and shroud; you must eliminate these; in the 2010 model, there is an air intake duct, and you must do away with it. Remove the drivebelt and then replace the water pump pulley, when removing the pulley bolts unscrew them when the drivebelt is still intact to ease its removal. For V6 models, then detach the additional support bracket of the air conditioning compressor, then separate the heater hose fitting, and the lower hose of the radiator. Take out all the bolts that hold the water pump in place and take out the pump, use a soft-faced hammer to remove the pump if you find it difficult to pull it out. Across the bolt threads and the threaded holes in the engine, clear out degeneration and sealant, along with the rancid gasket residue and the sealing sections. Lubricate the shaft before installing it but for VS models wipe the O-ring surfaces on the pump and housing clean and if you are to use your old pump, it is advisable to use a new O-ring. This should be done to find out if the two pumps are the same or not and for the V6 models a thin layer of ATV sealant can be used to help in holding the new gasket in place. Make sure that the gasket is properly placed on the water pump and also make sure that the surface of the engine block is clean and free from old gasket before carefully assembling the pump with that of the water pump housing. The water pump bolts should be fitted and torqued to the recommended value as earlier stated then the process is reversed if the water pump is to be re-fitted. Finally tighten the water pump pulley mounting bolts up to the recommended torque, add the coolant in the cooling system and join the battery. In the end, crank it up and do a thorough inspection to look for signs of leakage. On the vehicle produced after December 2010, on 2011 and later models, following steps can be followed such as in fig 11 remove the air cleaner pipe, undone the nut on the water pump pulley, remove the drivebelt and water pump pulley. For 5.0L V8 models, uninstall the thermostat housing; and for 4.6L and 4.0L models, unplug the heater outlet hose from the water pump. Undo the water pump mounting bolts, scraped the O-ring surfaces of the pump and housing and if they are to be re-used, fit a new O-ring. Scrub up the interior of the bolt and the threaded holes of the engine, then inspect the new pump and look for difference between the new and the old pump. Connect the pump to the water pump housing gently, put the water pump bolts and turn them to the predetermined torque ensuring that one does not over-tighten the pump as this may cause some damage. If the water pump pulley was removed, undo the process to reinstall and then install the new bolts and tighten them to the required torque again fill the cooling system and reconnect the battery. Last of all, turn on the engine, and make sure the engine is leaking at any area since it produces high heat.
Related Ford F-150 Parts
Browse by Year
2023 Water Pump 2022 Water Pump 2021 Water Pump 2020 Water Pump 2019 Water Pump 2018 Water Pump 2017 Water Pump 2016 Water Pump 2015 Water Pump 2014 Water Pump 2013 Water Pump 2012 Water Pump 2011 Water Pump 2010 Water Pump 2009 Water Pump 2008 Water Pump 2007 Water Pump 2006 Water Pump 2005 Water Pump 2004 Water Pump 2003 Water Pump 2002 Water Pump 2001 Water Pump 2000 Water Pump 1999 Water Pump 1996 Water Pump 1995 Water Pump 1994 Water Pump 1993 Water Pump 1992 Water Pump 1991 Water Pump 1990 Water Pump 1987 Water Pump 1986 Water Pump 1985 Water Pump 1984 Water Pump 1983 Water Pump 1982 Water Pump 1981 Water Pump 1980 Water Pump
