×
- Live Chat
- 1-888-788-9341


My Garage
My Account
Cart
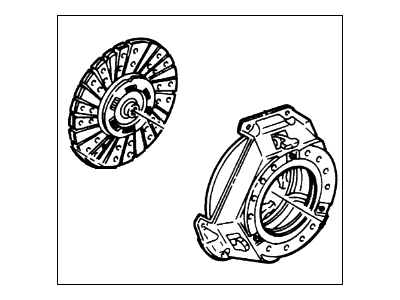
Genuine Ford F-250 Clutch Disc
Friction Disc- Select Vehicle by Model
- Select Vehicle by VIN
Select Vehicle by Model
orMake
Model
Year
Select Vehicle by VIN
For the most accurate results, select vehicle by your VIN (Vehicle Identification Number).
20 Clutch Discs found
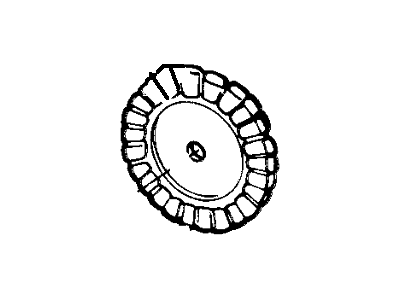
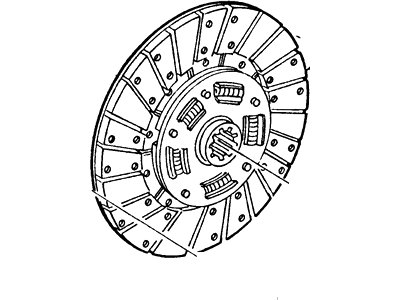
Ford F-250 DISC ASY - CLUTCH
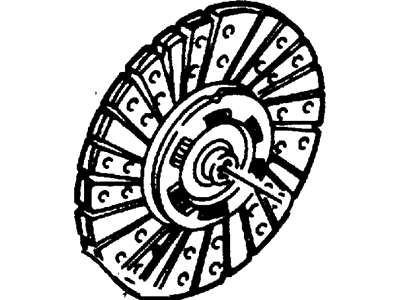
Part Number: E7TZ7550A$60.77 MSRP: $82.83You Save: $22.06 (27%)Ships in 1-2 Business DaysFord F-250 Disc Assembly - Clutch
Part Number: XL3Z-7550-AA$88.61 MSRP: $126.46You Save: $37.85 (30%)Ships in 1-3 Business Days
Ford F-250 Clutch Disc
We provide a wide range of Ford F-250 Clutch Disc at the best prices possible. If you need Ford F-250 Clutch Disc, you can shop with confidence on our website. All our OEM parts come with a manufacturer's warranty and are delivered to your door step with a fast delivery service.
Ford F-250 Clutch Disc Parts Questions & Experts Answers
- Q: How to remove Clutch Disc and Pressure Plate on Ford F-250?A: To remove the dust, use brake system cleaner to flush it into a drain pan, and after wiping the clutch components clean with a rag, dispose of the contaminated materials in a covered, marked container. Disconnecting the battery on later models with a Powertrain Control Unit (PCM) may cause the PCM to lose its memory, leading to abnormal driving symptoms for the first 10 miles until it relearns its adaptive strategy. Accessing the clutch components typically requires removing the transmission (and transfer case on 4WD models) while leaving the engine in place; however, if the engine is being overhauled, check the clutch for wear and replace any worn components. On early models with mechanical linkages, remove the clutch rod and equalizer bar from the transmission. For models with an external slave cylinder, remove and tie it up out of the way without disconnecting the hydraulic line; for those with a concentric slave cylinder, detach the clutch line at the inlet port. For 4WD models, remove the transfer case, followed by the transmission. On 3 and 4-speed models with a separate clutch housing, disconnect the negative battery cable, remove the starter motor bolts, and the bolts retaining the clutch housing to the engine block, noting the presence of shims. To support the clutch disc during removal, install a clutch alignment tool through the hub, and inspect the flywheel and pressure plate for indexing marks, making your own if necessary. Loosen the pressure plate-to-flywheel bolts in a criss-cross pattern until all spring pressure is relieved, then remove the bolts, pressure plate, and clutch disc. Inspect the clutch driven plate assembly, flywheel for defects, Pilot Bearing, clutch disc lining, Release Bearing, and pressure plate for wear or damage, replacing components as necessary. If the pilot bearing was removed, install a new one, and before installation, clean the flywheel and pressure plate surfaces thoroughly. Position the clutch disc and pressure plate against the flywheel using the alignment tool, ensuring proper installation, and tighten the pressure plate-to-flywheel bolts lightly in a criss-cross pattern. Center the clutch disc and tighten the bolts gradually, then remove the alignment tool. If applicable, install the clutch release bearing and lever or concentric slave cylinder, followed by the clutch housing, ensuring shims are reinstalled if present. Finally, install the transmission and transfer case, reconnect the slave cylinder or clutch line as needed, and bleed the clutch hydraulics if required, then reinstall the clutch rod and equalizer bar on early model mechanical linkages and adjust the linkage.
Related Ford F-250 Parts
Browse by Year
1999 Clutch Disc 1998 Clutch Disc 1997 Clutch Disc 1996 Clutch Disc 1995 Clutch Disc 1994 Clutch Disc 1993 Clutch Disc 1992 Clutch Disc 1991 Clutch Disc 1990 Clutch Disc 1989 Clutch Disc 1988 Clutch Disc 1987 Clutch Disc 1986 Clutch Disc 1985 Clutch Disc 1984 Clutch Disc 1983 Clutch Disc 1982 Clutch Disc 1981 Clutch Disc 1980 Clutch Disc
