×
- Live Chat
- 1-888-788-9341


My Garage
My Account
Cart
Genuine Ford Taurus A/C Condenser
Air Conditioning Condenser- Select Vehicle by Model
- Select Vehicle by VIN
Select Vehicle by Model
orMake
Model
Year
Select Vehicle by VIN
For the most accurate results, select vehicle by your VIN (Vehicle Identification Number).
13 A/C Condensers found
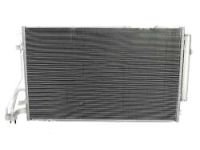
Ford Taurus Condenser Assembly
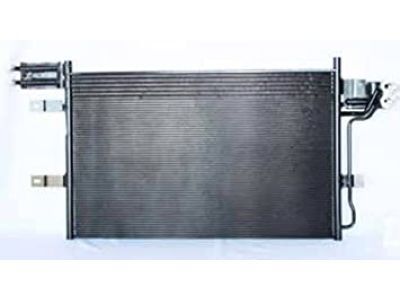
Part Number: 8G1Z-19712-A$279.03 MSRP: $476.36You Save: $197.33 (42%)Ships in 1-2 Business DaysFord Taurus Condenser Assembly
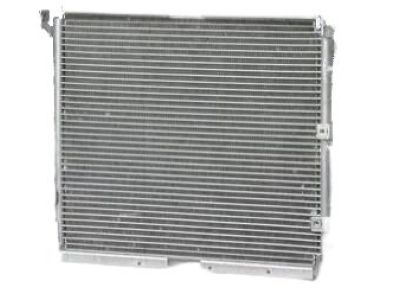
Part Number: BG1Z-19712-A$279.03 MSRP: $476.36You Save: $197.33 (42%)Ships in 1-2 Business DaysFord Taurus Condenser Assembly
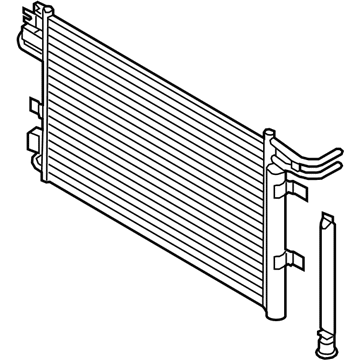
Part Number: DG1Z-19712-D$198.80 MSRP: $390.91You Save: $192.11 (50%)Ships in 1-2 Business DaysFord Taurus Condenser Assembly
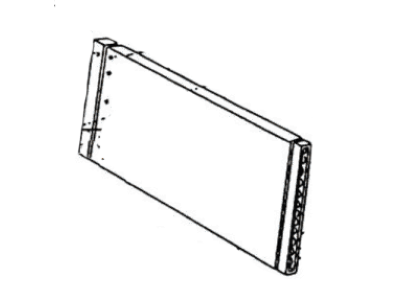
Part Number: BA5Z-19712-A$235.44 MSRP: $392.73You Save: $157.29 (41%)Ships in 1-2 Business DaysFord Taurus Condenser Assembly
Part Number: DG1Z-19712-B$229.99 MSRP: $383.64You Save: $153.65 (41%)Ships in 1-2 Business DaysFord Taurus Condenser Assembly
Part Number: AA5Z-19712-A$235.44 MSRP: $392.73You Save: $157.29 (41%)Ships in 1-2 Business Days
Ford Taurus A/C Condenser
The A/C Condenser as a heat exchanger features in most of the Ford Taurus manufactured cars and primarily works to cool the refrigerant gas to transform it into a liquid state. Located in front of or straddling the radiator, this is the main part of vehicle composed of tubes that define the functioning of conversion. Although there might have been changes in the kind or the model of A/C Condenser used in different models of Taurus at diverse times, the main goal does not change and it is to properly cool the refrigerant; to support and enhance the performance of the air conditioning of the vehicle.
We provide a wide range of Ford Taurus A/C Condenser at the best prices possible. If you need Ford Taurus A/C Condenser, you can shop with confidence on our website. All our OEM parts come with a manufacturer's warranty and are delivered to your door step with a fast delivery service.
Ford Taurus A/C Condenser Parts Questions & Experts Answers
- Q: How to remove and install a A/C Condenser on Ford Taurus?A: The air conditioning condenser has an integrated receiver/drier, equipped with a receiver/drier desiccant bag. The receiver/drier desiccant bag may be removed and replaced with a new one (available from the dealer). Removal: Have the air conditioning system dis-charged by a dealer service department or an automotive air conditioning shop before proceeding. Remove the upper radiator grill and sight shield (if equipped). On 2007 and earlier models, unbolt the horn assembly and move it aside. On four-cylinder models, remove the radiator grille shutter. On V6 models, remove the radiator. On 2008 and later models, disconnect the transaxle cooler line clamps and disconnect the lines from the condenser core. Disconnect the refrigerant inlet and outlet pipes from the condenser, capping the lines to prevent contamination. Remove the bolt or nut securing the pipe fitting to the condenser. Remove the condenser. If reinstalling the original condenser, store it with the line fittings facing up to prevent oil from draining out. Installation: If installing a new condenser, pour one ounce of refrigerant oil of the correct type into it prior to installation. Before reconnecting the refrigerant lines to the condenser, coat a pair of new O-ring with refrigerant oil, install them in the refrigerant line fittings and tighten the condenser inlet and outlet nuts securely. Refill the transmission fluid as needed to the correct level. Installation is otherwise the reverse of removal. Have the system evacuated, recharge and leak tested by the shop that discharged it. Receiver/drier desiccant bag-replacement: Remove the condenser as previously described. Remove the threaded plug at the bottom left of the condenser. Using needle nose pliers, pull the desiccant bag out of the receiver/drier. Insert a new bag into the receiver drier. Install the plug and tighten it securely.
Related Ford Taurus Parts
Browse by Year
2019 A/C Condenser 2018 A/C Condenser 2017 A/C Condenser 2016 A/C Condenser 2015 A/C Condenser 2014 A/C Condenser 2013 A/C Condenser 2012 A/C Condenser 2011 A/C Condenser 2010 A/C Condenser 2009 A/C Condenser 2008 A/C Condenser 2007 A/C Condenser 2006 A/C Condenser 2005 A/C Condenser 2004 A/C Condenser 2003 A/C Condenser 2002 A/C Condenser 2001 A/C Condenser 2000 A/C Condenser 1999 A/C Condenser 1998 A/C Condenser 1997 A/C Condenser 1996 A/C Condenser 1991 A/C Condenser
