
My Garage
My Account
Cart
Genuine Lincoln Mark VII Piston
Engine Pistons- Select Vehicle by Model
- Select Vehicle by VIN
Select Vehicle by Model
orMake
Model
Year
Select Vehicle by VIN
For the most accurate results, select vehicle by your VIN (Vehicle Identification Number).
7 Pistons found
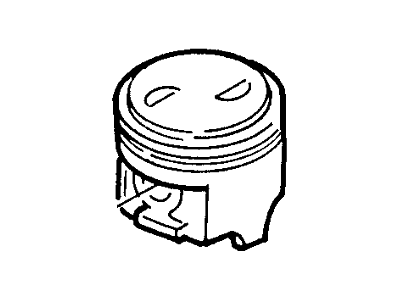
Lincoln Mark VII Piston
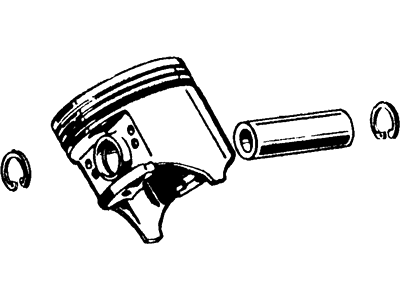
Part Number: E9TZ-6108-DB$19.28 MSRP: $26.34You Save: $7.06 (27%)Ships in 1 Business DayLincoln Mark VII Piston & Pin Assembly
Part Number: F2ZZ6108DB$27.08 MSRP: $37.62You Save: $10.54 (29%)Ships in 1-2 Business Days
Lincoln Mark VII Piston
Piston in Lincoln Mark VII vehicles is one of the main components of the internal combustion engine providing the conversion of the combustion power into the energy required to move the vehicle. As it works, it revives the force of the expanding gases transferring the force to the crankshaft to make the engine work as desired. Conventionally made from aluminum alloys for excessive strength and low density, racing Lincoln Mark VII pistons may employ forged or billet forms. Different types of pistons have been incorporated in the Mark VII, and these include the trunk pistons which provide the side forces and have the provision for oil rings. Also, there are slippers pistons, they are applied to engines that work at high speed, to improve the balance of the actions as well. Threats such as high pressure and high temperature are catered for by features such as cooling cavities and the piston rings, hence improving on the overall performance of the vehicle.
We provide a wide range of Lincoln Mark VII Piston at the best prices possible. If you need Lincoln Mark VII Piston, you can shop with confidence on our website. All our OEM parts come with a manufacturer's warranty and are delivered to your door step with a fast delivery service.
Lincoln Mark VII Piston Parts Questions & Experts Answers
- Q: How to install piston/connecting rod assemblies on Lincoln Mark VII?A:Before installing piston/connecting rod assemblies, ensure clean cylinder walls, chamfered top edge of each cylinder, and Crankshaft in place. Remove cap from end of number one connecting rod, wipe original bearing inserts' surfaces. Place upper and lower bearing inserts in connecting rod and cap, align tabs. Position piston ring gaps, lubricate piston and rings with oil. Use ring compressor to insert assembly into number one cylinder bore, tap piston into place, guide connecting rod onto crankshaft journal. Check connecting rod bearing oil clearance with Plastigage before bolting rod cap. Tighten nuts to specified torque, check Plastigage for oil clearance, scrape off traces if correct. Apply moly-base grease or assembly lube to bearing faces, slide connecting rod back into place. Repeat procedure for remaining pistons/connecting rods. Rotate crankshaft to check for binding, verify connecting rod endplay, resize rods if necessary at machine shop.
- Q: How to prepare for piston/connecting rod assembly removal on Lincoln Mark VII?A:To prepare for piston/connecting rod assembly removal, check for ridges at the upper limit of ring travel using your fingernail and, if present, use a ridge reamer to eliminate them before attempting to remove the piston/connecting rod assemblies. Ensure the tool doesn't cut into the ring travel area more than 1/32-inch. Once ridges are addressed, turn the engine upside-down with the Crankshaft facing up. Before removing connecting rods, check the side clearance with a dial indicator or feeler gauges, ensuring it falls within the specified limits; excessive clearance may require new connecting rods or crankshaft repair. Mark connecting rods and caps for identification, then gradually loosen the connecting rod cap nuts or bolts and remove them by hand. Remove the connecting rod cap and bearing insert, protecting the crankshaft with hose sections if studs are present. Push the connecting rod/piston assembly out through the top of the engine using a wooden or plastic hammer handle, ensuring any resistance is double-checked for ridge removal. Repeat for remaining cylinders. After removal, reassemble connecting rod caps and bearing inserts in their respective rods, securing cap nuts finger tight, and avoid separating pistons from connecting rods.
- Q: How to inspect piston and connecting rod assemblies on Lincoln Mark VII?A:Clean piston/rod assemblies, replace piston rings. Use ring installation tool to extract rings without damaging pistons. Remove carbon deposits from piston tops with wire brush or emery cloth. Clean ring grooves with groove cleaning tool. Inspect pistons for cracks, scoring, scuffing, overheating, or abnormal combustion. Check for piston corrosion indicating coolant leakage. Measure ring side clearance and piston-to-bore clearance. Resize pistons if needed. Inspect connecting rods for cracks or damage, replace if necessary.


