×
- Live Chat
- 1-888-788-9341


My Garage
My Account
Cart
Genuine Ford Focus Exhaust Manifold
Engine Exhaust Manifold- Select Vehicle by Model
- Select Vehicle by VIN
Select Vehicle by Model
orMake
Model
Year
Select Vehicle by VIN
For the most accurate results, select vehicle by your VIN (Vehicle Identification Number).
32 Exhaust Manifolds found
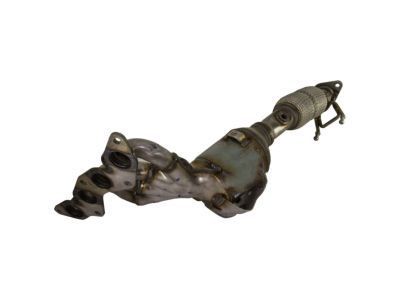
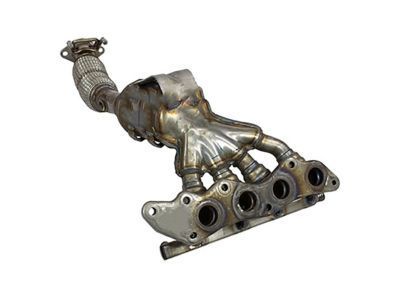
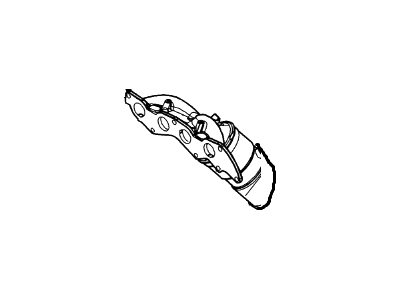
Ford Focus Exhaust Manifold And Catalyst Assembly
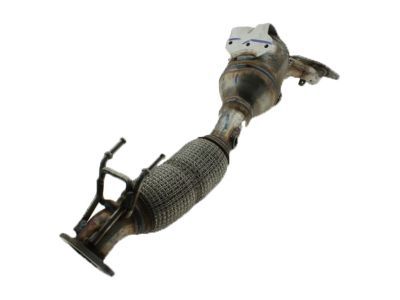
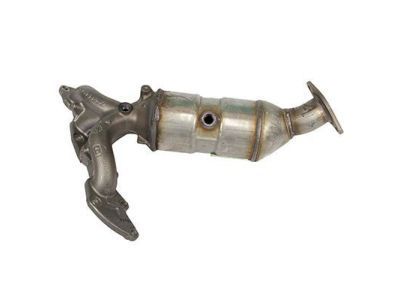
Part Number: BV6Z-5G232-B$717.57 MSRP: $908.57You Save: $191.00 (22%)Ships in 1-3 Business DaysFord Focus Exhaust Manifold And Catalyst Assembly
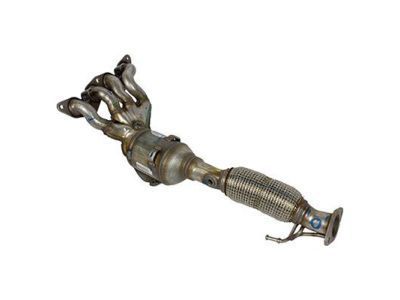
Part Number: BV6Z-5G232-A$686.21 MSRP: $868.57You Save: $182.36 (21%)Ships in 1-3 Business DaysFord Focus Exhaust Manifold And Catalyst Assembly
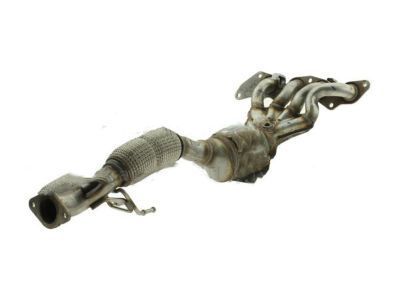
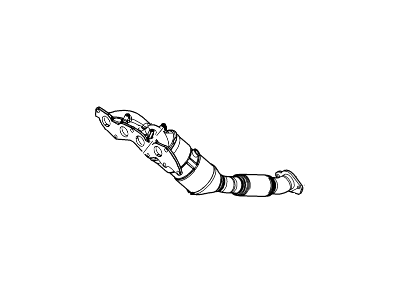
Part Number: DV6Z-5G232-A$686.21 MSRP: $868.57You Save: $182.36 (21%)Ford Focus Exhaust Manifold And Catalyst Assembly
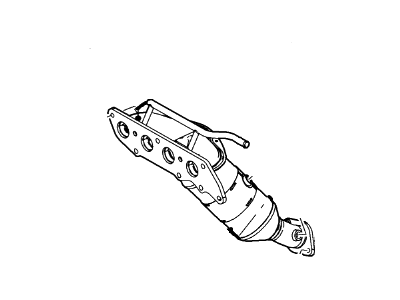
Part Number: CV6Z-5G232-A$717.57 MSRP: $908.57You Save: $191.00 (22%)Ships in 1-3 Business DaysFord Focus Exhaust Manifold And Catalyst Assembly
Part Number: CP9Z-5G232-A$686.21 MSRP: $868.57You Save: $182.36 (21%)Ships in 1-3 Business DaysFord Focus Exhaust Manifold And Catalyst Assembly
Part Number: 8S4Z-5G232-B$2032.45 MSRP: $2585.71You Save: $553.26 (22%)Ford Focus Exhaust Manifold And Catalyst Assembly
Part Number: AS4Z-5G232-F$1548.61 MSRP: $1968.57You Save: $419.96 (22%)Ships in 1-3 Business DaysFord Focus Exhaust Manifold Assembly
Part Number: 3S4Z-5G232-CD$2664.48 MSRP: $3550.75You Save: $886.27 (25%)Ships in 1-3 Business DaysFord Focus Exhaust Manifold Assembly
Part Number: 5S4Z-5G232-KA$630.56 MSRP: $840.30You Save: $209.74 (25%)Ships in 1-3 Business DaysFord Focus Exhaust Manifold Assembly
Part Number: 7S4Z-5G232-E$2291.17 MSRP: $2915.71You Save: $624.54 (22%)Ships in 1-3 Business DaysFord Focus Exhaust Manifold And Catalyst Assembly
Part Number: 7S4Z-5G232-F$3809.89 MSRP: $4852.86You Save: $1042.97 (22%)Ships in 1-3 Business DaysFord Focus Exhaust Manifold Assembly
Part Number: 7S4Z-5G232-EA$2291.17 MSRP: $2915.71You Save: $624.54 (22%)Ford Focus Exhaust Manifold Assembly
Part Number: 4S4Z-5G232-CB$2664.48 MSRP: $3550.75You Save: $886.27 (25%)
| Page 1 of 2 |Next >
1-20 of 32 Results
Ford Focus Exhaust Manifold
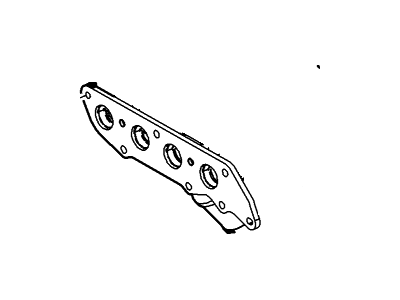
The Exhaust Manifold of Ford Focus vehicles is as exhaust system parts that ensure that hot gases produced by the engine are channeled to the tailpipe. It is located at the top, side, front or rear of the engine block and has long intertwining tubes and is sealed by an exhaust manifold gasket. The Exhaust Manifold's main function is to direct the exhaust gasses through the Catalytic Converter and Manage or Muffler with an aim of avoiding intake reversion for an efficient running engine. Depending on the type of vehicle, they can be of different shapes and sizes or made of different materials; however, the Exhaust Manifolds' function is the same - to prevent drivers and passengers from inhaling toxic exhaust gases. Headers are the versions of exhaust manifolds and are meant to help the engine run smoother and more efficiently by making less resistance to the flow of exhaust gas and thus increasing the velocity of the said gas.
We provide a wide range of Ford Focus Exhaust Manifold at the best prices possible. If you need Ford Focus Exhaust Manifold, you can shop with confidence on our website. All our OEM parts come with a manufacturer's warranty and are delivered to your door step with a fast delivery service.
Ford Focus Exhaust Manifold Parts Questions & Experts Answers
- Q: How to remove and install the intake manifold and exhaust manifold on a Ford Focus?A: Depressurize the fuel system and disconnect the negative battery cable. Remove the air cleaner and inlet duct, and disconnect the Accelerator Cable. For 2.3L and 2005 and later 2.0L models, remove the engine cooling fan and shroud. Disconnect the brake booster vacuum hose from the base of the manifold, remove the engine oil dipstick and its tube. Disconnect the injection harness wiring plug and camshaft position sensor at the rear of the cylinder head. Disconnect all electrical connectors from the throttle body. For models through 2004, disconnect the fuel supply and return lines from the fuel rail. Protect the alternator from fuel spillage. If equipped, disconnect the intake manifold runner control (IMRC) cable. Remove the manifold support bracket (SPI engines) and manifold retaining bolts. Check there is nothing else attached to the manifold and withdraw it from the engine, keeping it as level as possible. Recover the four gaskets - new ones must be used on installation. Installation is a reversal of removal, but clean the mating faces of the intake manifold and cylinder head, use new gaskets, tighten the nuts/bolts to the specified torque. Once the engine is fully warmed-up, check for signs of fuel, intake or vacuum leaks. Test the vehicle and check for proper operation of all disturbed components.For 2008 and later models, depressurize the fuel system, disconnect the cable from the negative battery terminal. Remove the outlet tube from the air cleaner, remove the front collision impact sensor, transaxle fluid level dipstick. Remove the lower intake manifold mounting bolt that is above the engine oil dipstick tube, then remove the dipstick and tube. Disconnect the wiring from the oil pressure switch and throttle body. Disconnect the power steering tube and the vapor hose. Disconnect the wiring harnesses from the knock sensor, MAP sensor, and the swirl control solenoid and sensor. Loosen the two center intake manifold bolts, remove the five remaining intake manifold bolts. Disconnect the PCV hose and remove the intake manifold. Installation is the reverse of removal, replace the intake manifold gaskets if they are damaged, tighten the mounting bolts to the torque listed.For the exhaust manifold on models through 2004, disconnect the battery negative lead, jack up the front of the car and support it on axle stands. Disconnect the wiring plug from the oxygen sensor in the exhaust pipe. Unscrew the four bolts securing the exhaust manifold heat shield, and lift the shield off. Unscrew and remove the bolts securing the exhaust front pipe/Catalytic Converter support brackets. Remove the nuts and separate the catalytic converter-to-center section joint. Remove the two power steering pipe mounting brackets at either side of the manifold. Unscrew and remove the six bolts and three nuts securing the manifold to the cylinder head. Install the new gaskets and tighten all nuts and bolts to the specified torque.For 2008 and later models, raise the vehicle and support it securely on jackstands. Fabricate and attach a splint along the flexible exhaust section. Remove the exhaust pipe nuts from the end of the catalytic converter/exhaust manifold, remove the catalytic converter-to-engine support brace. Disconnect the wiring from the catalytic converter/exhaust manifold. Remove the upper heat shield. Remove the heat shield from the canister purge valve, then disconnect the wiring from the valve. Detach the fuel supply line from the canister purge valve bracket, then unbolt the bracket and move it out of the way. Remove the catalytic converter/exhaust manifold mounting nuts. Remove the engine lift bracket. Remove the catalytic converter/exhaust manifold and the lower heat shield. Discard the head surface gasket. Remove and discard the mounting studs. After cleaning all gasket surfaces and checking all sealing surfaces for flatness, install new mounting studs and tighten them to the torque listed. Obtain new gaskets, seals and nuts. Place the new gasket over the studs, then install the catalytic converter/exhaust manifold. Tighten the mounting nuts to the torque listed. Start with the center bolt and tighten the nuts working toward the outer nuts, then repeat the process to check their tightness. Replace the exhaust pipe seal and nuts with new ones and remove the splint device.
Related Ford Focus Parts
Browse by Year
2018 Exhaust Manifold 2017 Exhaust Manifold 2016 Exhaust Manifold 2015 Exhaust Manifold 2014 Exhaust Manifold 2013 Exhaust Manifold 2012 Exhaust Manifold 2011 Exhaust Manifold 2010 Exhaust Manifold 2009 Exhaust Manifold 2008 Exhaust Manifold 2007 Exhaust Manifold 2006 Exhaust Manifold 2005 Exhaust Manifold 2004 Exhaust Manifold 2003 Exhaust Manifold 2002 Exhaust Manifold 2001 Exhaust Manifold 2000 Exhaust Manifold
