×
- Live Chat
- 1-888-788-9341


My Garage
My Account
Cart
Genuine Mercury Grand Marquis Control Arm
Suspension Arm- Select Vehicle by Model
- Select Vehicle by VIN
Select Vehicle by Model
orMake
Model
Year
Select Vehicle by VIN
For the most accurate results, select vehicle by your VIN (Vehicle Identification Number).
34 Control Arms found
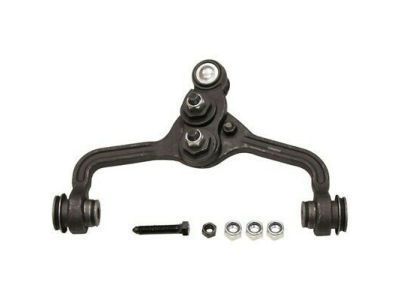
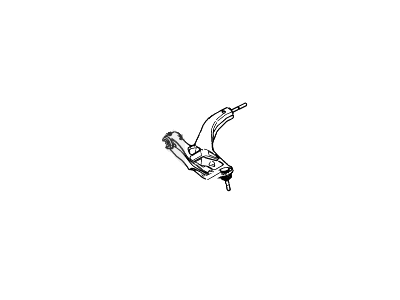
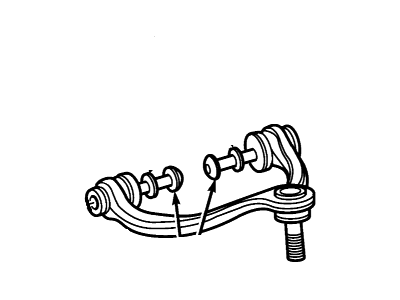
Mercury Grand Marquis Arm Assembly - Front Suspension
Part Number: F6AZ-3084-BA$154.90 MSRP: $211.66You Save: $56.76 (27%)Ships in 1-2 Business DaysMercury Grand Marquis Arm Assembly - Front Suspension
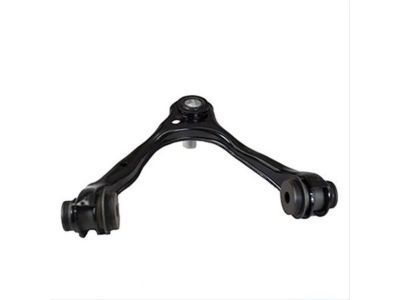
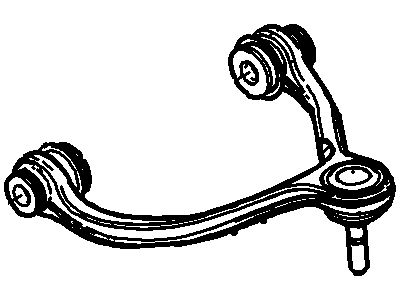
Part Number: 6W1Z-3084-B$78.98 MSRP: $130.55You Save: $51.57 (40%)Ships in 1-2 Business DaysMercury Grand Marquis Arm Assembly - Front Suspension
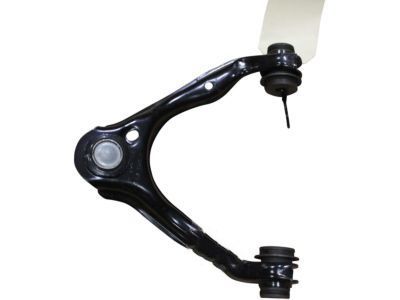
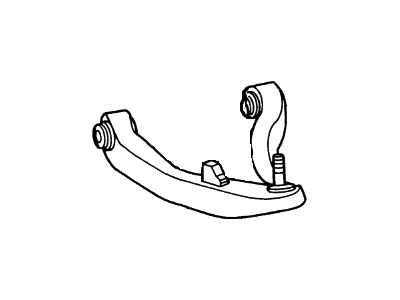
Part Number: 6W1Z-3085-B$81.07 MSRP: $134.00You Save: $52.93 (40%)Ships in 1 Business DayMercury Grand Marquis Arm Assembly Rear Suspension
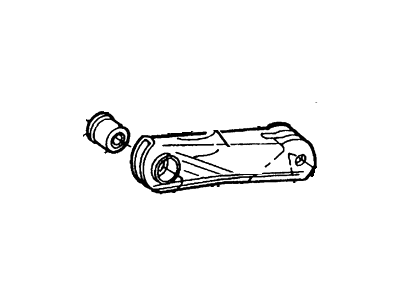
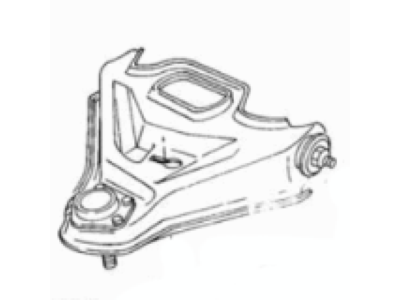
Part Number: F1VY5500A$131.86 MSRP: $180.17You Save: $48.31 (27%)Ships in 1-2 Business DaysMercury Grand Marquis Arm Assembly - Front Suspension
Part Number: 6W1Z-3078-D$204.92 MSRP: $341.82You Save: $136.90 (41%)Ships in 1-2 Business DaysMercury Grand Marquis Arm Assembly - Front Suspension
Part Number: 6W1Z-3085-AA$81.07 MSRP: $134.00You Save: $52.93 (40%)Ships in 1 Business DayMercury Grand Marquis Arm Assembly - Front Suspension
Part Number: 6W1Z-3084-AA$78.98 MSRP: $130.55You Save: $51.57 (40%)Ships in 1-2 Business DaysMercury Grand Marquis Arm Assembly - Front Suspension
Part Number: 4W1Z-3084-RH$93.25 MSRP: $148.73You Save: $55.48 (38%)Ships in 1-3 Business DaysMercury Grand Marquis Arm Assembly - Front Suspension
Part Number: 6W1Z-3079-AA$377.53 MSRP: $524.45You Save: $146.92 (29%)Ships in 1-2 Business DaysMercury Grand Marquis Arm Assembly - Front Suspension
Part Number: 6W1Z-3085-M$91.77 MSRP: $146.36You Save: $54.59 (38%)Ships in 1-3 Business DaysMercury Grand Marquis Arm Assembly - Front Suspension
Part Number: 6W1Z-3084-S$93.25 MSRP: $148.73You Save: $55.48 (38%)Ships in 1-3 Business DaysMercury Grand Marquis Arm Assembly - Front Suspension
Part Number: 6W1Z-3085-L$91.77 MSRP: $146.36You Save: $54.59 (38%)Ships in 1-3 Business DaysMercury Grand Marquis Arm Assembly - Front Suspension
Part Number: 6W1Z-3084-R$93.25 MSRP: $148.73You Save: $55.48 (38%)Ships in 1-3 Business Days
| Page 1 of 2 |Next >
1-20 of 34 Results
Mercury Grand Marquis Control Arm
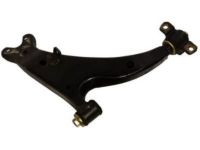
The Control Arm is an essential component of Mercury Grand Marquis cars and forms the connection between the frame as well as the wheels and suspension parts such as the shock and the springs. These arms rotate according to the state of the roads, then the wheels are oscillated up and down. Whereas earlier the handles were made of stamped steel, the latest designs contain durable cast iron or aluminum arms. Control arms are rather sturdy but are susceptible to wearing the bushings and ball joints hence a need for servicing. To get the optimal hold and positioning, there are performance control arms, which are ideal suitable for high speed or modified cars. Also, wide range of bushings, mounts, and hardware is available to improve the steering response and alignment angles.
We provide a wide range of Mercury Grand Marquis Control Arm at the best prices possible. If you need Mercury Grand Marquis Control Arm, you can shop with confidence on our website. All our OEM parts come with a manufacturer's warranty and are delivered to your door step with a fast delivery service.
Mercury Grand Marquis Control Arm Parts Questions & Experts Answers
- Q: How do you remove the lower control arm on Mercury Grand Marquis?A: To remove the lower control arm, loosen lug nuts, raise vehicle, support with jackstands, remove wheel. Remove Shock Absorber or shock absorber/coil spring assembly. Disconnect stabilizer bar link (1988-1991 models). Remove coil spring (2002 and earlier models). Remove cotter pin and loosen castle nut on balljoint stud. Tap Steering Knuckle to release pressure and loosen stud. Remove balljoint stud nut and lower control arm by removing mounting bolts. Inspect bushings for damage; replace if necessary. Install lower control arm with mounting bolts (not fully tightened), use spring compressor (2002 and earlier models) and seat spring properly. Insert balljoint stud into steering knuckle, tighten castle nut, and install new cotter pin. Install shock absorber/coil spring assembly (2003 and later models). Attach stabilizer bar (1988-1991 models). Raise control arm to normal ride height, tighten pivot bolt nuts, install wheel, remove jackstands, lower vehicle, and tighten lug nuts.
- Q: How do you remove the upper control arm on Mercury Grand Marquis?A: One way to take off the upper control arm is to loosen the hubcap nuts, lift the vehicle, and detach the wheel. For models 1988-1991, take out the cotter pin and release the stud nut. Use a jack to lift slightly the lower control arm and strike on the Steering Knuckle near the ball joint stud to loosen it. In case of need, use a ball joint stud separator. Remove the nut and pivot shaft attaching bolts then remove the upper control arm. For models 1992-2002, raise the lower control arm with a jack, get rid of the pinch bolt and nut, and disconnect ball joint stud. Take off the upper control arm retaining bolts and assembly. On models for 2003 and up, first, remove the Shock Absorber/coil spring assembly together with harness retainers then remove the upper control arm mounting bolts. When installing put the upper control arm pivot shaft in its position on frame, put the ball joint stud into the steering knuckle, and secure it there.
Related Mercury Grand Marquis Parts
Browse by Year
2011 Control Arm 2010 Control Arm 2009 Control Arm 2008 Control Arm 2007 Control Arm 2006 Control Arm 2005 Control Arm 2004 Control Arm 2003 Control Arm 2002 Control Arm 2001 Control Arm 2000 Control Arm 1999 Control Arm 1998 Control Arm 1997 Control Arm 1996 Control Arm 1995 Control Arm 1994 Control Arm 1993 Control Arm 1992 Control Arm 1991 Control Arm 1990 Control Arm 1989 Control Arm 1988 Control Arm 1987 Control Arm 1986 Control Arm 1985 Control Arm 1984 Control Arm 1983 Control Arm 1982 Control Arm 1981 Control Arm 1980 Control Arm
