×
- Live Chat
- 1-888-788-9341


My Garage
My Account
Cart
Genuine Mercury Grand Marquis Shock Absorber
Suspension Shock Absorber- Select Vehicle by Model
- Select Vehicle by VIN
Select Vehicle by Model
orMake
Model
Year
Select Vehicle by VIN
For the most accurate results, select vehicle by your VIN (Vehicle Identification Number).
73 Shock Absorbers found
Mercury Grand Marquis Shock Absorber Assembly
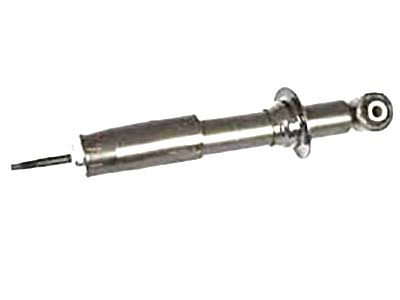
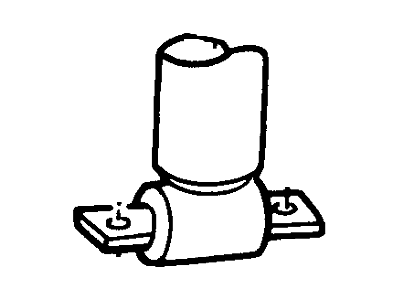
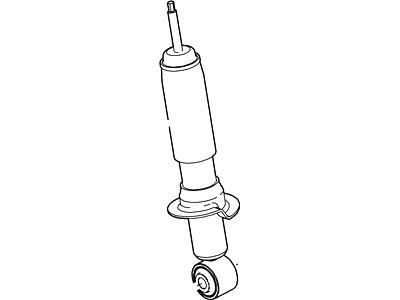
Part Number: 7W7Z-18124-D$98.89 MSRP: $163.45You Save: $64.56 (40%)Ships in 1-2 Business DaysMercury Grand Marquis Shock Absorber Assembly
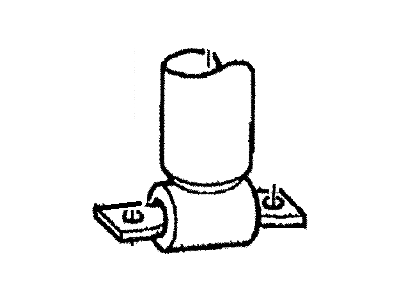
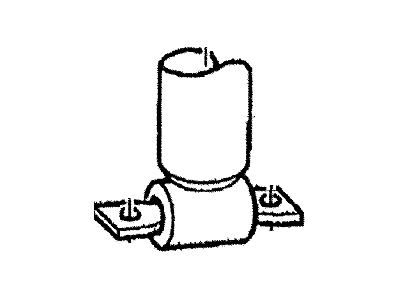
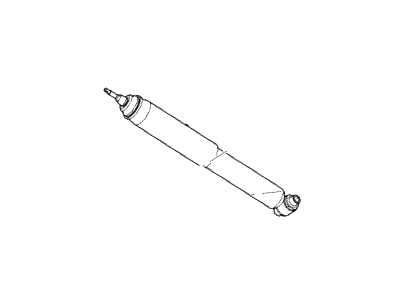
Part Number: BW1Z-18125-A$89.46 MSRP: $122.24You Save: $32.78 (27%)Ships in 1 Business DayMercury Grand Marquis Kit - Shock Absorber
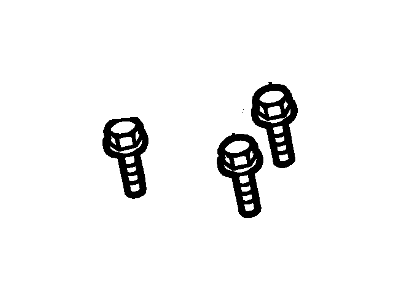
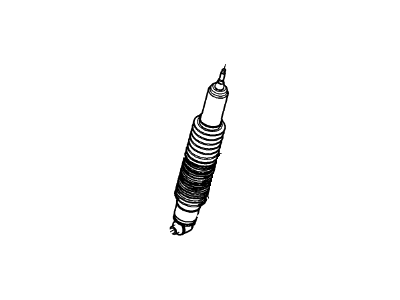
Part Number: XW7Z-18124-AB$39.89 MSRP: $54.51You Save: $14.62 (27%)Mercury Grand Marquis Shock Absorber Assembly
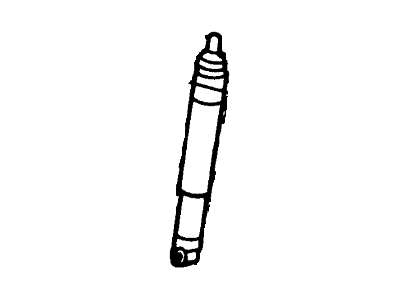
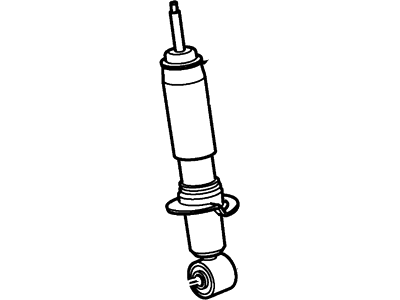
Part Number: BW7Z-18124-A$98.89 MSRP: $163.45You Save: $64.56 (40%)Ships in 1-2 Business DaysMercury Grand Marquis Shock Absorber Assembly
Part Number: BW7Z-18124-B$98.89 MSRP: $163.45You Save: $64.56 (40%)Ships in 1-2 Business DaysMercury Grand Marquis Shock Absorber Assembly
Part Number: F8AZ-18124-CA$39.89 MSRP: $54.51You Save: $14.62 (27%)Mercury Grand Marquis Shock Absorber Assy - Front
Part Number: 3U2Z-18124-BJ$74.51 MSRP: $101.80You Save: $27.29 (27%)Mercury Grand Marquis Shock Absorber Assembly
Part Number: XW3Z-18125-AA$46.34 MSRP: $63.31You Save: $16.97 (27%)Ships in 1-2 Business DaysMercury Grand Marquis Shock Absorber Assembly
Part Number: F8AZ-18124-AA$39.89 MSRP: $54.51You Save: $14.62 (27%)Mercury Grand Marquis Kit - Shock Absorber
Part Number: XW7Z-18125-CA$42.09 MSRP: $57.51You Save: $15.42 (27%)Ships in 1-2 Business DaysMercury Grand Marquis Kit - Shock Absorber
Part Number: XW3Z-18124-AA$39.89 MSRP: $54.51You Save: $14.62 (27%)Mercury Grand Marquis Shock Absorber Assembly
Part Number: 6W1Z-18125-A$71.15 MSRP: $120.00You Save: $48.85 (41%)Ships in 1-2 Business DaysMercury Grand Marquis Shock Absorber Assembly
Part Number: 6W7Z-18124-A$98.89 MSRP: $163.45You Save: $64.56 (40%)Ships in 1-2 Business DaysMercury Grand Marquis Shock Absorber Assembly
Part Number: 7W7Z-18124-C$98.89 MSRP: $163.45You Save: $64.56 (40%)Ships in 1-2 Business DaysMercury Grand Marquis Shock Absorber Assembly
Part Number: 7W7Z-18125-D$71.15 MSRP: $120.00You Save: $48.85 (41%)Ships in 1-2 Business DaysMercury Grand Marquis Shock Absorber Assembly
Part Number: 6W7Z-18124-B$98.89 MSRP: $163.45You Save: $64.56 (40%)Ships in 1-2 Business DaysMercury Grand Marquis Shock Absorber Assembly
Part Number: 6W7Z-18124-D$98.89 MSRP: $163.45You Save: $64.56 (40%)Ships in 1-2 Business Days
| Page 1 of 4 |Next >
1-20 of 73 Results
Mercury Grand Marquis Shock Absorber
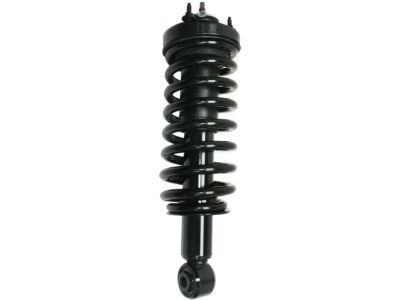
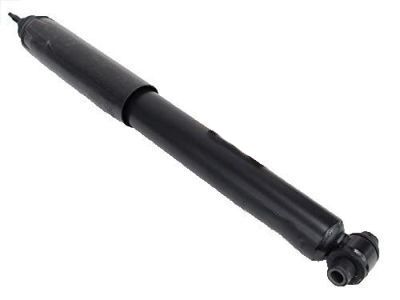
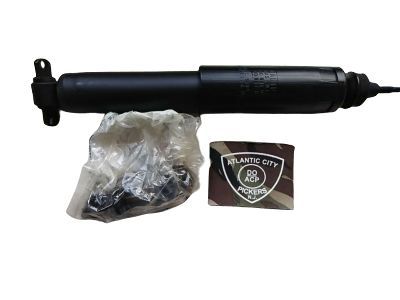
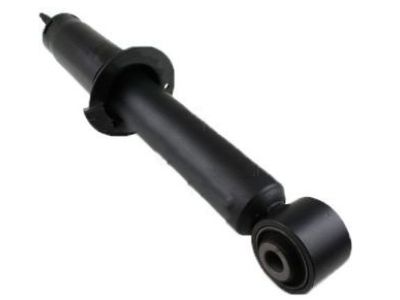
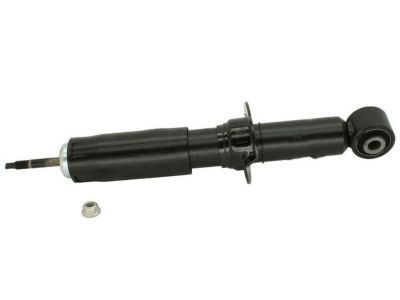
The Shock Absorber of Mercury Grand Marquis vehicles is one of the most important part and act in conjunction with the strut in the suspension system to enhance stability and control. These components assist to reduce hopping and isolate shock forces and lessen the passage of jerks, enhance the ride and comfort levels. In the subsequent years, different types of shock absorbers evolved and are categorized into twin tube and mono tube types, and the hydraulic fluid control is different depending on the kind of driving style it is tailored for. Also, the new technologies such as the electrorheological and magnetorheological dampers have enabled semi-active as well as adaptive suspensions to improve comfort as well as control on the roads.
We provide a wide range of Mercury Grand Marquis Shock Absorber at the best prices possible. If you need Mercury Grand Marquis Shock Absorber, you can shop with confidence on our website. All our OEM parts come with a manufacturer's warranty and are delivered to your door step with a fast delivery service.
Mercury Grand Marquis Shock Absorber Parts Questions & Experts Answers
- Q: How do you remove the rear shock absorbers on Mercury Grand Marquis?A: The shock absorbers at the rear should be removed after raising and securing the vehicle's rear on jack stands. With automatic leveling rear suspension and coil springs for older models, let the rear axle hang freely until the shock absorbers finish venting through the compressor. Support the rear axle with a floor jack to keep it from falling when the shock absorbers are detached. For air-assisted shock absorbers, depress the retainer ring(s) and remove the lines by pulling them free. The top of the frame has an upper retaining nut for the shock absorber that can be found. Put an inner insulator and washer on top of it before you get your compressed shock absorber through that hole in this frame. Remove lower retaining nut and lower shock absorber mounting stud from mounting bracket. To make sure all air is expelled from the new shock absorber, extend and compress it several times before installing it.
- Q: How to remove and install front shock absorbers on Mercury Grand Marquiss?A: Detach the top end by taking off the attaching nut, washer, and bushing. For 1992 and later models, mark the alignment marks on the adjustment cams before removing the retaining nuts for the upper balljoint. Raise the vehicle, remove self-tapping bolts that attach the lower end of the shock absorber to the lower Control Arm, and remove the shock absorber through a hole in lower control arm. Replace any worn or damaged parts. To this end, get rid of shock absorber upper mounting nuts, brake caliper, brake disc, stabilizer bar links, balljoint nut and lower mounting bolt for model year 2003 and onward. Check all components for damage and replace them if necessary.
- Q: How to check the Shock Absorber on Mercury Grand Marquis?A: The steering linkage and suspension components should be checked periodically. Worn or damaged suspension and steering linkage components can result in excessive and abnormal tire wear, poor ride quality, vehicle handling, and reduced fuel economy. To check the shock absorber, park the vehicle on level ground, turn the engine off, and set the parking brake. Check the tire pressures. Push down at one corner of the vehicle, then release it while noting the movement of the body. It should stop moving and come to rest in a level position within one or two bounces. If the vehicle continues to move up and down or if it fails to return to its original position, a worn or weak shock absorber is probably the reason. Repeat the above check at each of the three remaining corners of the vehicle. Raise the vehicle and support it securely on jackstands. Check the shock absorbers for evidence of fluid leakage. A light film of fluid is no cause for concern. Make sure that any fluid noted is from the shocks and not from some other source. If leakage is noted, replace the shocks as a set. Check the shock absorbers to be sure that they are securely mounted and undamaged. Check the upper mounts for damage and wear. If damage or wear is noted, replace the shock absorbers as a set (front or rear). Visually inspect the steering system components for damage and distortion. Look for leaks and damaged seals, boots, and fittings. Clean the lower end of the steering knuckle. Have an assistant grasp the lower edge of the tire and move the wheel in and out while you look for movement at the steering knuckle-to-control arm ball joint. If there is any movement, the suspension ball joint(s) must be replaced. Grasp each front tire at the front and rear edges, push in at the front, pull out at the rear, and feel for play in the steering system components. If any free play is noted, check the steering gear mounts and the tie-rod ends for looseness. Check the steering gear mount bolt tightness. If the tie-rods are loose, the ball joints may be worn.
Related Mercury Grand Marquis Parts
Browse by Year
2011 Shock Absorber 2010 Shock Absorber 2009 Shock Absorber 2008 Shock Absorber 2007 Shock Absorber 2006 Shock Absorber 2005 Shock Absorber 2004 Shock Absorber 2003 Shock Absorber 2002 Shock Absorber 2001 Shock Absorber 2000 Shock Absorber 1999 Shock Absorber 1998 Shock Absorber 1997 Shock Absorber 1996 Shock Absorber 1995 Shock Absorber 1994 Shock Absorber 1993 Shock Absorber 1992 Shock Absorber 1991 Shock Absorber 1990 Shock Absorber 1989 Shock Absorber 1988 Shock Absorber 1987 Shock Absorber 1986 Shock Absorber 1985 Shock Absorber 1984 Shock Absorber 1983 Shock Absorber 1982 Shock Absorber 1981 Shock Absorber 1980 Shock Absorber
